My First Car: Maruti 800 AC 93 Model


Joined
Jul 4, 2012
Messages
39
Likes
0
Location
Mysore
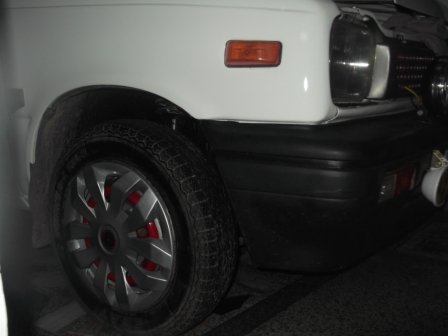
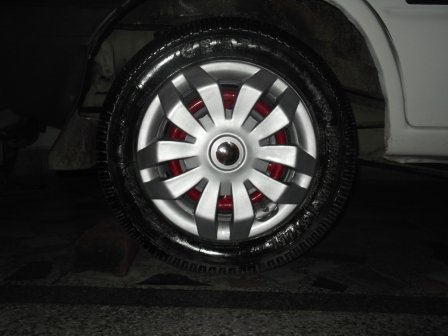
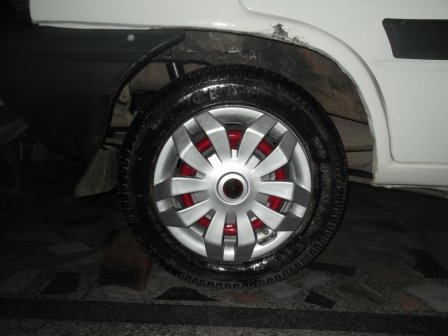
Today went to the auto parts market with my mechanic friend. Took the compressor too for returning it. Exchanged the compressor (Rs. 650) for a set of wheel caps (Rs. 350) and a pair of fog lamps(Rs. 300).

View attachment 61606
View attachment 61607
View attachment 61608
Wheel caps were for my cars and the fog lamps were installed on a customer's car.
The wheel cap suits well, It might suit even good if your wheel is black (Mat finish). I really don't know, just an imagination.[roll]
 
Joined
May 1, 2011
Messages
3,594
Likes
761
Location
Bangalore
No need of changing all the wires. You need to change the wire connecting from alternator to battery positive to a higher gauge wire so that it withstands the load.

Not much modifications required, need to cut down the present mount a bit to accommodate the Santro alty, The alty mentioned in price list was old santro's.
 
Thread Starter #153
Joined
Mar 28, 2012
Messages
582
Likes
81
Location
Lucknow
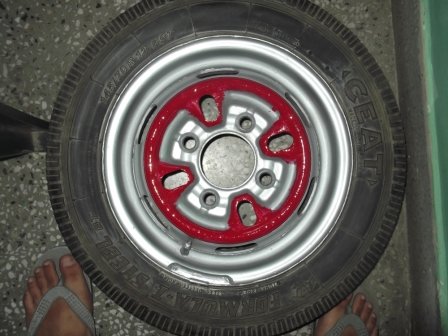
Painted the rims in red colour.
red.JPG


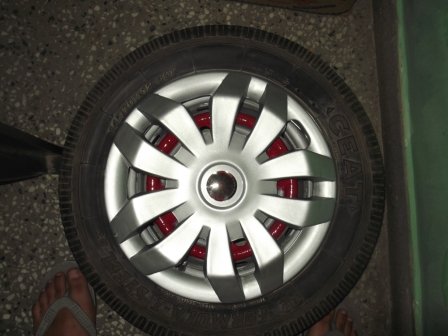
Attached the Wheel Caps
red with cap.JPG

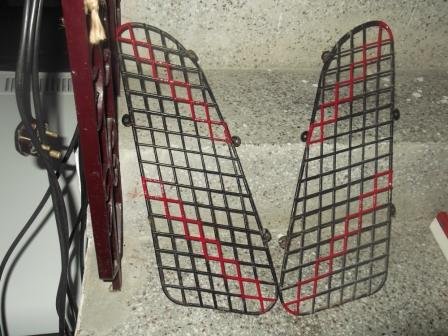
Also painted the rear quarter panel grill.
DSCF2505.JPG

Used NC car paint. Bought 50 grms paint from my friends garrage.


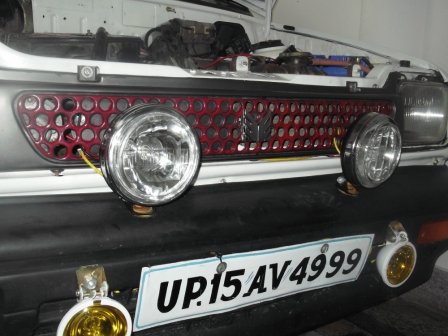
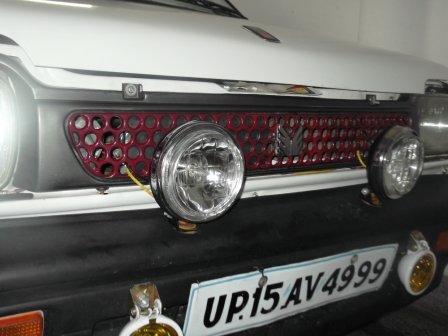
Willing to paint the front grill in red. Will it look good. ??? [confused]
 
Last edited:
Joined
Feb 8, 2011
Messages
3,863
Likes
1,169
Location
Chennai
Installed the fog lights myself in a customer's car. He wanted to change his Tata Indigo's fog lamps which are fitted in the bumper.
Did the DIY in the same way Sethu Sir wants to install lights in his sparky. Was remembering him and wished I could go to Chennai to help Sethu sir in his DIY

Bought DLAA (PIAA's duplicate) but has good lighting power.
.

Hey Shanatanu, I think you if you live close, am 100% sure you would have landed at my house for this DIY. Really fantastic DIY and also very good explanation. You have not shown how the wiring would have been done.

Actually Iam excited to do this as well as little bit scared to touch it since I have not done such kind of major DIYs by removing the important partss like bumper and all.

Anyway, god only knows. I might do it myself. Thanks for sharing.

I think than interest on DIYs you, Varun, ss80 and others are having lot of courage to do it on your own.

I really apprciate all of you. Am really happy to be part of you all.

[frustration]I dont even know how to remove the bumpers. Actually my habit is see atleast once before doing anything instead of doing some major mistake without know things.
And How do the wires reach lights and how to connect to the switches, what kind of switches to be used.
 
Thread Starter #157
Joined
Mar 28, 2012
Messages
582
Likes
81
Location
Lucknow
And How do the wires reach lights and how to connect to the switches, what kind of switches to be used.

The wires are passed along the bumper and fixed using ties . from the dashboard a pair of wire will run to the relay. which can be passed from any hole which takes some wiring towards the engine bay. The relay will be placed near the battery. If possible fix the relay with a screw or just fix it using adhesive tape.

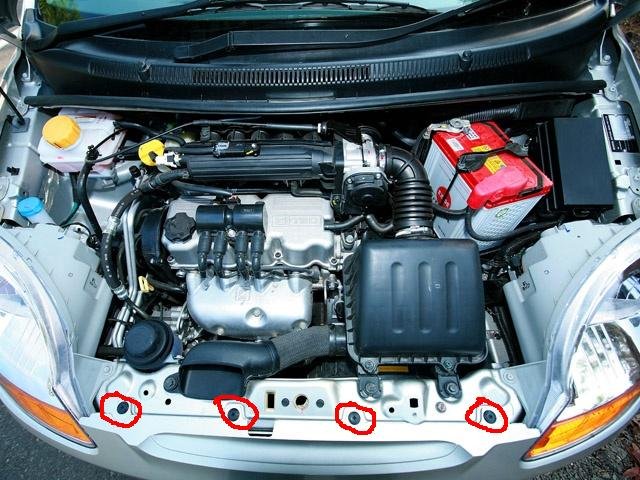
To open the bumper you will have to remove these screws in the front.
img 005.jpg

And two screws near the wheel well(where fender liner is fixed)
 
Joined
Feb 8, 2011
Messages
3,863
Likes
1,169
Location
Chennai
The wires are passed along the bumper and fixed using ties . from the dashboard a pair of wire will run to the relay. which can be passed from any hole which takes some wiring towards the engine bay. The relay will be placed near the battery. If possible fix the relay with a screw or just fix it using adhesive tape.

To open the bumper you will have to remove these screws in the front.
View attachment 61992

And two screws near the wheel well(where fender liner is fixed)
Ha Ha, I was about to post a pic of hood in couple of days. Before that as usual you have jumped first into. Thats Great.

Actually day before yesterday I was inspecting under the hood on how to removed head light set and bumper.

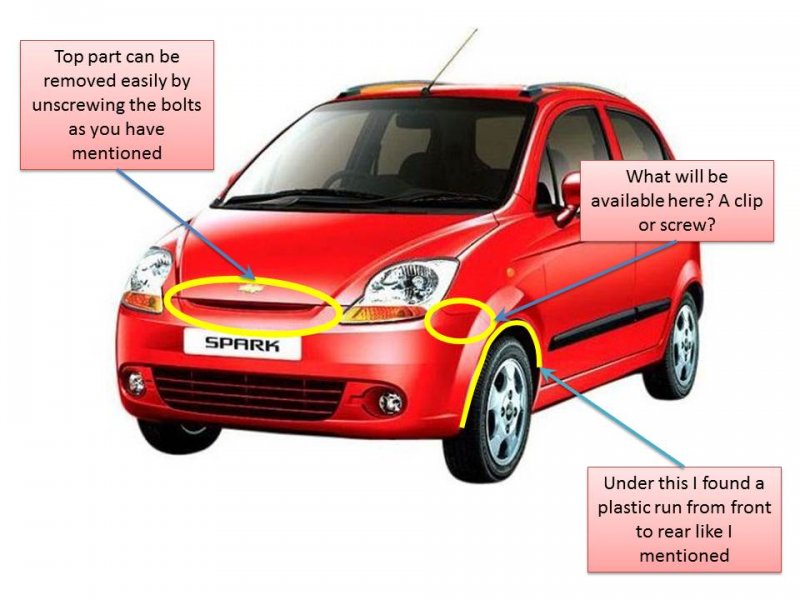
For bumper I have seen the bolts holding it from top as you have mention. Only thing is once we remove those bolts can we remove the bumper or do we have any other at the sides. actually I have noted a plastic above the front tyres below the bumper. i do not know how to handle that.
bumper.jpg


I wanted to change the parking light and indicators, reverse light, reverse indicators to LED. I dont think there is much problem in removing the rear light settings.

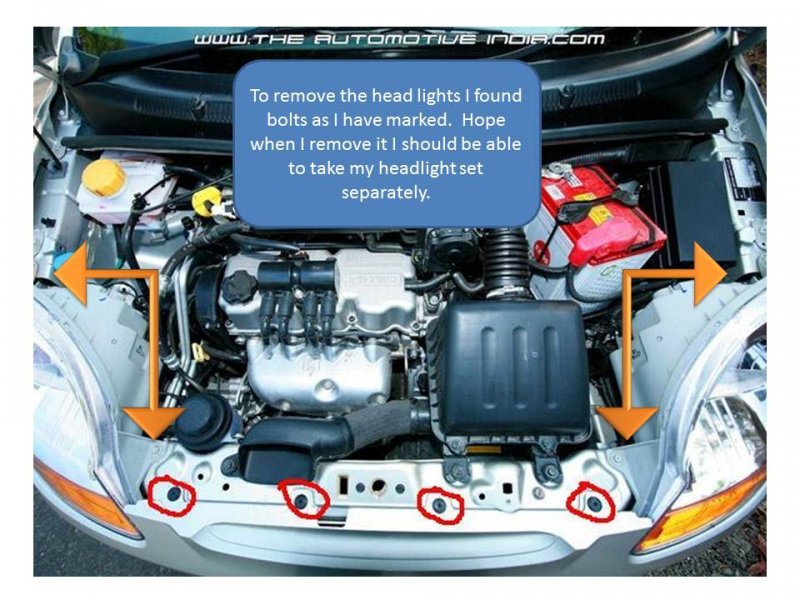
But for front light settings I wanted to check once as below
remove head lights.jpg

I would like to take the sample bulbs to the shop to avoid last minitue confusions.
 
Thread Starter #159
Joined
Mar 28, 2012
Messages
582
Likes
81
Location
Lucknow
The plastic above the front tyres, behind the bumpers is the fender liner. Fender liners are mostly fixed using small nut-bolts. Check the fender liner for any nut-bolts.

The rear lights can be easily removed.
BTW: What type of LEDs will you use in the rear lights ???

The headlights can be easily removed after removing the bolts you marked.
 
Thread Starter #160
Joined
Mar 28, 2012
Messages
582
Likes
81
Location
Lucknow
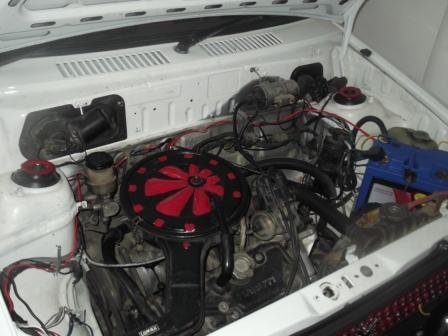
A little bit paint was left over with me after painting the Rims. So utilized it today.

DSCF2506.JPG

DSCF2509.JPG
DSCF2510.JPG
The front grill painted in red.

Photo0640.jpg
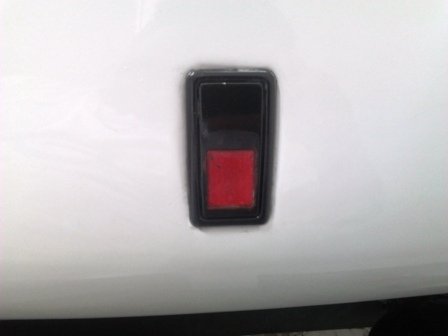
The bonnet opener

DSCF2532.JPG
DSCF2533.JPG
DSCF2530.JPG
DSCF2531.JPG
Wheel caps attached

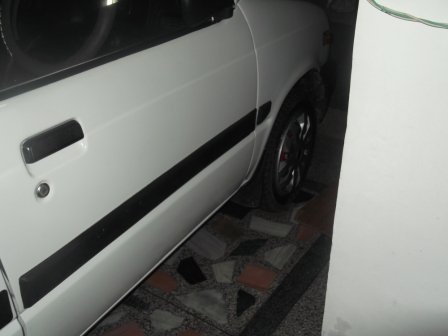
Also applied a coat of clear to the black parts (front & rear windshield beadings, the numberplate light, side quarter panel and rear door glass beadings)
 
Joined
Apr 4, 2012
Messages
2,524
Likes
250
Location
Mumbai
The engine bay looks nice and clean.Good job.

I have a similar theme going on on my front grille as well.

I think the wheel covers are spoiling the look of the rims.Why don't you go for hub covers instead.They are covers for only the hub.

Also get the underbody of your car coated with anti rust.It is showing signs of rust where the welds were made.
 
Joined
Aug 4, 2012
Messages
115
Likes
4
Location
Bangalore
The engine bay looks nice and clean.Good job.

I have a similar theme going on on my front grille as well.

I think the wheel covers are spoiling the look of the rims.Why don't you go for hub covers instead.They are covers for only the hub.

Also get the underbody of your car coated with anti rust.It is showing signs of rust where the welds were made.
Please ensure to do a thorough inspection before going for an under coating, what i have heard is the anti rust coating will not be too effective if its not applied correctly, need to remove the rust quantity if its more. Please correct me if what i have understood is wrong.
 
Joined
Apr 4, 2012
Messages
2,524
Likes
250
Location
Mumbai
They tend to wash the car before applying the coat.What needs to be done is washed and dried before applying anti rust.The rusted surfaces can be sanded with sand papers before the coat is applied so that the cost sticks properly to the surfaces.
 
Thread Starter #164
Joined
Mar 28, 2012
Messages
582
Likes
81
Location
Lucknow
Earlier the anti rust coating was done by a small boy who works in the garage. I was not present at that time. This time I'll do the coating myself.
Few steps that I'll perform: (please add any steps that I have missed)

1. Wash the under body properly.
2. Let it dry and then inspect for any rust
3. Remove any rust using sand paper.
4. Wipe the surface with cloth to remove any dirt or rust particle
5. Apply a thin coat of anti rust primer.
6. Let it dry and then apply the second coat of anti rust primer.
7. Add a little thinner to rubber seal compound and apply a thin coat.
8. After drying the rubber seal coat, apply a thicker coat of rubber seal.
9. Finally let the coating dry and not drive the car for next two days. [;)]

I'll use thinner with rubber seal as if we apply thick coats of rubber seal it forms a hard layer and tends to come out.
 
Joined
Apr 4, 2012
Messages
2,524
Likes
250
Location
Mumbai
I would suggest you stay away from the rubber sealer.Instead try 3m antirust.It is available in liquid form and you can spray it using a spray gun.Or get it sprayed at a garage.It is best not to rush these things.
 
Top Bottom