Fitting the Rat mesh (Part 2/ 2 - DIY install)
With the question answered and mesh available, there was no point in closing the panels without putting the mesh in place.
The DIY took close to an hour as I wanted to plug the 2 vents directly in front of the fresh air duct and not the 3 cut-outs in the panel of the cavity in front of it. This was done to avoid any surprises as there could have been 3 more openings below the drive side cover or more importantly, if the cavity area between the actual 2 vents (which I covred with mesh) and the outer cut outs had any opening, the whole exercise would become pointless. Due to the limited access available to the 2 vents behind and through the 3 cut outs in front of them, the measurements were crude and the mesh was made with trial & error correction method which took time.
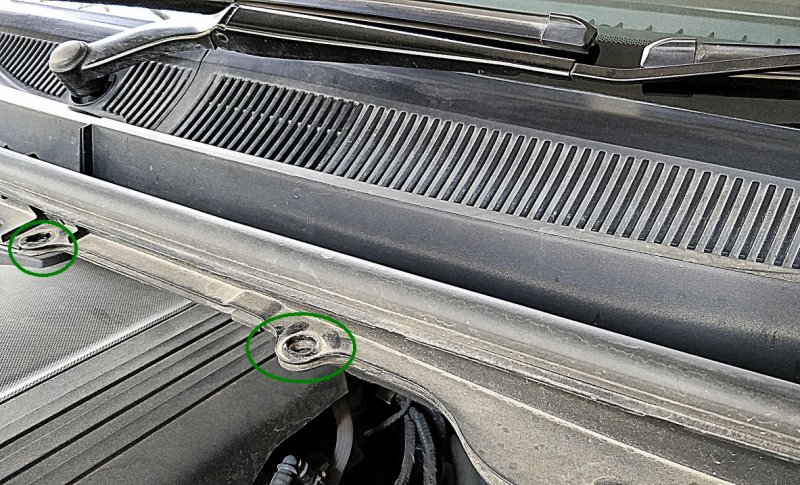
Step 1: Removing the locks for front passenger side cowl cover. After opening the bonnet, to access the vents for meshing, the passenger side cowl cover for the wiper assembly needs to be removed. There are 5 locks which in the absence of the special tool can be opened with a small flat tip screwdriver. The center part needs to be popped-up with the screwdriver and then the entire lock can be pulled.
Locks to be opened
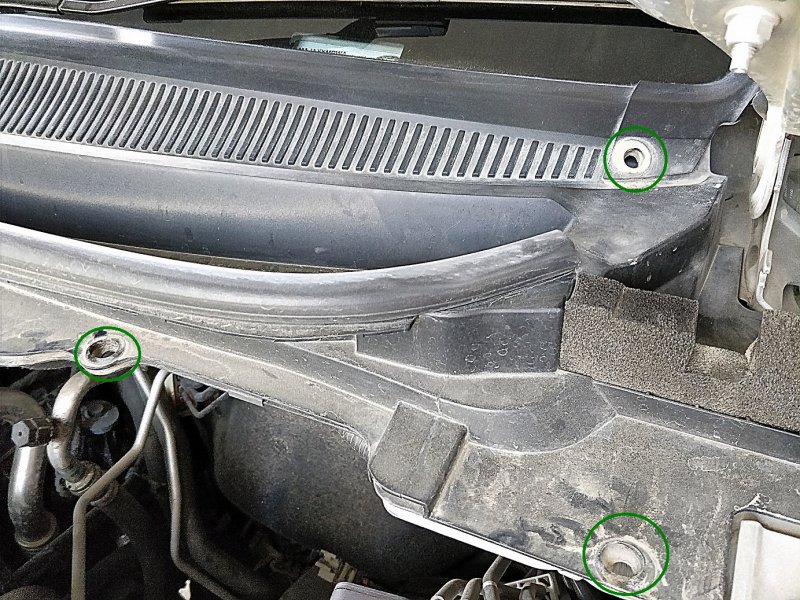
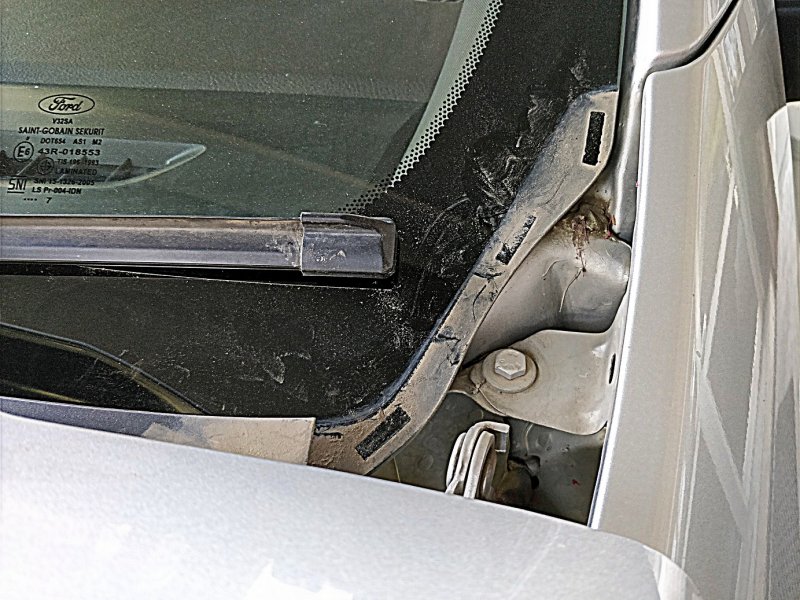
Step 2: Removing the bonnet hinge cover. The small cover on near the bonnet hinge between the windshield and fender needs to be removed. Lifting it from near the far end from fender will allow it to come out.
Bonnet hinge cover removed
Step 3: Removing the cowling cover. From the fender side, the cover needs to be gently pulled upwards from near the edge of the windshield to open it up. The locks are along the windshield.
Passenger side cowl cover removed showing vents to be meshed
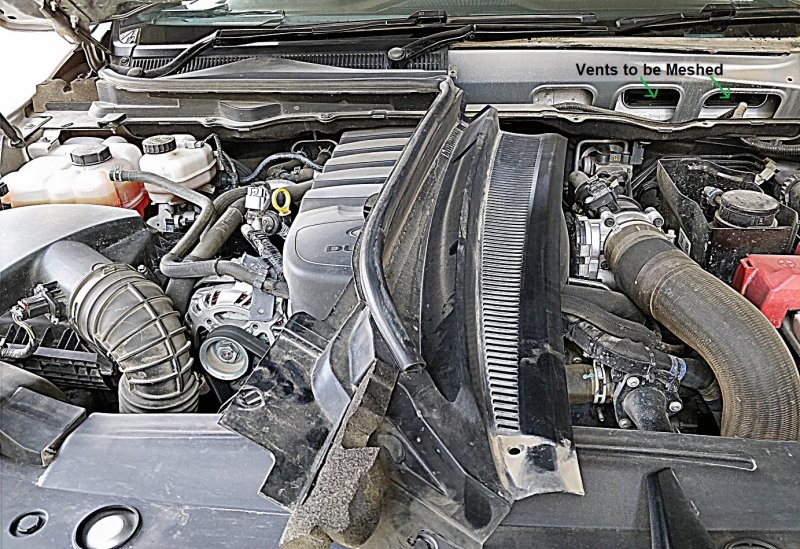
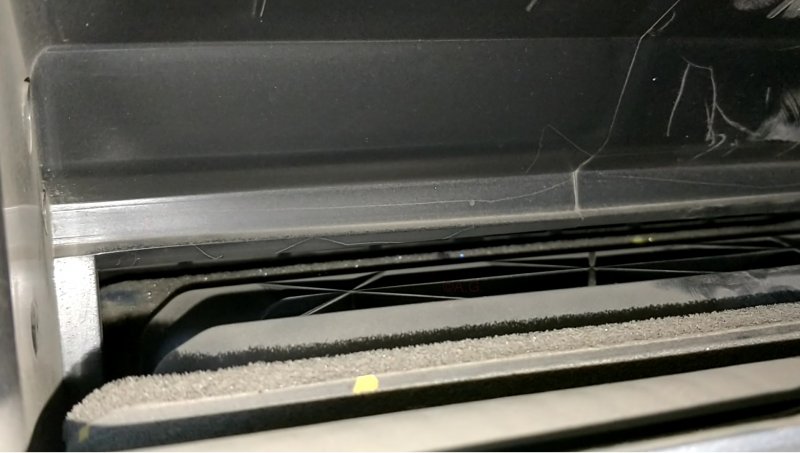
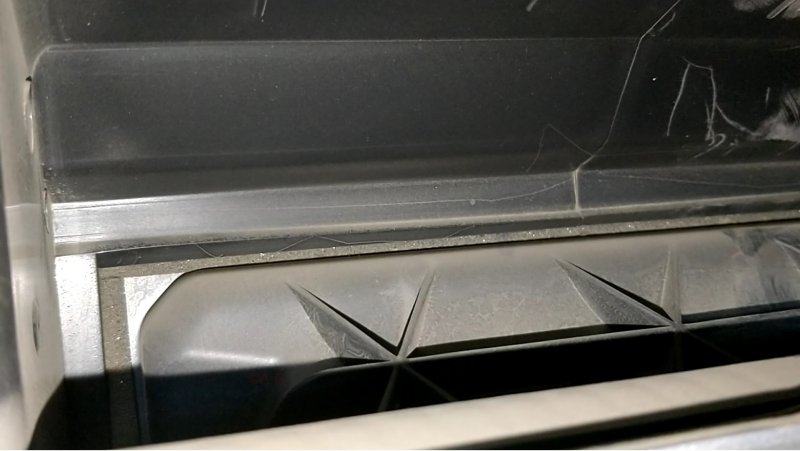
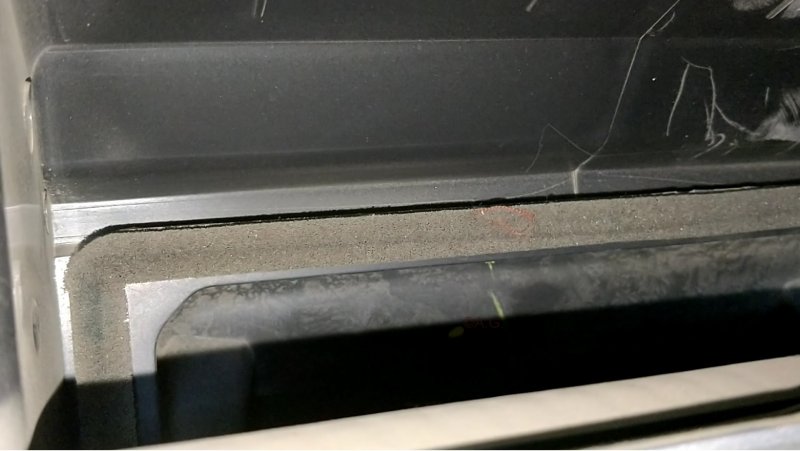
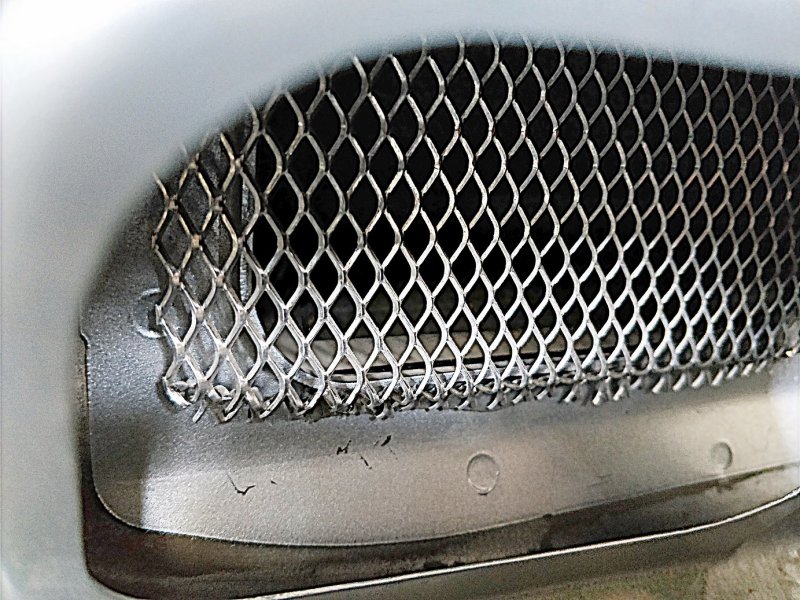
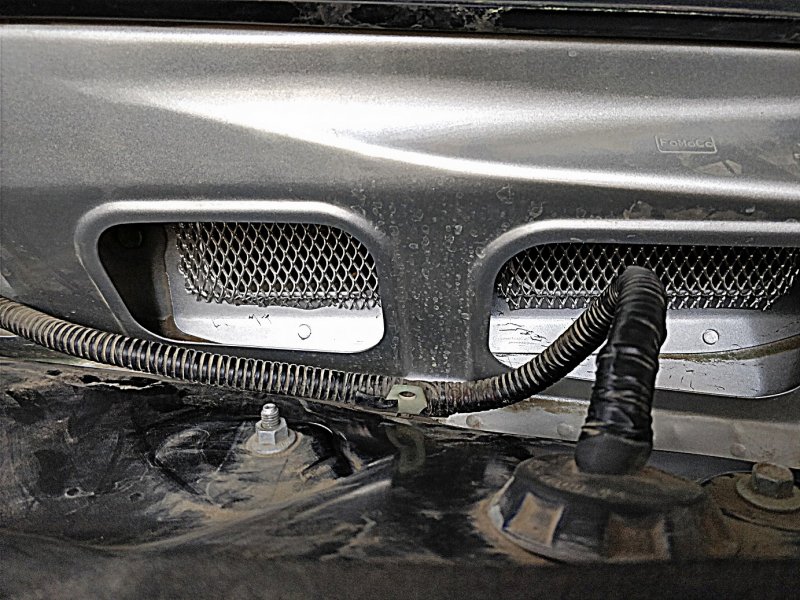
Step 4: Meshing the vents. There would be 3 rectangular cut outs visible behind which there would be 2 vents. The latter need to be meshed. The size of each of the vent opening is approx. 135mm x 80mm. The mesh needs to be a bit larger in size so that the edges can be bent. This would enable the mesh to fit on the collar of the vents. Double sided 3M tape was also used on the flat edges of the mesh to stick it to the vent panel.
Close-up of Mesh...
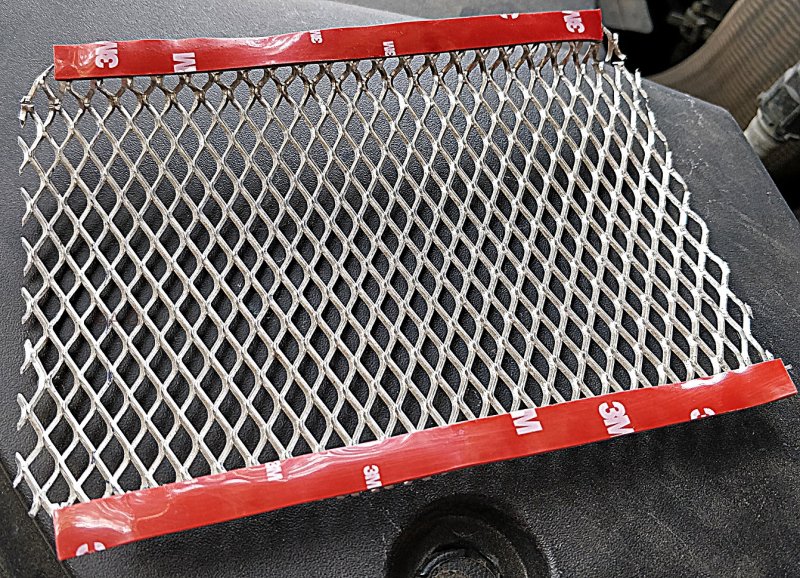
... which needs to be installed with limited access through the front cut outs
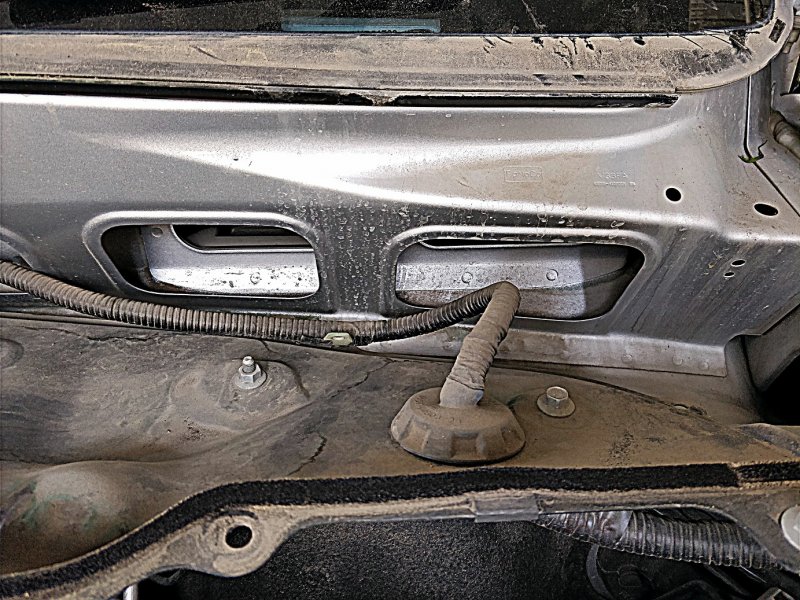
One done, one to go
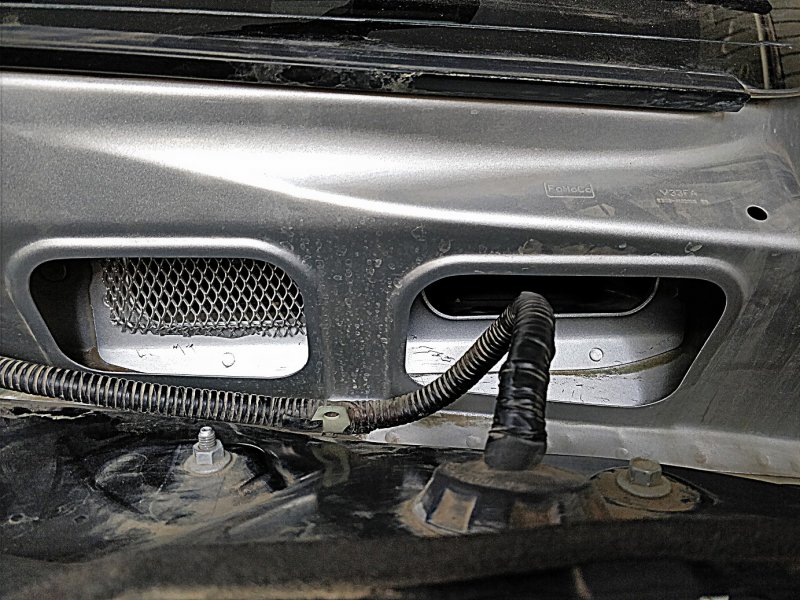
Close-up of the mesh stuck on the collar of the vent and pasted using 3M double sided tape
Meshing done
Step 5: Putting it all back. Following steps 1 to 3 in reverse order, the task would be completed.
Disclaimer: No liabilities or responsibilities whatsoever assumed.



![Laugh [lol] [lol]](https://www.theautomotiveindia.com/forums/images/smilies/Laugh.gif) .
.



![Big Smile [:D] [:D]](https://www.theautomotiveindia.com/forums/images/smilies/Big%20Smile.gif)
![Frustration [frustration] [frustration]](https://www.theautomotiveindia.com/forums/images/smilies/Frustration.gif)
![Frustration [frustration] [frustration]](https://www.theautomotiveindia.com/forums/images/smilies/Frustration.gif)
