The Ford Endeavour 3.2 Titanium – Built Tough


Thread Starter #78
Joined
Nov 28, 2015
Messages
427
Likes
814
Location
Roorkee
Trip update

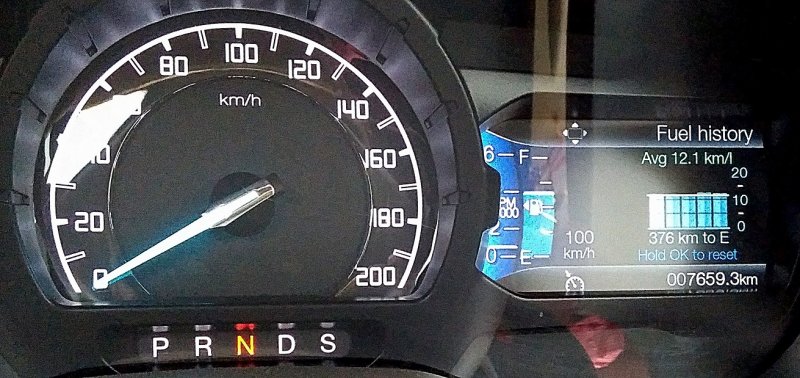
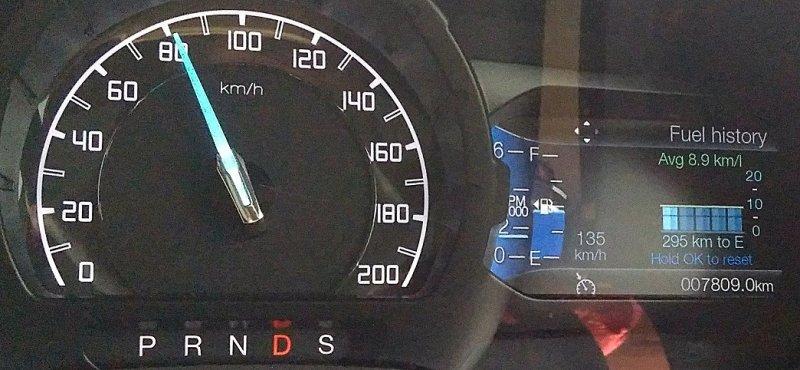
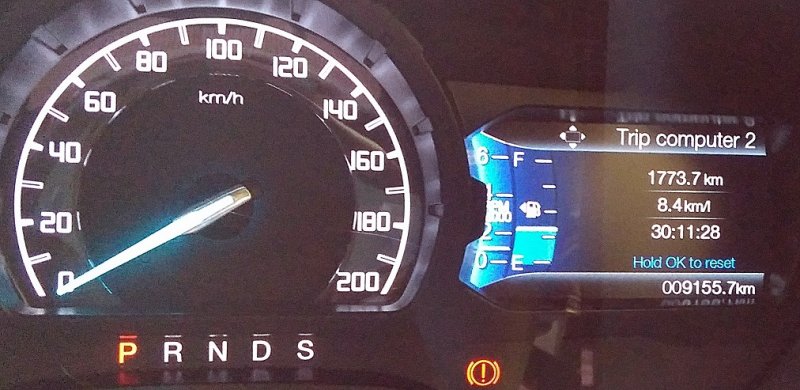
Recently the truck covered 1773.7 kms as per odo in a week out of which one way route of 675 kms was covered in a day in 9 hours 30 min with a single break while going solo and return leg took close to 11 hours with multiple breaks with family (driving time was almost same during both the journeys). This included all kinds of 2 lane, 4 lane, Expressway and no roads at all.

Interestingly, the fuel efficiency stats were pretty good considering the bulk of the truck, permanent 4x4 setup and auto transmission with such a large engine. Sharing the pictures of the same.
T15_1.jpg

T15_2.jpg

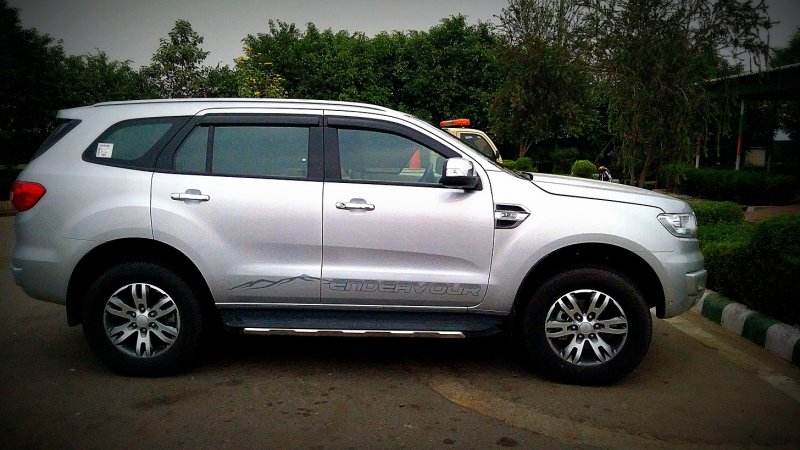
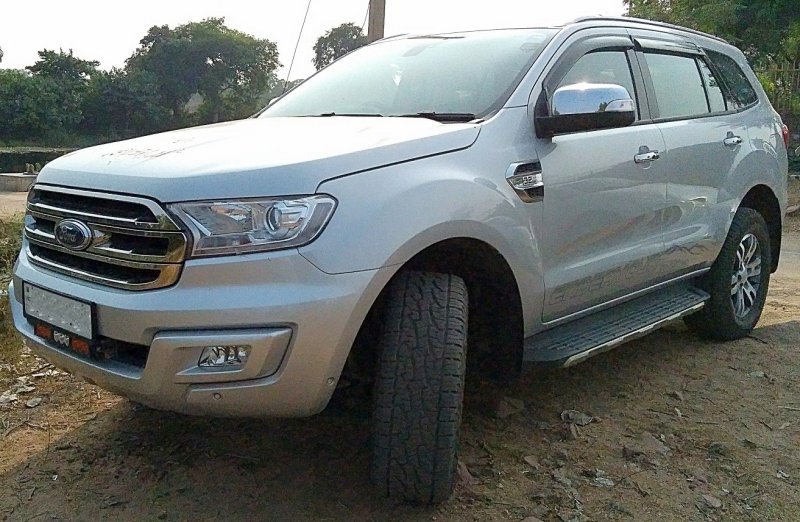
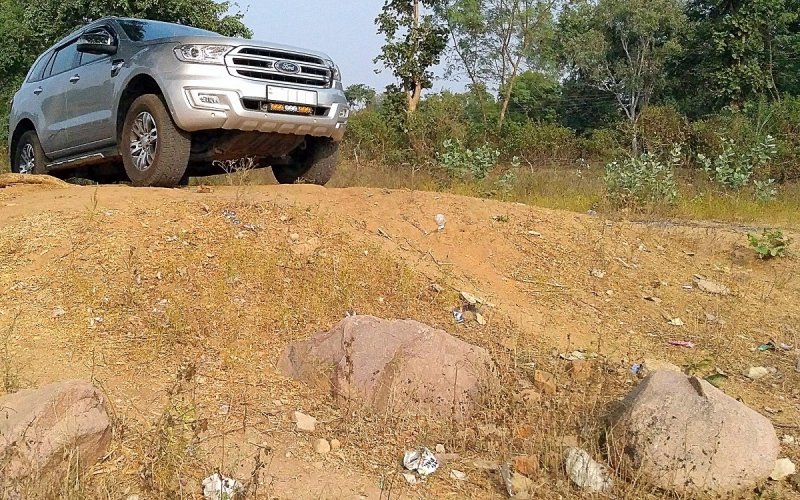
Some random pictures
T15_3.jpg

T15_4.jpg

T15_5.jpg


The Final stats of the entire journey
T15_6.jpg

The above stats don't need any correction due to larger tyre size as the 3% difference in odo reading has resulting in MID readings matching those of tank full to tank full method.

Overall, the truck is very stable and the journey was supremely comfortable all thanks to the tyres. The tyres mark a major difference on the concrete highways with their extremely low noise enabling the usage of sunroof on the expressway. The quality sound from SYNC3 gave good company during the solo leg of the journey.
 
Joined
Aug 28, 2015
Messages
116
Likes
93
Location
Chennai
Hello Sorry for late reply It is the latest one with Sync3 and Inbuilt Navigation, May 2017 model. Crossed 8k mark and must say Endeavour is a real beast with fuel economy around 8.5kmpl.

On leveling issue I myself tried to adjust the low beam focus as I felt it was pointing too low. I feel left side is pointing more upward in comparison to right one. I rotated the knob to extreme positions on both sides with the help of screw driver.
Sorry for the late reply. Got a revert from Ford service advisor that the led bulbs are not available( though it was available initially, Brand : Philips). Even I had levelling issues with my right hand side unit even after correcting it manually couple of times, then got the levelling motor changed under warranty. Initially they were replacing the entire headlight assembly since non availability of child parts. After the replacement the focusing has significantly improved.
 
Joined
Aug 28, 2015
Messages
116
Likes
93
Location
Chennai
Tyre replacement – Upping the Safety quotient and adding comfort:

Even before buying the truck, I was asked to replace the tyres by a couple of friends but unfortunately none of them could answer the question on performance of stock MRF tyres as they swapped tyres right out of showroom. Ideally, that’s the best approach if you want most value for your stock tyres but having some faith in MRF tyres, I didn’t go with this approach.

Over the last 5K kms, the following observations about the stock MRF tyres were made:
a. Grip – the rains which followed since the purchase revealed how poor the tyres were with water dispersion and overall grip in wet. Experiencing aquaplaning in the city, while driving with-in speed limits, that too when climbing a flyover was shocking.
b. Noise – with the music off, you could hear a roar in the cabin which would increase with speed till 120 Kmph after which the wind noise would become more prominent. This roar became deafening on the concrete highways.
c. Comfort – the stiff sidewall ensured that the cushioning effect from the tyres itself was missing on minor undulations. The suspension would react to the bumps in the best way possible but the initial jerk due to stiff sidewalls meant the sharpness of the jerk was always felt.

The problem was defined and the search for answer started. For a & b, swapping to good tyres would be enough but to address c, there were 2 possible scenarios – either downsize to 17” rims with tyres 265/65R17 and maintain overall size with-in 0.3% of the original tyre or upsize the tyre on 18” rim itself.

The first scenario was quickly ruled out as it involved more dosage of Vitamin M (Money). There were no options available with the 17” rim in 8Jx17 size having ET55 offset and PCD 6x139.7 and playing with any of these numbers was not an option. Getting 3 more steel spare wheel rims which is 17” was the only solution to this option but the steel wheels would have taken away the premium look and affected resale whenever it would be done.

Look with the Spare wheel placed besides the rear wheel
View attachment 234063

Even for the second scenario, there were only a few options but it was an eyeopener that the stock size was available in HT with premium brands (Michelin / Pirelli) and the stock size available in AT (Yokohama / Maaxis) was actually priced higher or at most similar to the price of the upsized version. It was clear that upsize would be the end solution all 3 problems involving the least dosage of Vitamin M.

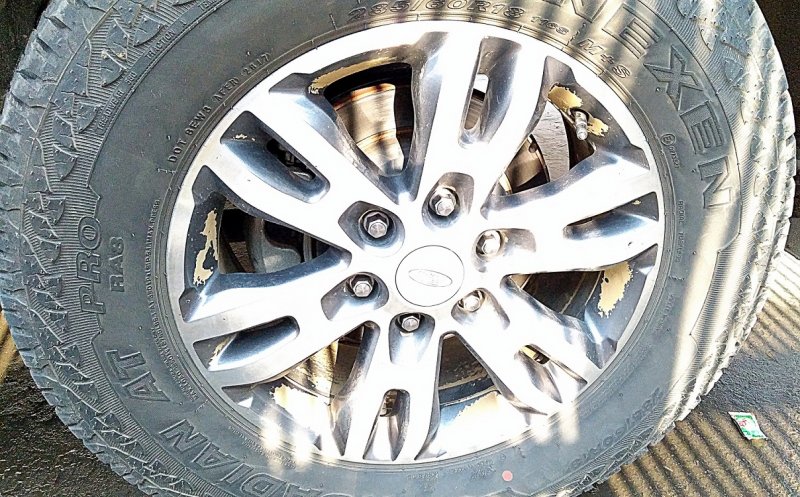
The tyre size was finalized at 285/60R18 and this link was very helpful in understanding that the upsize would not require any re-engineering. As per this link, the section width would increase by 20mm (8%), sidewall would increase by 12mm (8%) and the overall diameter by 24mm (3%) over stock tyre. The increased sidewall coupled with a tyre having better rubber compound would definitely aid comfort. The only confusion was related to scrub radius being changed by -4mm over stock but Wikipedia suggested that it would provide greater stability.

Maaxis was ruled out due to majority criticism being on tyre noise. Yokohama was the only option it seemed in AT but with the past experience of punctures experienced in SFX, I was reluctant. It looked like the plan would be shelved but then Mr. Karan from Kartar Tyres came to the rescue. He suggested Nexen Roadian AT Pro RA8 tyre and the exchange price for the used MRF tyres was quite good.

A quick search revealed some good reviews about grip in wet, low noise and comfort with added advantage low tread wear. A video even claimed it to be among top 5 AT tyres and this tyre even won top score in Jeep test (link).

Finally on a visit to Delhi, the tyres were changed. Unfortunately, the balancing could not be done at his end due to non-availability of the right center cone and the same was performed at a separate shop. The wheels were labelled and fitted back at the same place to avoid learning of the TPMS sensor location which requires a visit to the Ford Secvice Center. The MRF’s looked as if they had developed uneven roughness and the tread depth was between 7mm to 7.5mm as opposed to 8.5mm found on the new spare tyre of the Endeavour itself. The new Nexen tyres had a tread depth exceeding 9.5mm and even their sidewall looks very aggressive. As per user reviews, they are known to be long lasting. They were manufactured in South Korea and looked like a recent import as the manufacturing date read 2817.

Tyres wrapped in their protection covering
View attachment 234064

The label
View attachment 234065

Jacked-up for the transformation
View attachment 234066

Rear Tyre installed
View attachment 234067

Comparing the last tyre with the stock MRF before install
View attachment 234068

TPMS sensor on the rim
View attachment 234069

Aggressive pattern on the sidewall
View attachment 234070

The complete sidewall
View attachment 234071

Fitting just inside the body
View attachment 234072

Having covered close to 900 kms on the new tyres in a week, initial observations look promising. The transformation in comfort is most prominent – gone is the sharpness of any bump and it feels like you are literally floating over broken roads even at 32 Psi all around (MRF were back breaking even at 30 Psi). Grip in wet is quite good and it kicks out an exceptional amount of dirt from the road. Noise is well controlled as of now and I hope it stays that way. Only drawback is that it catches small stones very easily and the wider footprint might affect FE.
This tyre is ranked as one of the top five best AT tyres in the world, even recommended by Jeep. Internationally it's available in the stock configuration 265/60R18.

Source : Nexen Roadian AT Pro RA8 Wins Top Score in Jeep Test - Retail - Modern Tire Dealer
 
Thread Starter #81
Joined
Nov 28, 2015
Messages
427
Likes
814
Location
Roorkee
This tyre is ranked as one of the top five best AT tyres in the world, even recommended by Jeep.
Indeed, that's what made me confident in buying these tyres.

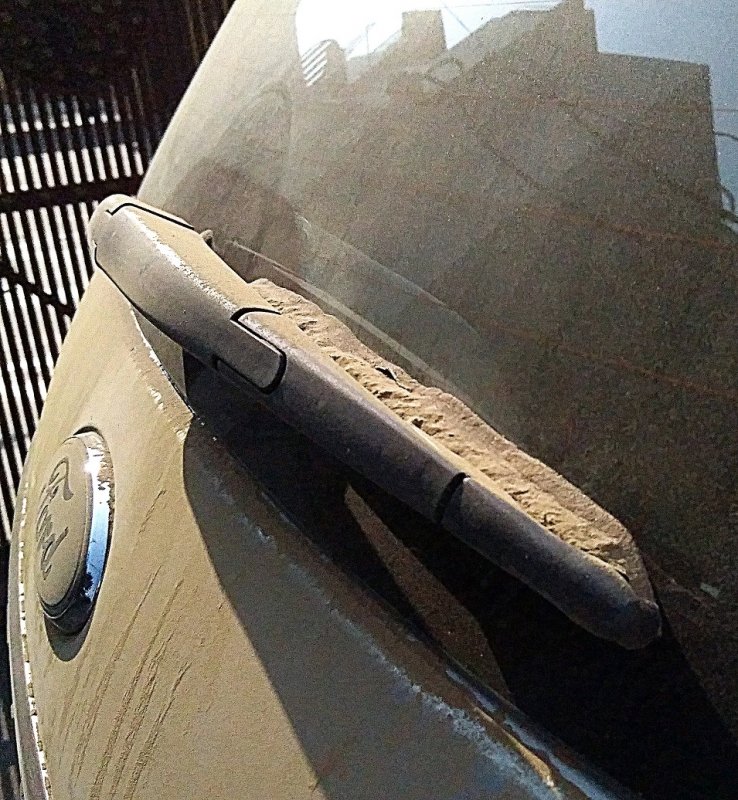
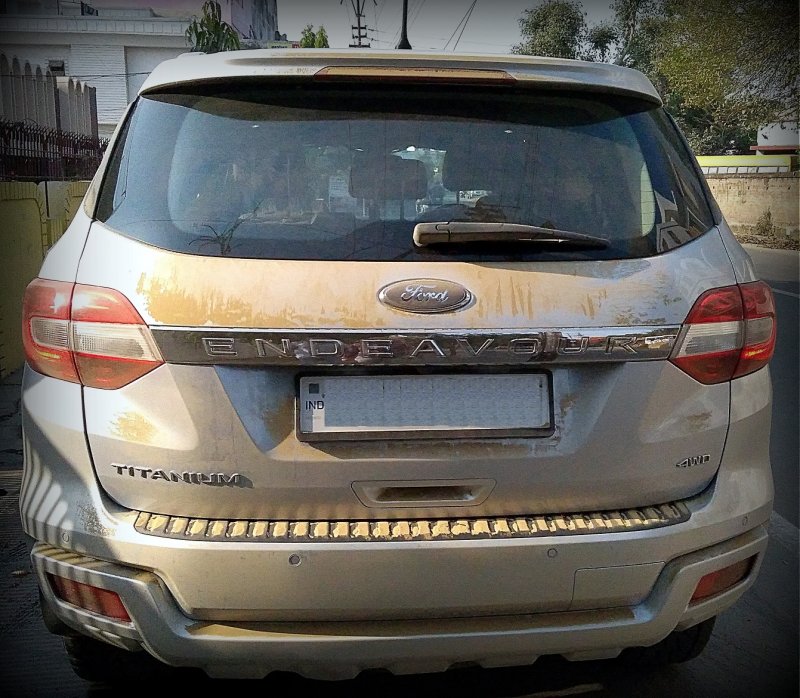
Last weekend saw the truck being driven on broken tarmac and sand. This time tried to get the tail out but again the awesome safety net of electronics, even with the ESP off, kept things in control and did not allow any deviation from the direction of turn.

Video of the attempt
https://www.youtube.com/watch?v=iY7ca4NrLCs

Pictures before cleaning post this drive
T16_1.jpg

T16_2.jpg

T16_3.jpg

T16_4.jpg

T16_5.jpg
GO FURTHER
 
Thread Starter #82
Joined
Nov 28, 2015
Messages
427
Likes
814
Location
Roorkee
PCM Update (ver. ANL)

In the past 30 days, the PCM was updated twice - once before the trip in the second week of November and the second time in the first week of December. With each update, the truck gets better and better.

With the current version ending with ANL, the truck holds on to gears even if you let got of the accelerator. This avoids unnecessary over-revving of the engine if you get back on power immediately after lifting off from the accelerator. Also, if you lift off and use the brake mildly, you can feel downshifts happening giving you greater engine braking. It very rarely gets caught off-guard and a jerk is noticed during shifting, otherwise the shifts are better than before. This update makes the truck all more livelier.

The only catch to get the update at the service center is they physically connecting the diagnostic tool to the truck and that the software on their PC should be latest version. With either of the conditions not fulfilled, the update does not show up.
 
Thread Starter #83
Joined
Nov 28, 2015
Messages
427
Likes
814
Location
Roorkee
While returning home on the same day, one of the horn started working erratically. Got it checked at Orchid Ford and it was diagnosed that one of the connectors was causing the issue. The same was replaced but it was surprising to see the procedure adopted of simply cutting the original wires and taping the wires from the new connector. This is certainly not the right technique when there is a claim of 800mm water wading depth riding on.
One of the horns stopped working yesterday evening - looks like either the shabby fix as quoted above (link to post) has come to haunt me or it is another niggle with the second horn [frustration].
 
Joined
Aug 28, 2015
Messages
116
Likes
93
Location
Chennai
Even my horns started to fade away about few weeks back and the necessary corrections were made by the service guys and they have promised to change the entire horn assembly if the same issue repeats again.
 
Thread Starter #85
Joined
Nov 28, 2015
Messages
427
Likes
814
Location
Roorkee
Even my horns started to fade away about few weeks back and the necessary corrections were made by the service guys and they have promised to change the entire horn assembly if the same issue repeats again.
This is the only niggle I have personally seen across many Endeavour's including dealer demo vehicles.
 
Thread Starter #88
Joined
Nov 28, 2015
Messages
427
Likes
814
Location
Roorkee
Second Service Experience:

The second service was done at Gautam Budh Ford, Noida at 10,646 Kms couple of days earlier. Apart from the service, there were a couple of minor issues to be addressed which included Handbrake adjustment and Horn issue.

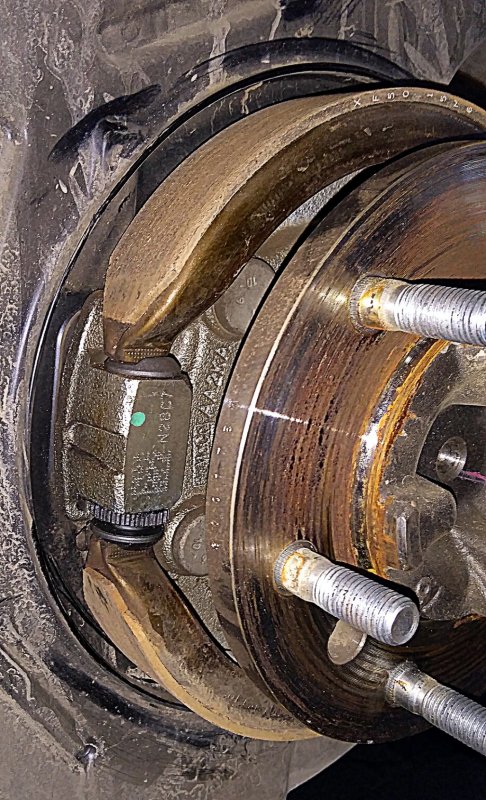
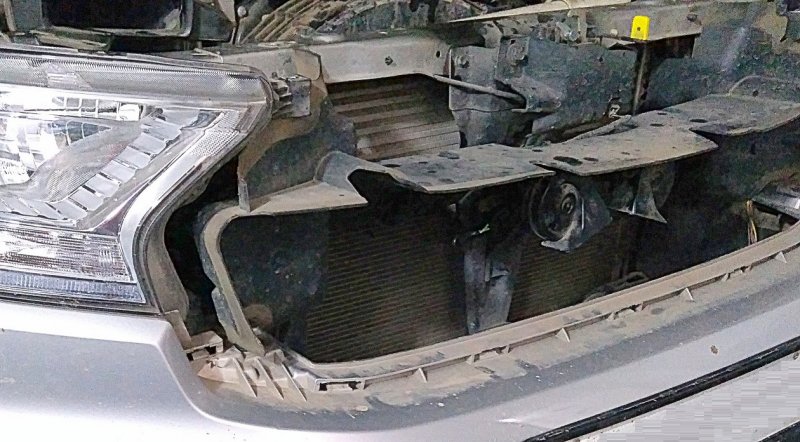
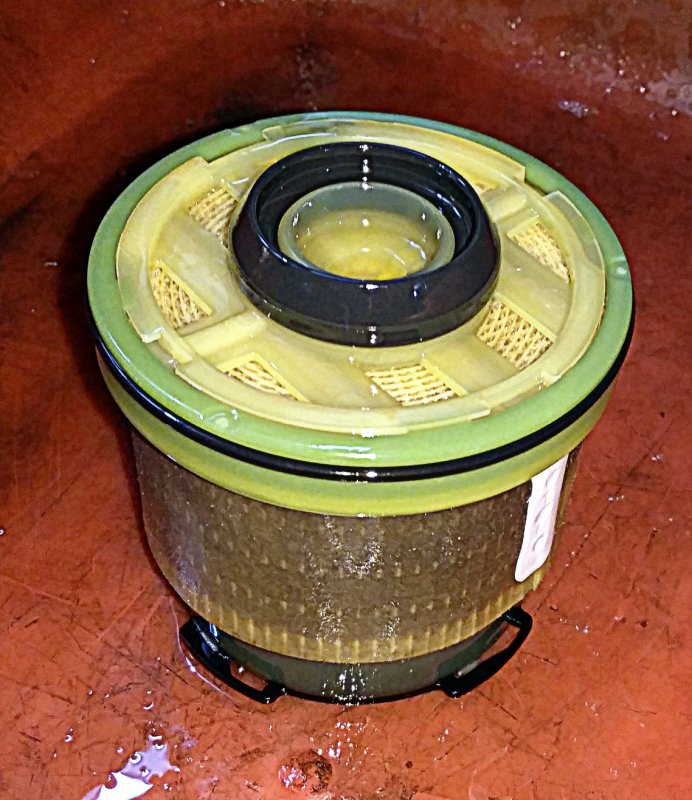
The Handbrake was adjusted from the drum directly and the Horn connector for the other horn too had failed. It was replaced and the previous connector was also crimped properly. Asked them to clean the Cabin Filter and assess the Fuel filter for replacement - the latter was found to be quite clogged and was replaced.

Handbrake adjustment
T18_1.jpg

Horn issue being addressed after removing the grill (process should have been simpler as removing grill is tedious and one wrong move can damage the paint)
T18_2.jpg

Fuel filter after 10k Kms
T18_3.jpg

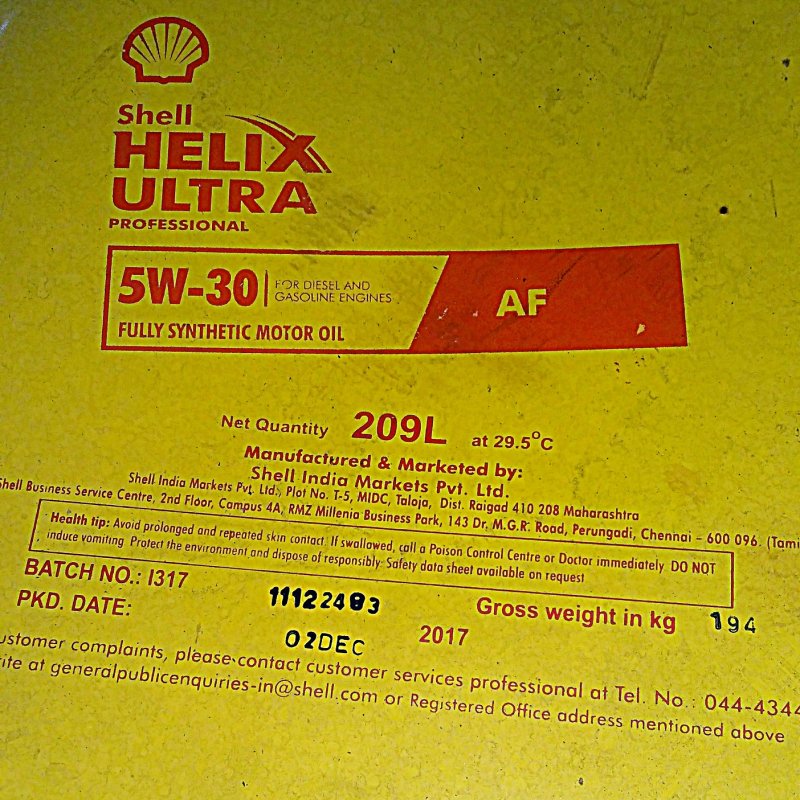
Oil used
T18_4.jpg

The overall cost of service was Rs. 5,372/-. Getting 9.8 Liters of Shell Fully Synthetic Oil in half this cost is remarkable. The Fuel filter and wheel balancing were the only additional jobs, otherwise the basic service costs were in-line with what was displayed on the Ford Service Price Promise website [thumbsup].
 
Last edited:
Thread Starter #89
Joined
Nov 28, 2015
Messages
427
Likes
814
Location
Roorkee
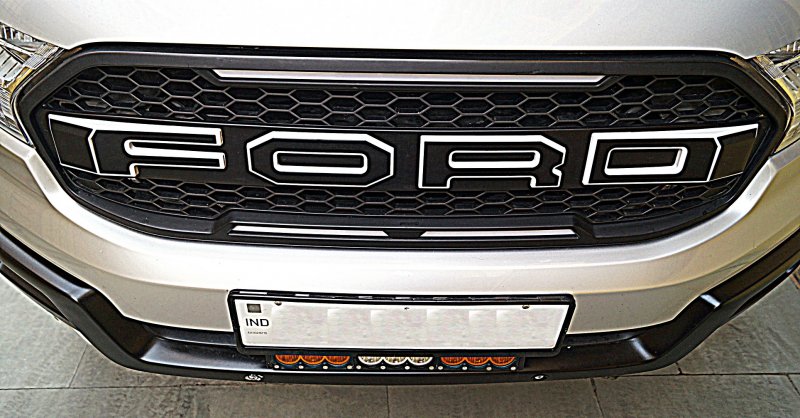
Finally Sir!
We can be friends again, from katti to batti!
All thanks to your inspiration behind getting the Raptor look, glad we are batti again [:D]

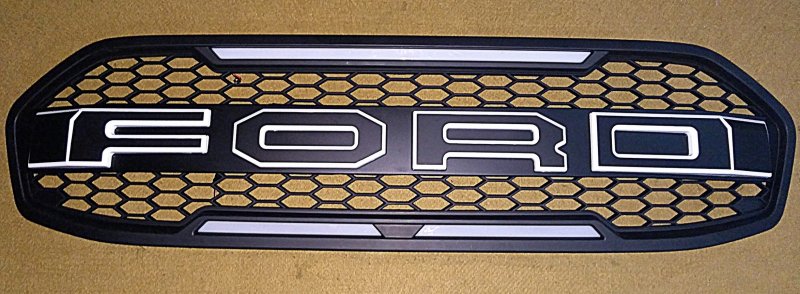
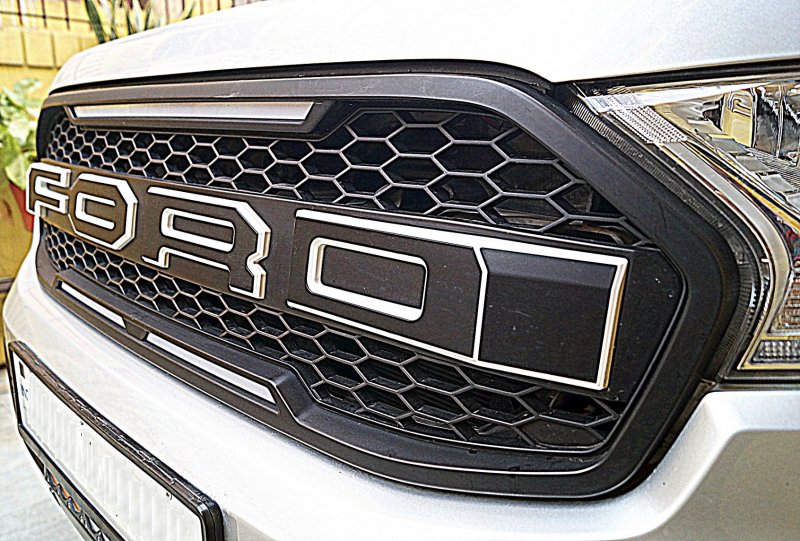
It was sheer co-incidence that the grill was in my hands right before service as the original grill was bound to be removed during service for addressing the horns issue. Unfortunately, in a haste of getting the Raptor look, forgot the wiring and screws which connect the individual letters to the grill. Fortunately, a very kind person at Gautam Budh Ford made the right screws then & there itself by grinding longer screws he had available.

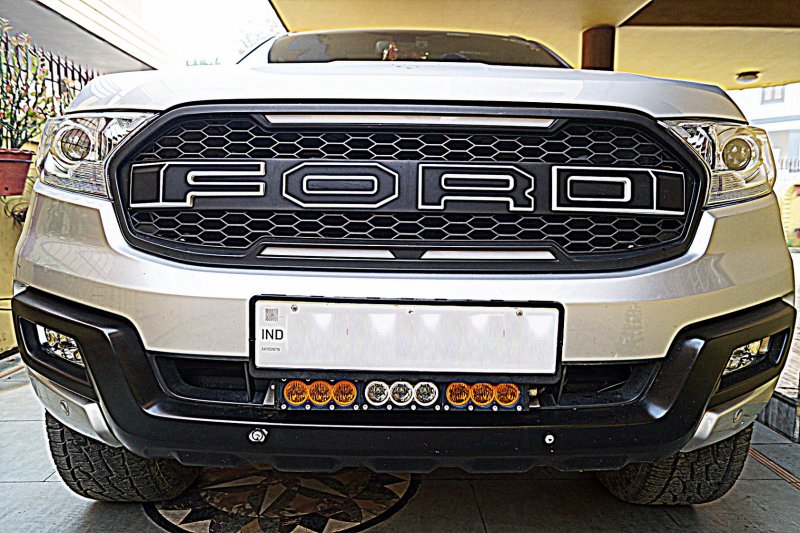
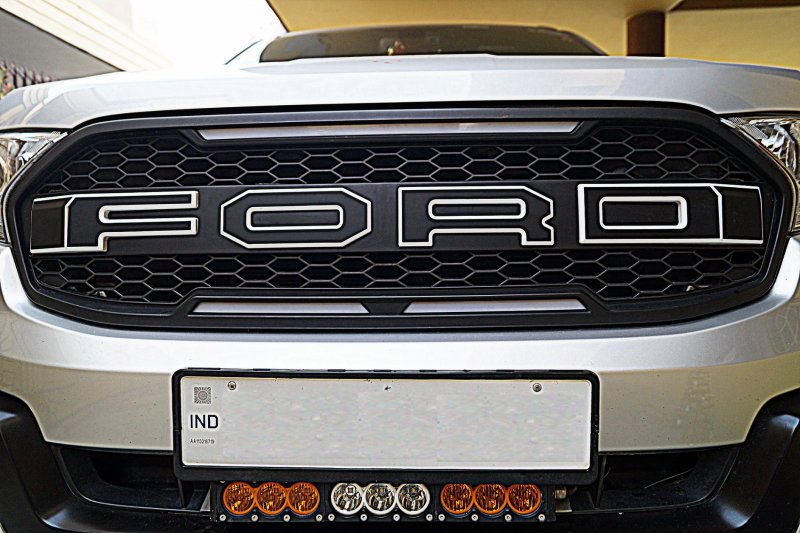
The Raptor Grill with LEDs on top and bottom
T19_1.jpg

3D characters
T19_2.JPG
T19_3.JPG

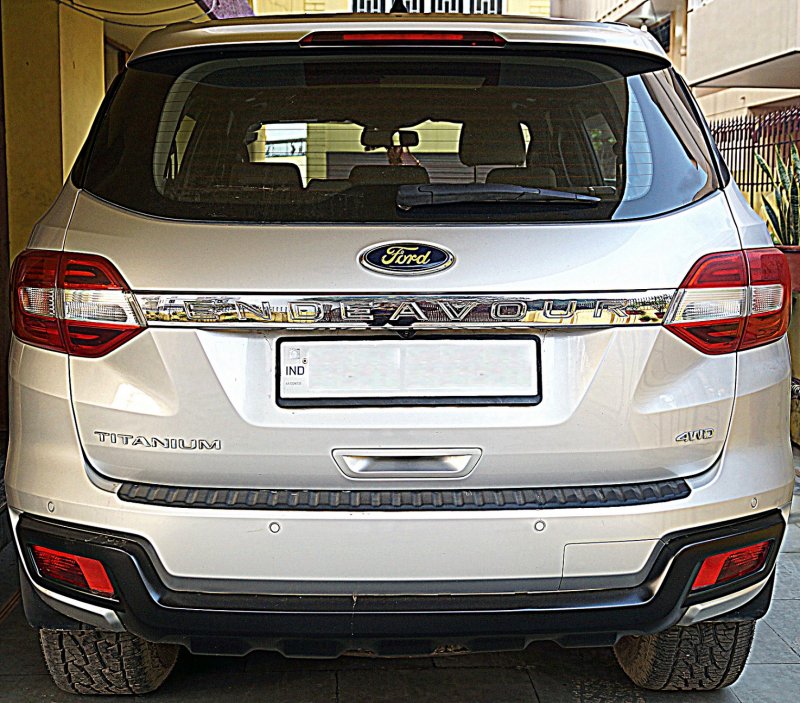
With the grill in hand, it was easy to conclude that the best look would come with blackened Fog Lamp surrounds. That meant re-painting both the front and rear ones to matt black finish. Again, Gautam Budh Ford were very reasonable with their charges for the same.

Blackened Front end
T19_4.JPG

Blackened Rear end
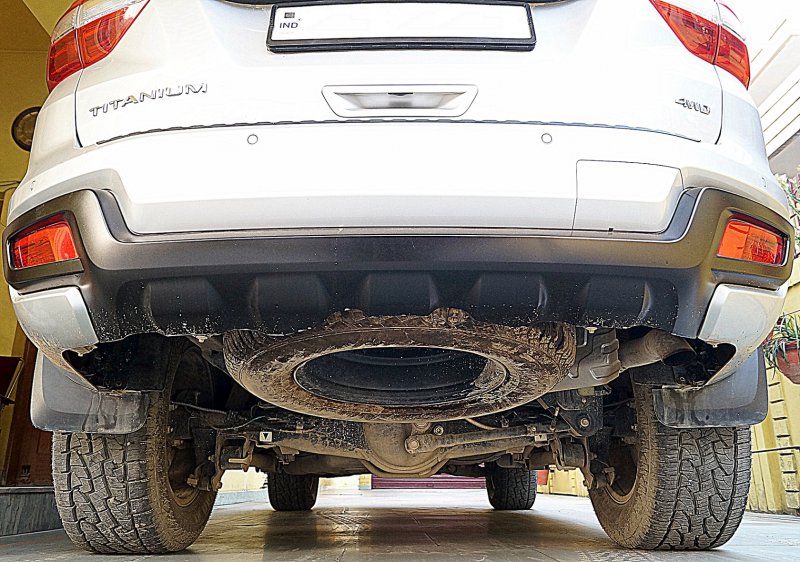
T19_5.JPG
T19_6.JPG

For now, both the top and bottom LEDs of the grill have been connected to the DRL using a circuit and fuse in between for protection of the original wiring and battery itself.

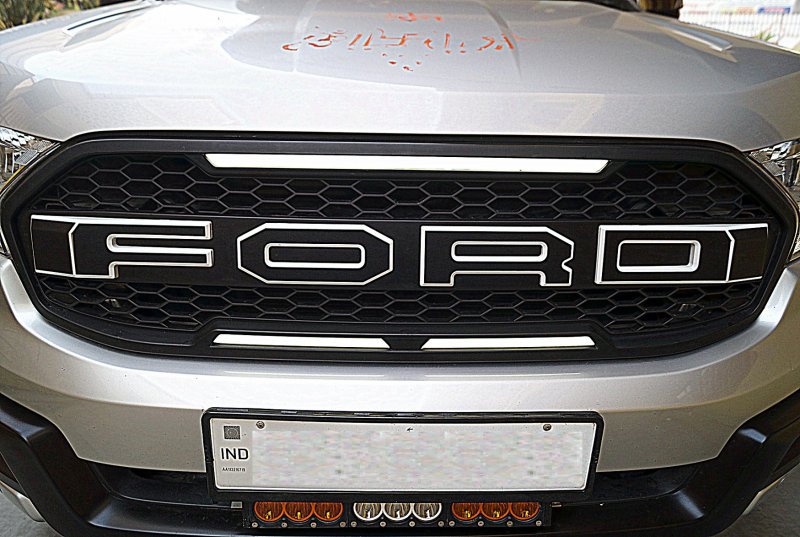
During the daytime, it is not easy to distinguish if the LEDs of the grill are lit or not.

Without LED ON
T19_7.JPG

With LED ON
T19_8.JPG

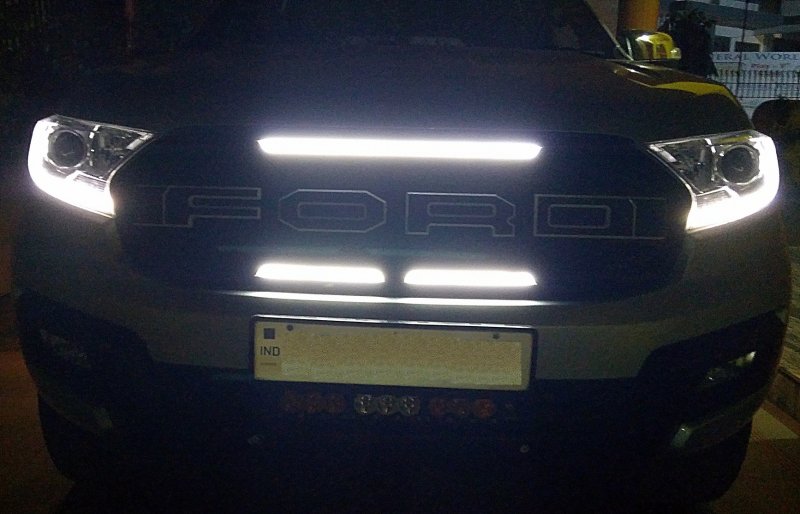
The night effect is much better
T19_9.jpg

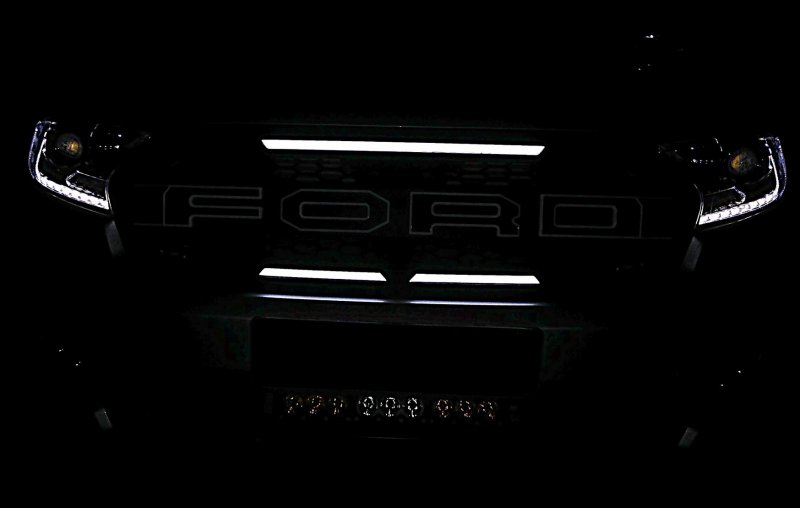
With only the LEDs ON in total darkness
T19_10.jpg
 
Thread Starter #90
Joined
Nov 28, 2015
Messages
427
Likes
814
Location
Roorkee
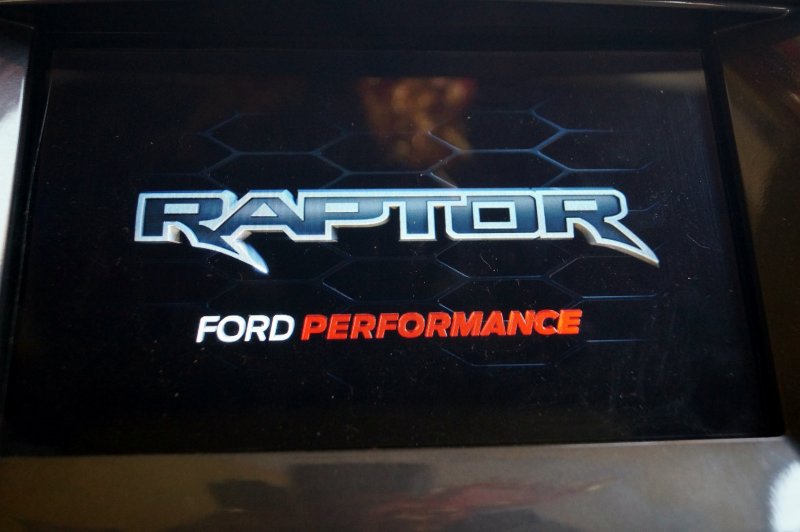
Raptor Outside, so why not Raptor inside...

A very simple question and the answer is the picture from the animation on the SYNC3 boot-up instead of the Ford Blue Oval logo
T20_2.JPG

Disclaimer: Playing around with the modules of the vehicle itself is not a good idea. One wrong move and the module might be a thing of the past.

The FORScan software is so easy to use and the community has presented detailed step-by-step guide for quite a lot of features and enhancements. However, the same are for F150 but I suspect some of them should possibly work on the Endeavour too as they are working on Fusion and other Ford vehicles.

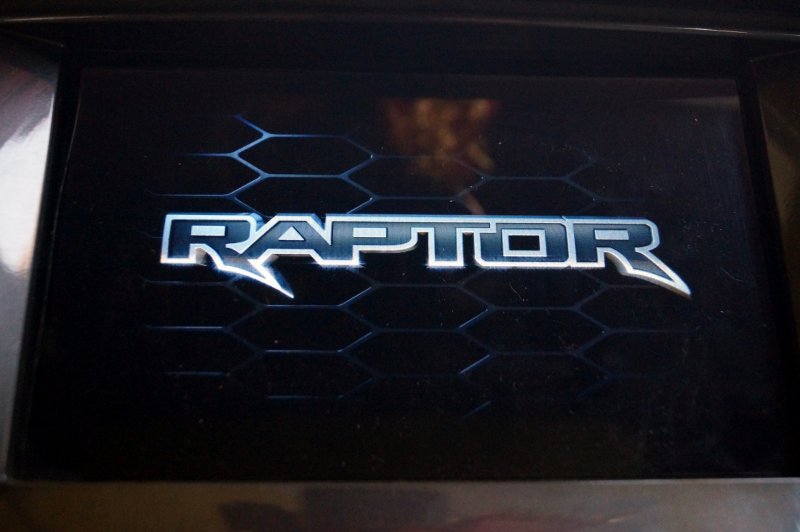
Sharing another pic from the animation
T20_1.JPG
 
Top Bottom