Repainting Carb Zen - Brick Red Colour


Thread Starter #76
Joined
Dec 13, 2011
Messages
1,714
Likes
1,083
Location
Bangalore
Putty work is in its final stages so it should be ready for 1st coat spray paint in next 12hrs (3hrs/day = 4days to go). A few pictures of the same. It took over 2days and 3tins to bring the bonnet to a decent level.
IMG00566.jpg

IMG00568.jpg

IMG00569.jpg

IMG00567.jpg
 
Last edited:
Thread Starter #78
Joined
Dec 13, 2011
Messages
1,714
Likes
1,083
Location
Bangalore
Rayal:
I am not sure which brand Paint I will be using, I have to check with my teacher. It will be a Solid colour (non metallic) and there will be no laquer applied as it is not required at all. However some more works are pending and not finding time and space to do a quick job.

The plan (hopefully should go this way)

- Finish all putty work within 3days
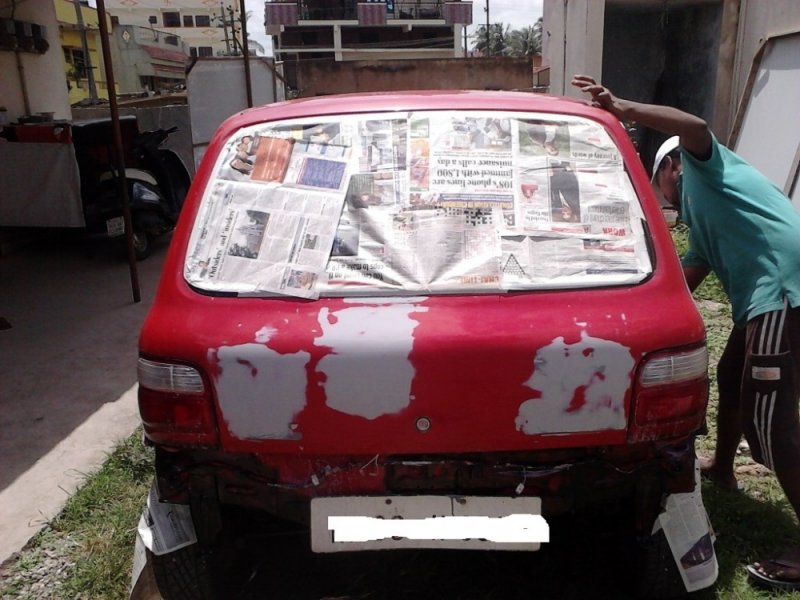
- First coat of red colour to highlight any uneven surface in the car (now its too hard to see if the surface is flat)
- Again putty work whereever required + rubbing and smoothing
- Then Patch paint for those putty areas
- Then the Roof will get the white colour paint and it will masked and left for the rest of the days (not opened till last)
- Then immediately body painting starts and will finish within a day
- Drying time for paint
- rubbing the car with 1000 or 2000 grit wet sandpaper
- 3M rubbing compound

Smaller painting works to complete
- Rims (Stock Silver), Drums and disc caliper (Yellow), Wiper Arms (matt black), Grill change and black spray
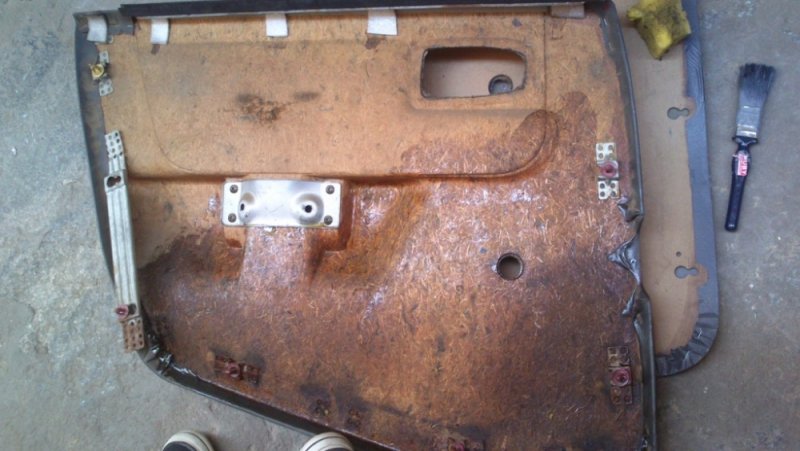
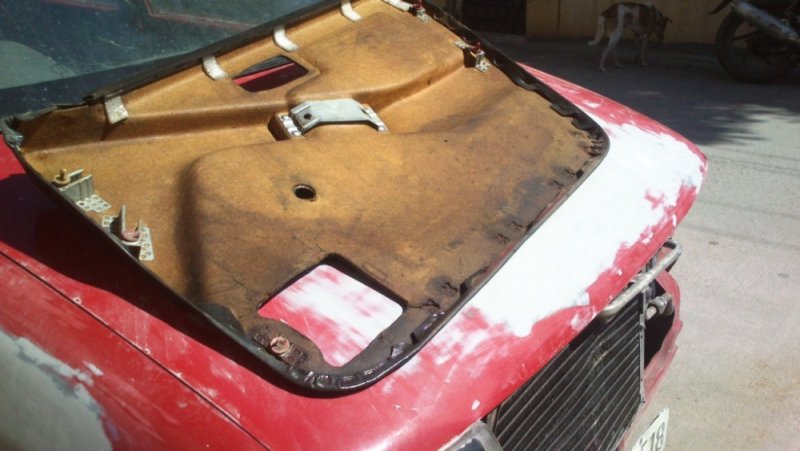
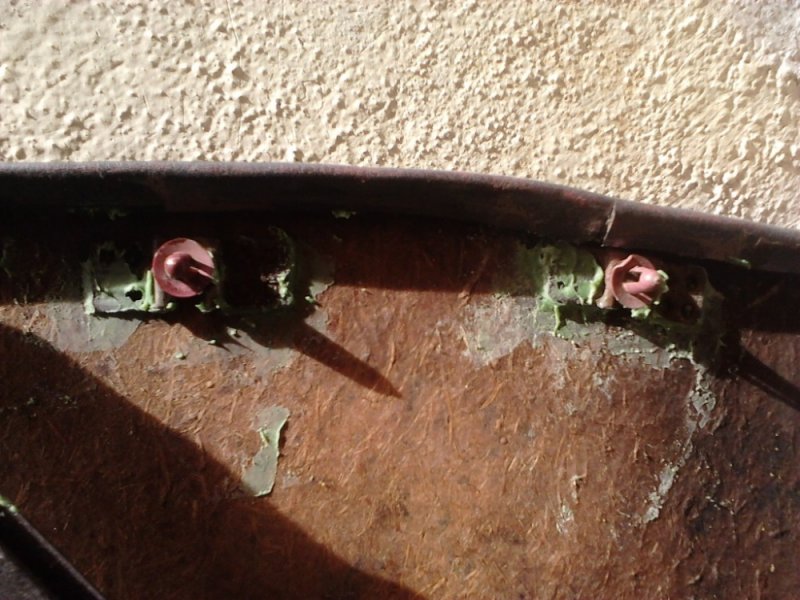
- Applied wood varnish to inner sides of the door pad, fix those broken clips using some DIY
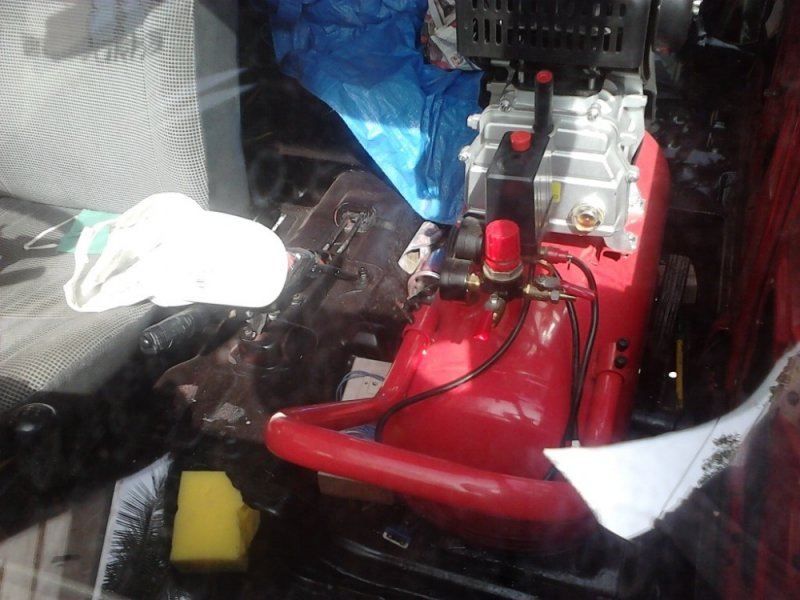
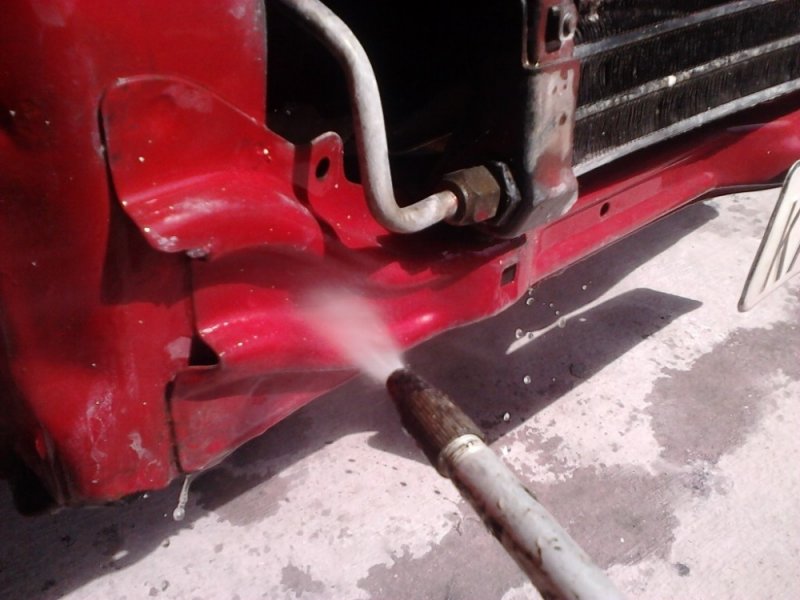
- Clean blower fan and interiors of car
- Fix back everything and deliver the car

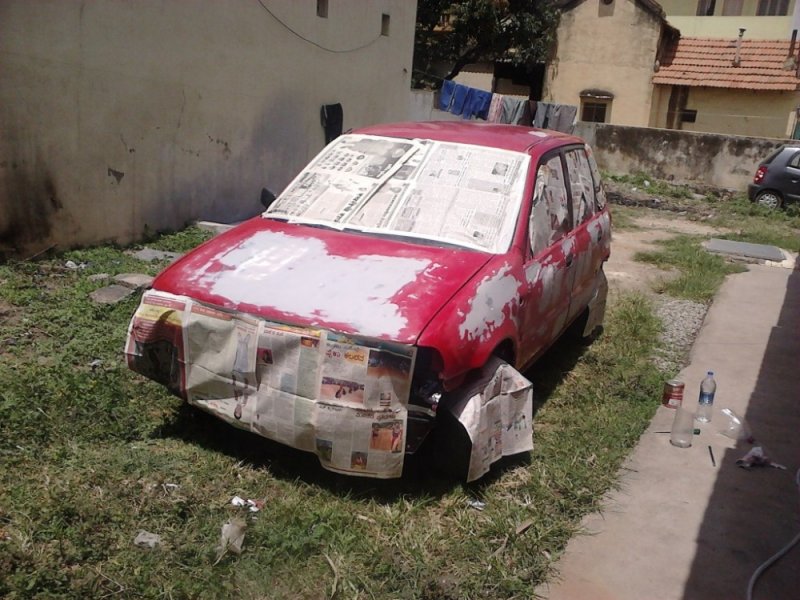
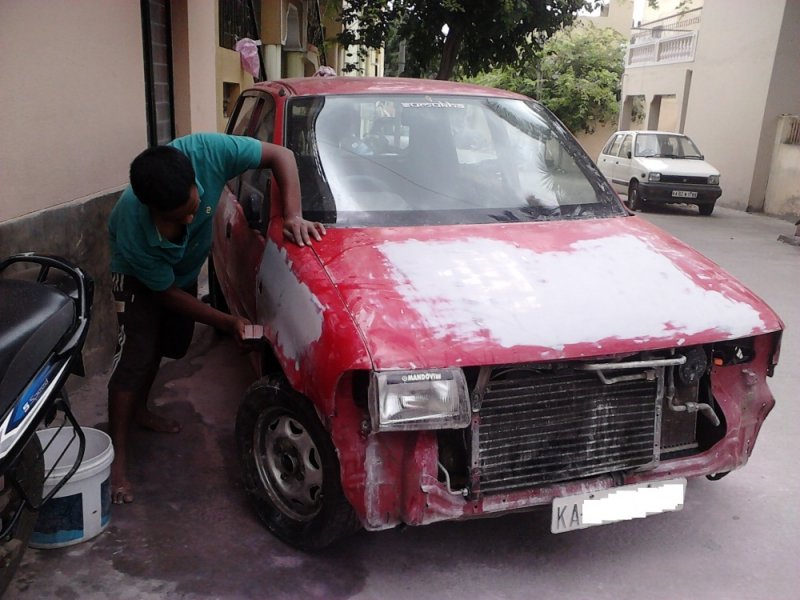
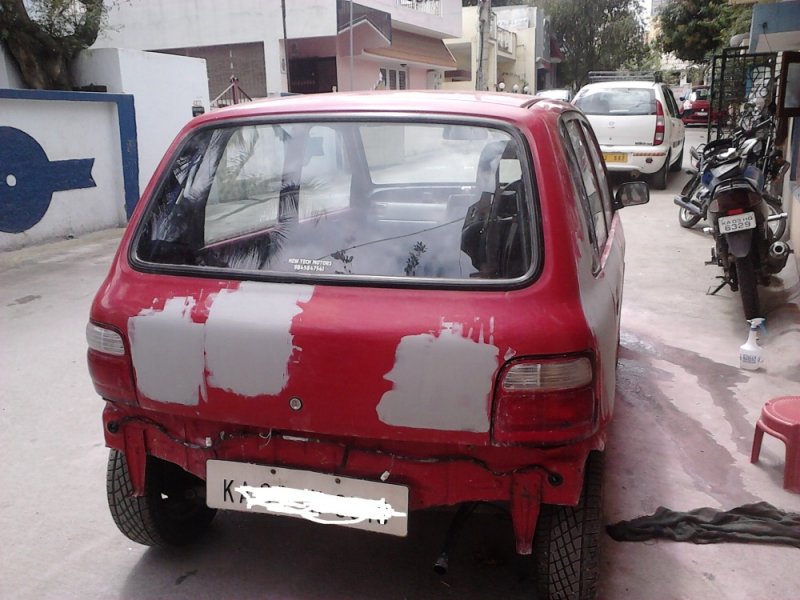
Few more pics of today's progress
IMG00573.jpg

IMG00574.jpg

IMG00575.jpg

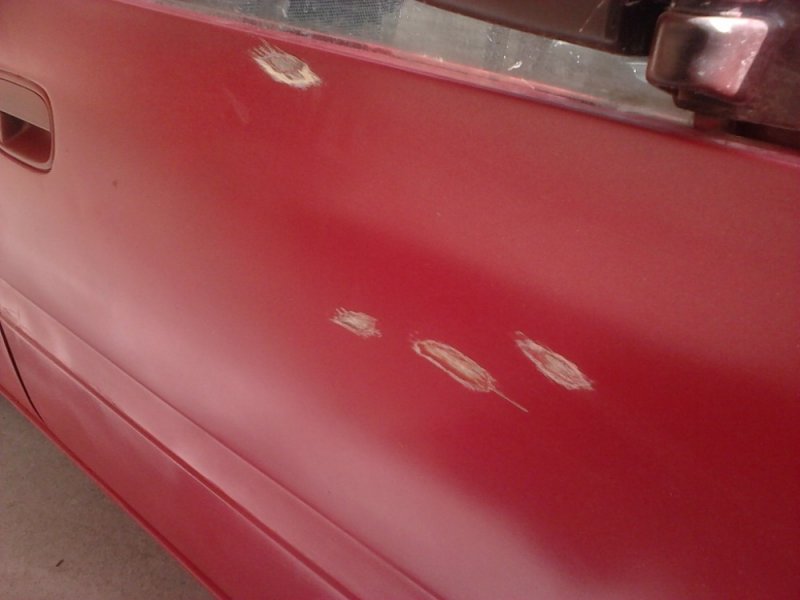
When Putty is applied it looks like this
1 (2).jpg

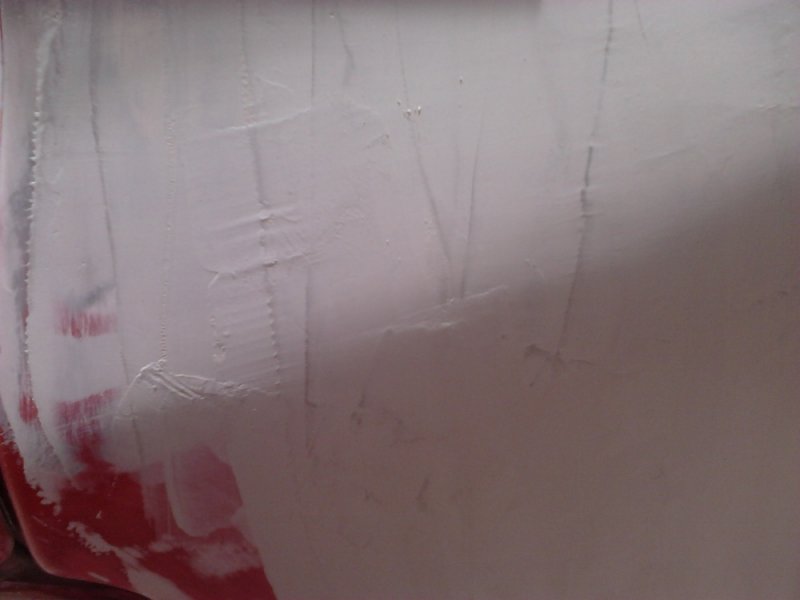
Then we rub the surface with a wooden block and wet sandpaper to get this finish
1 (1).jpg
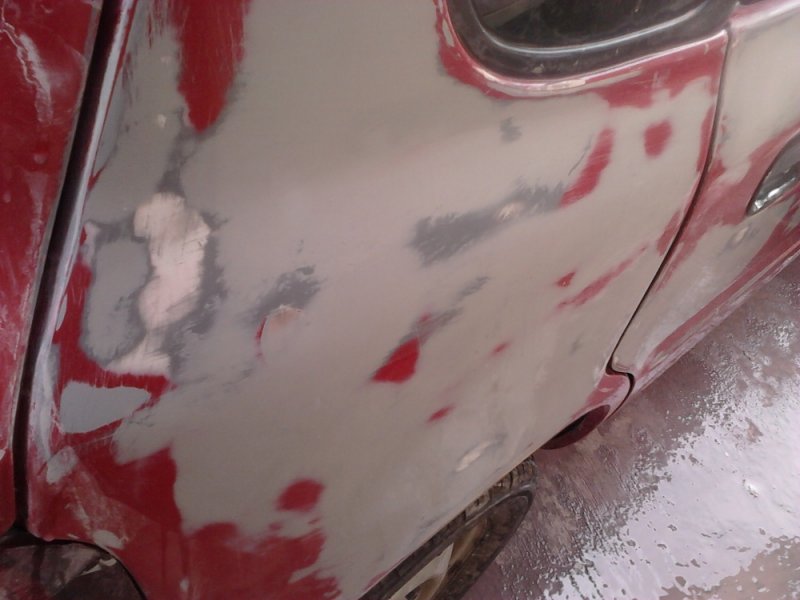
This is the most tiring and time consuming task.
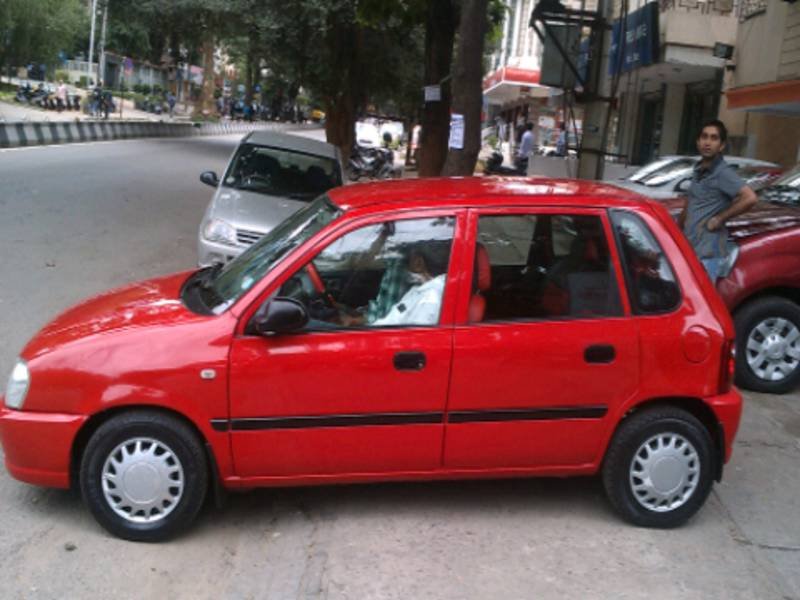
 
Last edited:
Joined
Jun 7, 2013
Messages
56
Likes
44
Location
Hindupur AP
Anand,
Really it is a professional work. Let me know your teacher so that can follow him.[lol]The colour combination is crazy Red car with White roof! Let us see how it looks after painting. For drums & disc caliper you can have a look at this candy orange colour
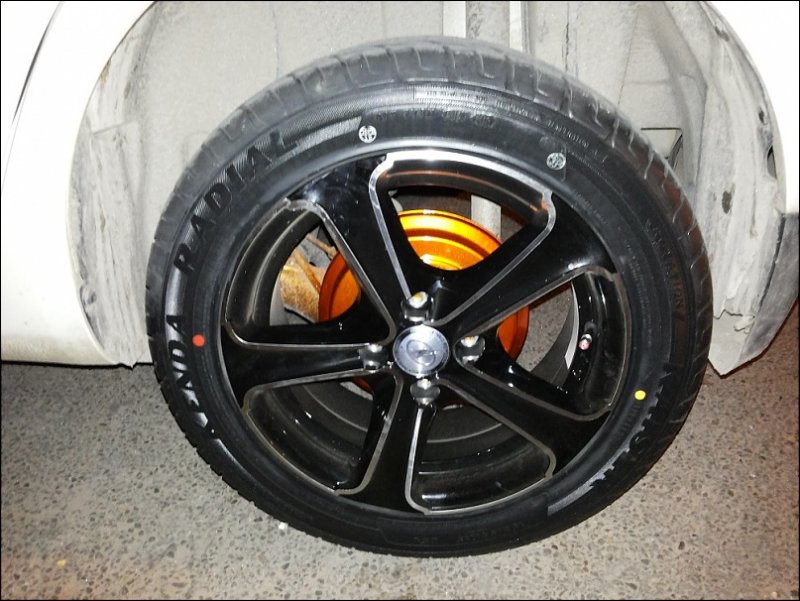
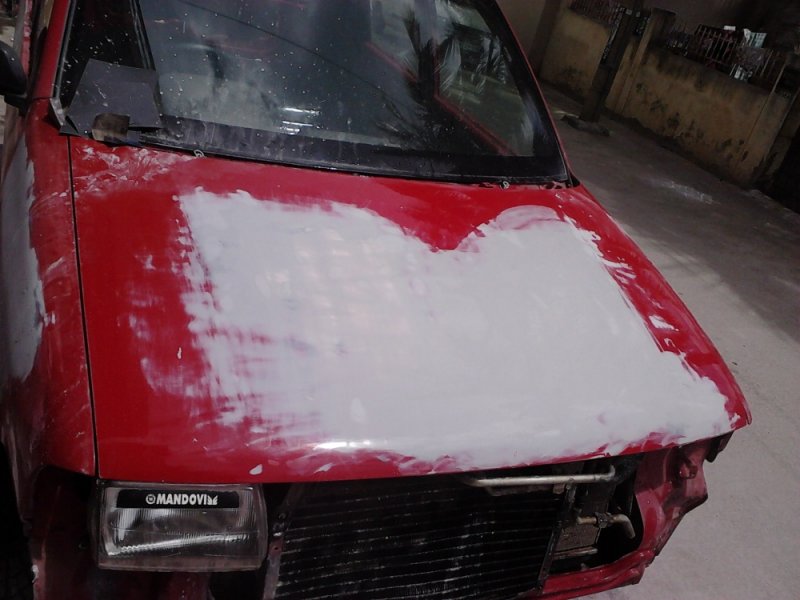
 

Attachments

Thread Starter #80
Joined
Dec 13, 2011
Messages
1,714
Likes
1,083
Location
Bangalore
Thanks for the inputs :)

The white roof idea is dropped as the Owner was not confortable with it.

Some more progress:
The cowl panel had too much dirt so just did a small mod to the pitch gun and sprayed water into it and some more areas. They will ready for the rubber coat tomorrow.

cowl dirt (1).jpg

cowl dirt (2).jpg

cowl dirt (3).jpg

gun mod.jpg

gun in action (3).jpg

gun in action (2).jpg

gun in action (1).jpg

Just applied some rubberroid to rear part as tomorrow, the rear bumper will be fixed and hence it will be difficult to access.
DSCF9219.jpg
 
Thread Starter #81
Joined
Dec 13, 2011
Messages
1,714
Likes
1,083
Location
Bangalore
The guru was not happy with the overall preparation and he advised to do a bit more work to bring it to acceptable levels. Hence he took a pen and marked all the dips on the surface, he also showed demo on 3 uneven surface and then I took over and did the same for 2 areas. I have a hectic day tomorrow as I want to finish most of the work and keep it ready for 1st spray.
Some more patch work (1).jpg

Some more patch work (2).jpg
 
Thread Starter #83
Joined
Dec 13, 2011
Messages
1,714
Likes
1,083
Location
Bangalore
Finally a good news, the car is ready for the 1st spray [:D] Got a green signal from my Guru as he felt it is good enough for the first spray.

And also, the door pads got some treatment as well.
Applied Wood Varnish (without diluting) to the backside of the cardboard type area of the door pads, dried them in sun for about 2hrs and then in shade overnight. This should give it some amount of protection from rains etc. Also used metal paste and fixed back some of the door pad brackets (metal things punched into the pad).

I have to do a final scrubbing and washing which should take about an hour and then half hour drying = Car is ready for final spray. If the Swift parked near this car is taken out, then may be by evening, before I go to work, I will have the first spray complete. Also a lot of masking work is pending for me.

A friend of mine applied the Varnish, while I scrubbed the excess putty and body filler.
varnish appli (1).jpg

varnish appli (2).jpg

varnish drying (2).jpg

German Red colour base paint
varnish drying (1).jpg

Paint (1).jpg

Paint (2).jpg
 
Thread Starter #84
Joined
Dec 13, 2011
Messages
1,714
Likes
1,083
Location
Bangalore
Some more photos of the Door pad DIY fixing
IMG00592.jpg

IMG00594.jpg

IMG00596.jpg

IMG00597.jpg

IMG00598.jpg

IMG00599.jpg

Masking begins (takes about 20mins to do this much masking)
IMG00600.jpg

IMG00601.jpg

IMG00602.jpg

IMG00603.jpg

IMG00604.jpg

IMG00605.jpg

All the masking done, ready to get sprayed RED.
 
Thread Starter #85
Joined
Dec 13, 2011
Messages
1,714
Likes
1,083
Location
Bangalore
Yesterday being a Sunday there too many small cars parked everywhere, so left with no choice, I requested one of my colleague to spare his empty space in front of his house and he did agree.
So took the car over there, masked with newspaper and 3m Masking tape.

Finally the GERMAN RED base paint (NC Paint) meets the Zen body line. It took enough time before I sprayed somewhat acceptable. The big issue was strong breeze, hardly 20% paint sticks to surface everything else gets blown away!

Phase 1 almost done, Phase 2 will begin shortly
IMG00606.jpg

IMG00609.jpg

IMG00608.jpg

IMG00610.jpg

IMG00611.jpg

IMG00614.jpg

IMG00615.jpg

IMG00613.jpg

The old and the new paint (roof is old paint)
difference.jpg

Started off the job of finding bubbles and scratching them with a broken axa blade.
bub.jpg
 
Joined
May 1, 2011
Messages
3,594
Likes
761
Location
Bangalore
Finally I can see the car is in red (Full) !! So roof is still to be white rite ?

Do paint it with white it will also help the interior to be cool as the white doesn't absorb heat.

Masking could be better as the rubber beeding on the windows/ glasses have been painted.
Any ways you could clean it up with thinner since the clear coat is not sprayed.

Also I could see some rough patches on the felt rear wheel arches (end) is that the paint or putty..

The red door handles and mirrors would give a better look.
 
Last edited:
Joined
Mar 9, 2012
Messages
164
Likes
42
Location
Bangalore
Wow!Anand, Fantastic work. Keep them coming, hats off for your dedication and commitment man. Working in night shift and living up the passion is not that easy. You grow a long way. Wish you all the best. The paint job look stunning.
 
Thread Starter #88
Joined
Dec 13, 2011
Messages
1,714
Likes
1,083
Location
Bangalore
Varun & Girish:
Thanks a lot for the support and valuable feedback.

White roof idea is cancelled as you know that the owner is not liking it. Instead of that, I am doing the bumper painting and now thinking about the door handles as well.

The masking tore off at a few places due to high winds (you can imagine how the paint spray would have flown everywhere) and also I was doing it hot sun, so got exhausted and dint mask properly, anyway its just the 1st spray, as you said I can clean it up anytime with thinner.

The 6th picture above (from bottom to top) still needs some putty and rubbing. Also the running board needs a lot of work. I am almost certain to put wheel caps (not finding a good design yet) if they are somewhat afordable.

Today I am preparing the bumper and may be by tomorrow bumper will get the Plastic primer and surfacer sprayed.
 
Joined
Nov 7, 2012
Messages
190
Likes
30
Location
Bharuch
[:D] Hip hip Hureee Finaly u start painting the car.it look awsome.but still some pending final coat and all extra stuff..about ur wheel caps.buy maruti alto 800.. I think it suits also try those wheelcaps in black..red and black combination also rocks ..and the bumper r u planing to paint in red ?..Some Wheel Cap Suggestions with picture
 

Attachments

Thread Starter #90
Joined
Dec 13, 2011
Messages
1,714
Likes
1,083
Location
Bangalore
Thanks a lot Mustang. Those pictures do help me a lot.

The alto 800 wheel cap wont fit on this car, due to below reason
12 inch wheels - Zen Mpfi, Omni, M800, Alto, Alto 800
13 inch wheels - Zen Carb, Wagon R, Estilo, K10
14 inch wheels - Swift, Ritz etc

I am looking for a wheel cap that is old (actual one that came as MGA in those days), hence not able to finalise anything.

Today went to J.C.Road for some parts exchange to be done for my friend's WagonR and then purchased lots of Nuts, screws and bolts.
These are packets of 100 or 50nos each, Required to fix the bumper back (as existing ones were of different types and looked ugly. Total cost = Rs.600/- (including a 10size T spanner)

Photo0013.jpg

Photo0012.jpg

Although only 20% of this stock will be used in this car, I still need to have somethings in stock at my home.
 
Top Bottom