You are one good lover of this car never seen someone doing so much for his car
Bought My First Car - Maruti 800 AC
- Thread Starter ss80
- Start date
- Status
- Not open for further replies.
Thread Starter
#107
Varun: Yeah it is really spacious. I will take pictures from a good camera & will post it here by evening ![Wink [;)] [;)]](https://www.theautomotiveindia.com/forums/images/smilies/Wink.gif)
Mastersquall: Thanks a lot. Yes you are right, I love this car too much, want to keep it in top notch condition. I am learning a lot about cars thanks to TAI & my car![Big Smile [:D] [:D]](https://www.theautomotiveindia.com/forums/images/smilies/Big%20Smile.gif)
![Wink [;)] [;)]](https://www.theautomotiveindia.com/forums/images/smilies/Wink.gif)
Mastersquall: Thanks a lot. Yes you are right, I love this car too much, want to keep it in top notch condition. I am learning a lot about cars thanks to TAI & my car
![Big Smile [:D] [:D]](https://www.theautomotiveindia.com/forums/images/smilies/Big%20Smile.gif)
Hi,
Since you have removed most of the interior and fittings, it is better to cut the badly rusted metal and replace it with galvanized metal sheet. After seeing the condition of your car, I think simple anti rust treatment may not be sufficient. Please consult with some car metal worker ( pls. take Mr.Varun's suggestion in this regard) Rusted panels has to be removed and properly welded back to hold car's total body rigidness.
Since you have removed most of the interior and fittings, it is better to cut the badly rusted metal and replace it with galvanized metal sheet. After seeing the condition of your car, I think simple anti rust treatment may not be sufficient. Please consult with some car metal worker ( pls. take Mr.Varun's suggestion in this regard) Rusted panels has to be removed and properly welded back to hold car's total body rigidness.
I agree with Rao66.It is better to replace the panels if the rust is not just skin deep.
New panels will provide more strength.It will also be a good idea to spray the rust converter on the edges that is where the rust starts.
New panels will provide more strength.It will also be a good idea to spray the rust converter on the edges that is where the rust starts.
As Rao66 & jarpickle suggested its better to change the panels where it is rusted heavily.
But I guess the rusting is only in the corners, awaiting for your updates.
I also strongly recommend to get new wiring kit !!
Here are some part numbers of wiring kit hope it helps you.
STD type - 36610M84344, A/C type - 36610M84335
But I guess the rusting is only in the corners, awaiting for your updates.
I also strongly recommend to get new wiring kit !!
Here are some part numbers of wiring kit hope it helps you.
STD type - 36610M84344, A/C type - 36610M84335
Thread Starter
#111
Mild restoration started
Thank you so much, I was waiting for all your valuable inputs.
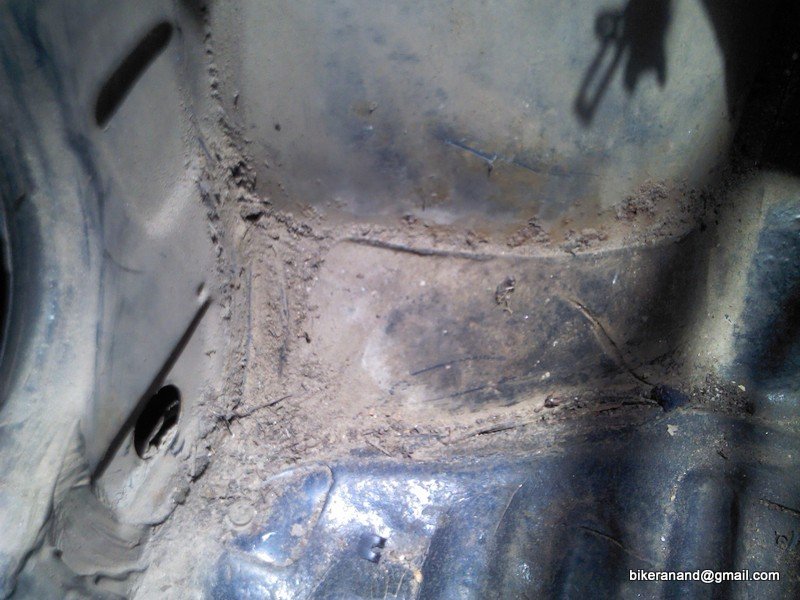
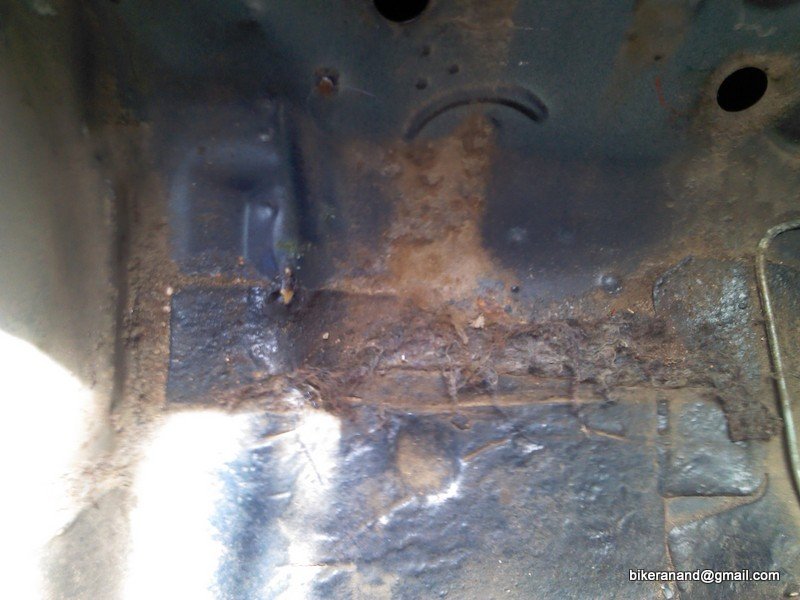
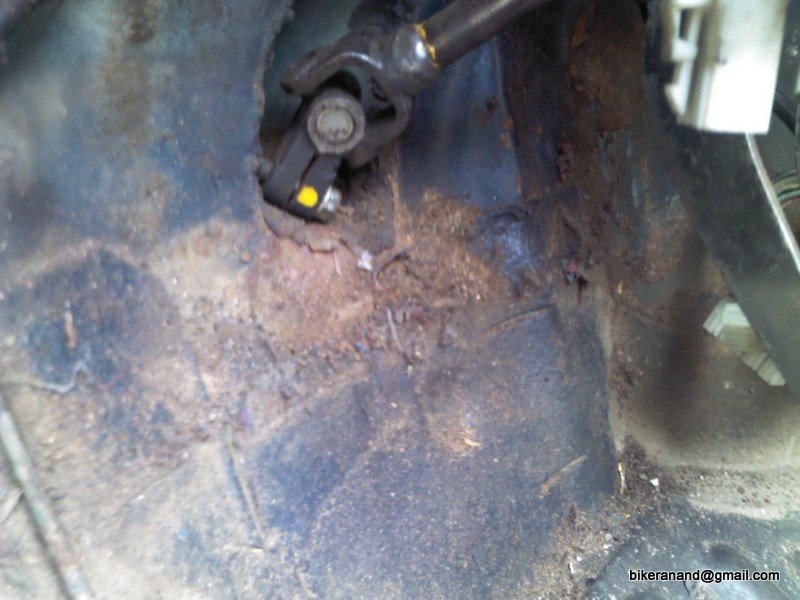
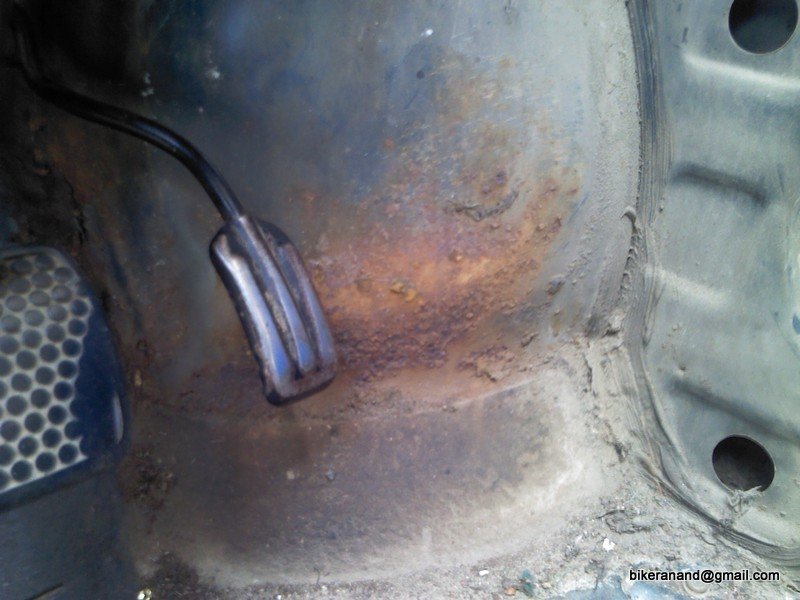
I think the rust is only skin deep, because I did not find any holes when I scratched the rust bubbles (& nearby area) with a screw driver. However I am attaching some pictures of the rusted areas, this should give more clarity. The rusted areas are still stiff just like the rest of the car.
The below 4 pictures were taken before I started to wash the car
I will start sanding tomorrow morning & will post those too
Washing in progress
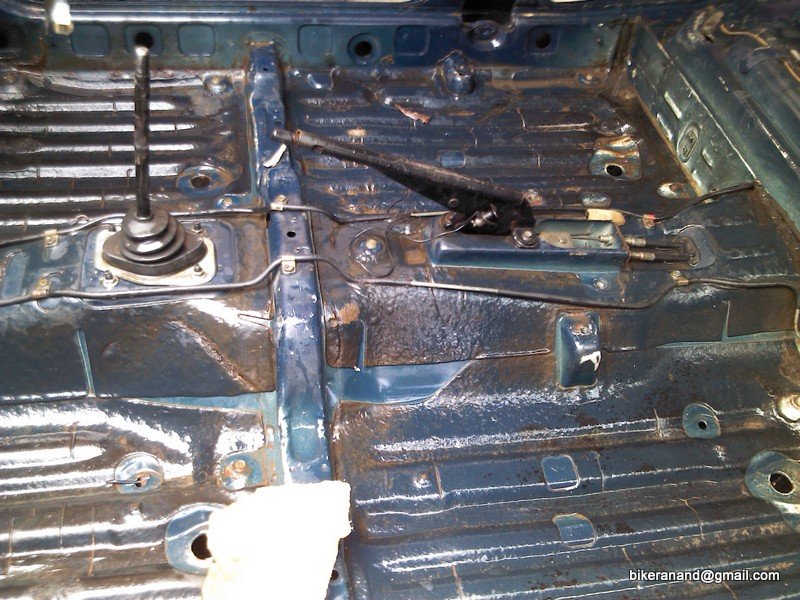
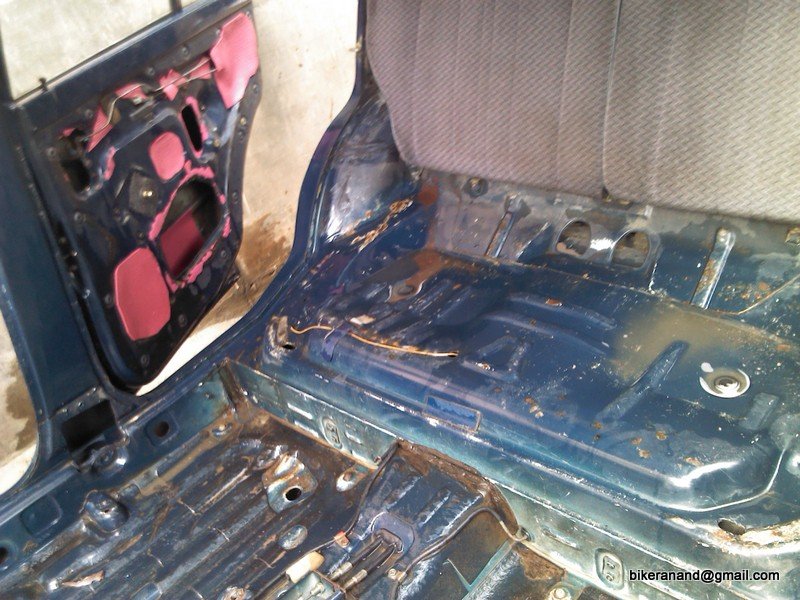
This is the extent to which I have stripped the car interiors![Big Smile [:D] [:D]](https://www.theautomotiveindia.com/forums/images/smilies/Big%20Smile.gif)
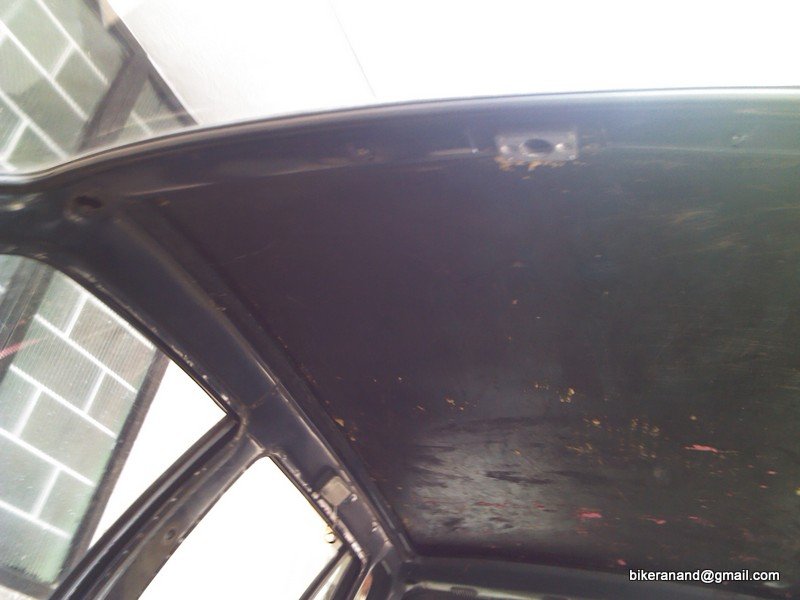
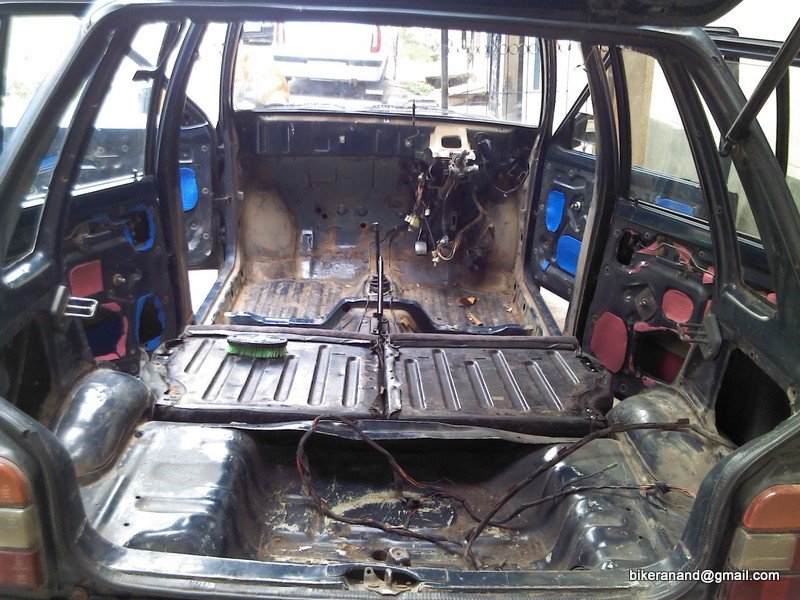
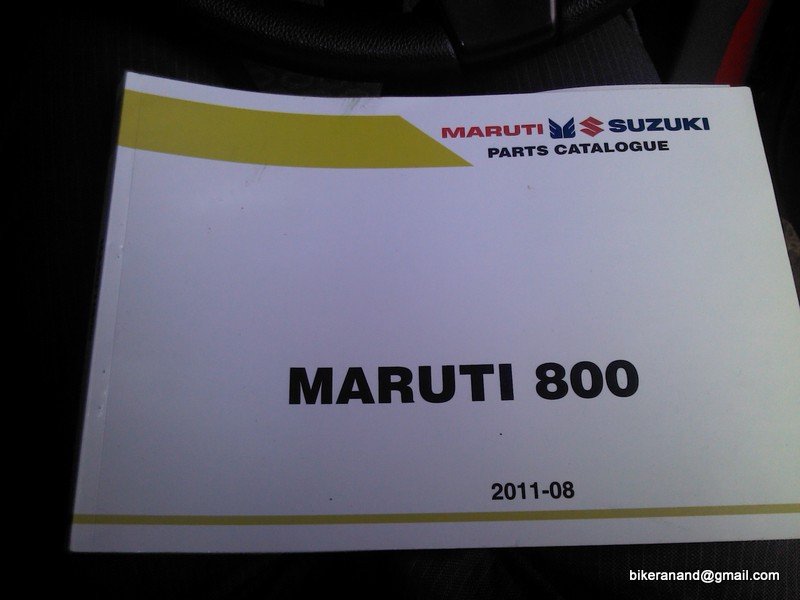
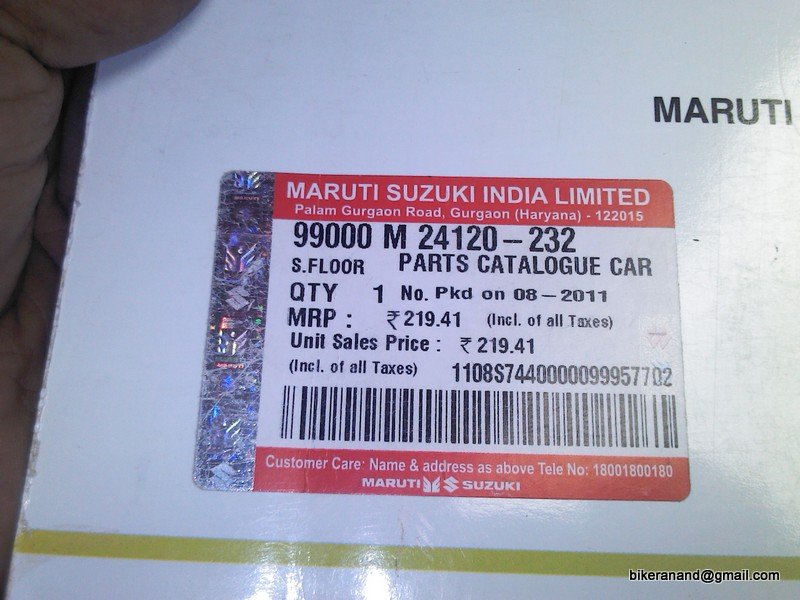
I am planning to give the door pads to some seat cover tailor & get them in Beige colours. I also bought some extra tools, Zinc Chrome Primer (1/2 litre), sand paper, WD 40 can & a Parts Catalogue.
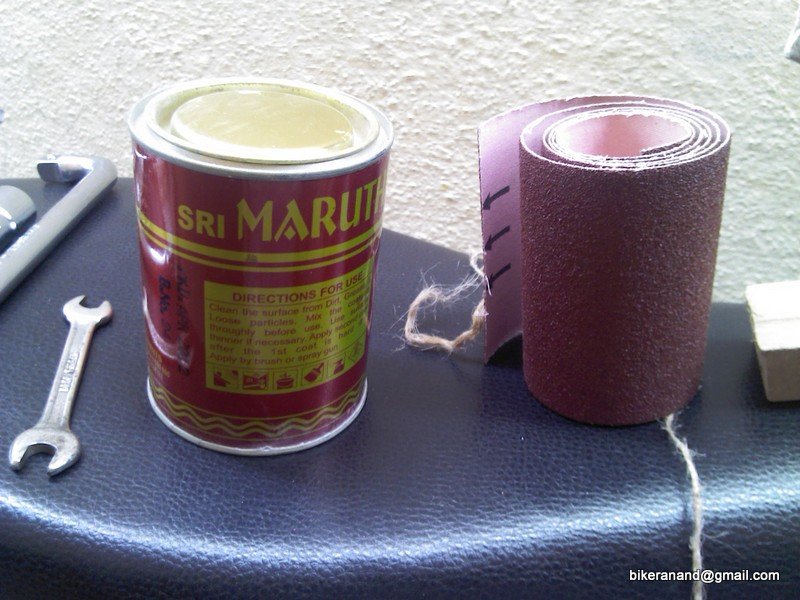
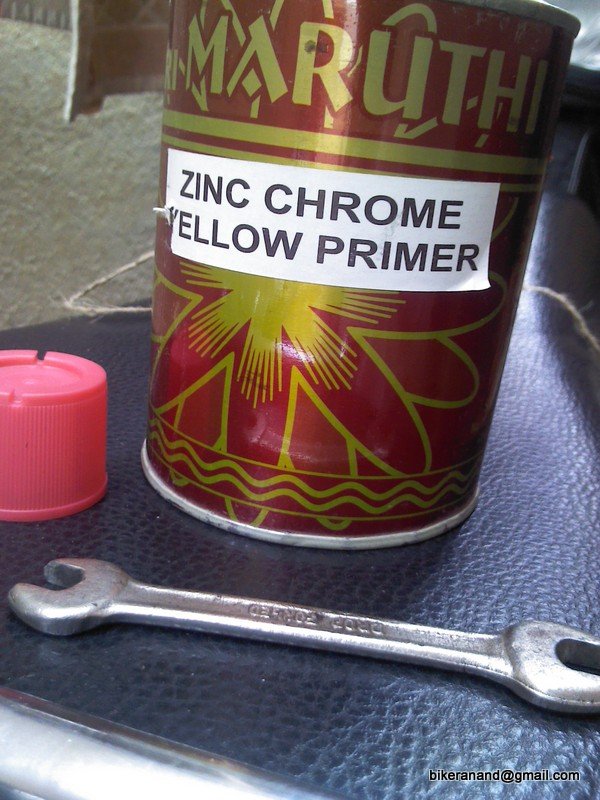
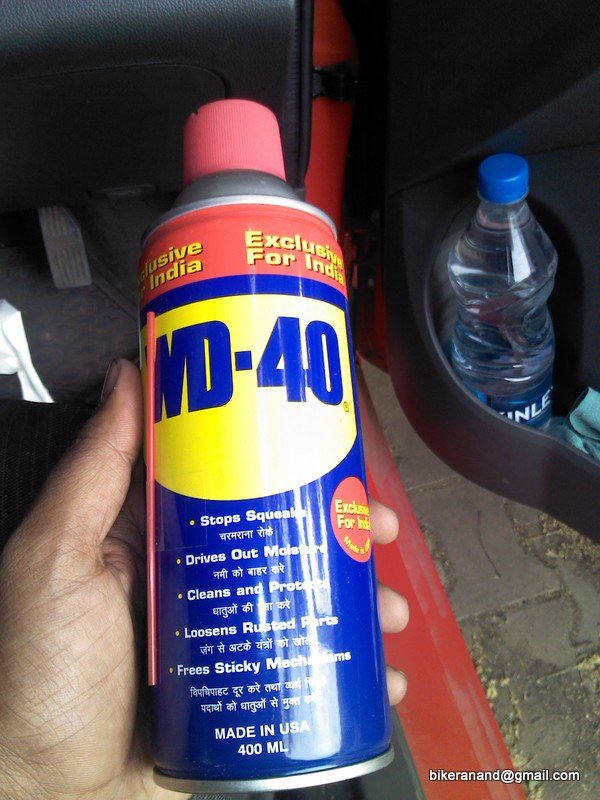
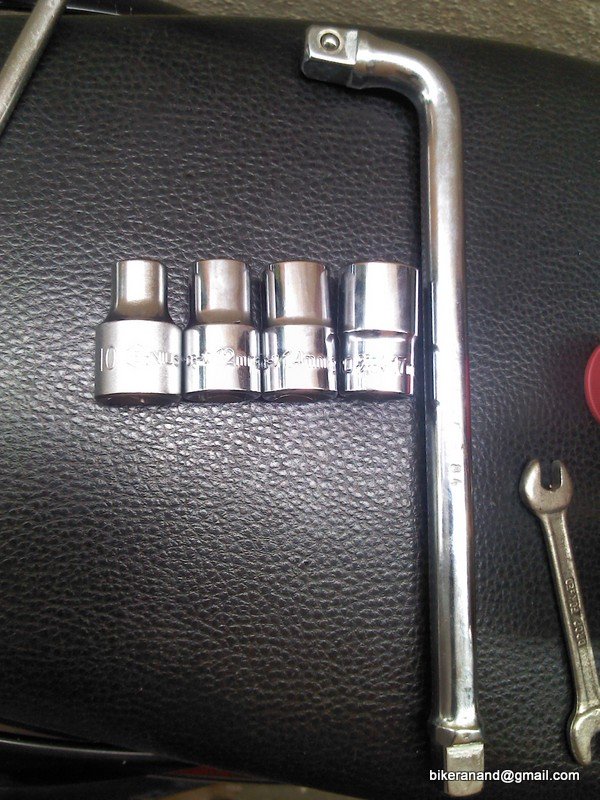
Minda Wiring kit for the entire Car (M800 Type 1 - Carb) costs approx 2000/- & MGP wiring costs 4000/- Still thinking if MGp wiring is worth that extra 2K price. Car is parked for more than a week at the same place & disc has started to rust![Frustration [frustration] [frustration]](https://www.theautomotiveindia.com/forums/images/smilies/Frustration.gif) . Tomorrow I will remove the fender also & check for rust status.
. Tomorrow I will remove the fender also & check for rust status.
Will this kind of rubber fit on our 800 door area (covering the sharp metal sheet joints)?
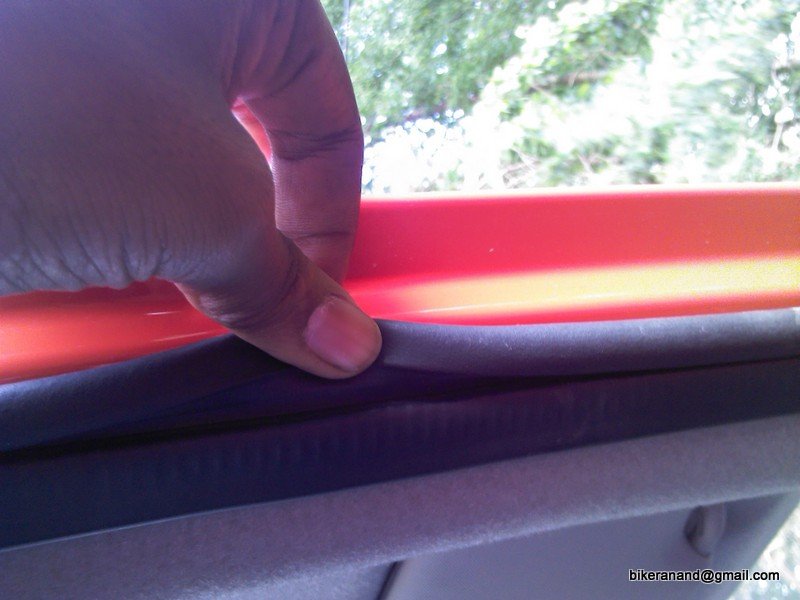
I took this picture on the Chevy Beat 2011 model
Thank you so much, I was waiting for all your valuable inputs.
I think the rust is only skin deep, because I did not find any holes when I scratched the rust bubbles (& nearby area) with a screw driver. However I am attaching some pictures of the rusted areas, this should give more clarity. The rusted areas are still stiff just like the rest of the car.
The below 4 pictures were taken before I started to wash the car
I will start sanding tomorrow morning & will post those too


Washing in progress


This is the extent to which I have stripped the car interiors
![Big Smile [:D] [:D]](https://www.theautomotiveindia.com/forums/images/smilies/Big%20Smile.gif)


I am planning to give the door pads to some seat cover tailor & get them in Beige colours. I also bought some extra tools, Zinc Chrome Primer (1/2 litre), sand paper, WD 40 can & a Parts Catalogue.


Minda Wiring kit for the entire Car (M800 Type 1 - Carb) costs approx 2000/- & MGP wiring costs 4000/- Still thinking if MGp wiring is worth that extra 2K price. Car is parked for more than a week at the same place & disc has started to rust
![Frustration [frustration] [frustration]](https://www.theautomotiveindia.com/forums/images/smilies/Frustration.gif) . Tomorrow I will remove the fender also & check for rust status.
. Tomorrow I will remove the fender also & check for rust status.Will this kind of rubber fit on our 800 door area (covering the sharp metal sheet joints)?

I took this picture on the Chevy Beat 2011 model
Attachments
-
106.4 KB Views: 3,157
-
131.3 KB Views: 4,632
Thread Starter
#113
Thanks Mr.Rao, Varun too suggested the same that Minda is a good brand. So finally decided to buy the Minda wiring kit tomorrow. Will update pictures here, I removed most of the wires in full josh ![Drive [drive] [drive]](https://www.theautomotiveindia.com/forums/images/smilies/Drive.gif) , took very little pictures. Will be a hectic task putting the new one in place, but this is how DIY'ers sometime learn
, took very little pictures. Will be a hectic task putting the new one in place, but this is how DIY'ers sometime learn![Wink [;)] [;)]](https://www.theautomotiveindia.com/forums/images/smilies/Wink.gif)
Spoke to Varun today, he has some good ideas for spraying the primer & paint on the floor. I will also put some body fillers to the corners, for better finishing.
![Drive [drive] [drive]](https://www.theautomotiveindia.com/forums/images/smilies/Drive.gif) , took very little pictures. Will be a hectic task putting the new one in place, but this is how DIY'ers sometime learn
, took very little pictures. Will be a hectic task putting the new one in place, but this is how DIY'ers sometime learn![Wink [;)] [;)]](https://www.theautomotiveindia.com/forums/images/smilies/Wink.gif)
Spoke to Varun today, he has some good ideas for spraying the primer & paint on the floor. I will also put some body fillers to the corners, for better finishing.
HOOO what is this, I am unable to believe.. But I have a confidence that the car will be back in perfect shape !
What next to be removed ?
So please post those wiring pic's so that it would help others too.
I also suggest, finally get all the hoses/ pipe lines changed !
What next to be removed ?
So please post those wiring pic's so that it would help others too.
I also suggest, finally get all the hoses/ pipe lines changed !
Thread Starter
#115
Thread Starter
#116
Replaced entire wiring in the car
Hi everybody,
I have successfully replaced the wiring in my car, took some 10+hours of DIY & hours of telephonic help from Varun.
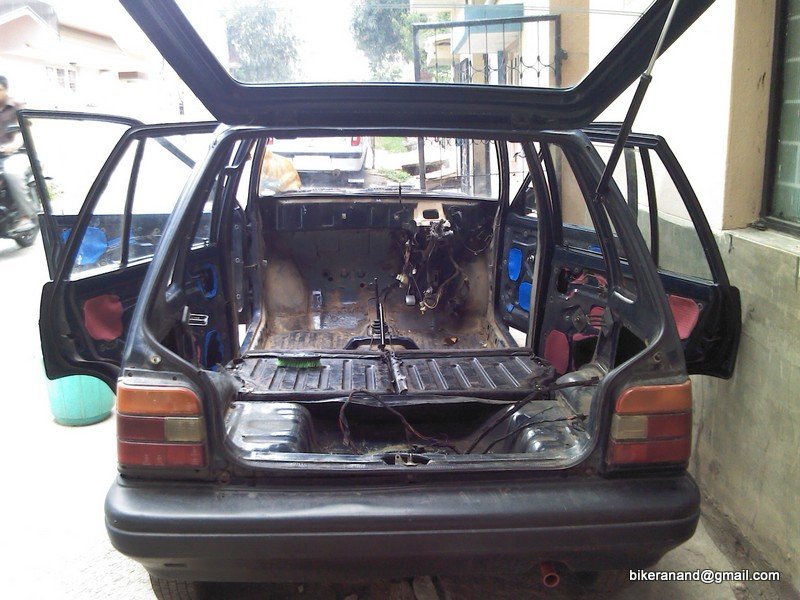
Before we get to the new wiring here are a few pictures to show to what extent you need to strip the car to do rewiring.
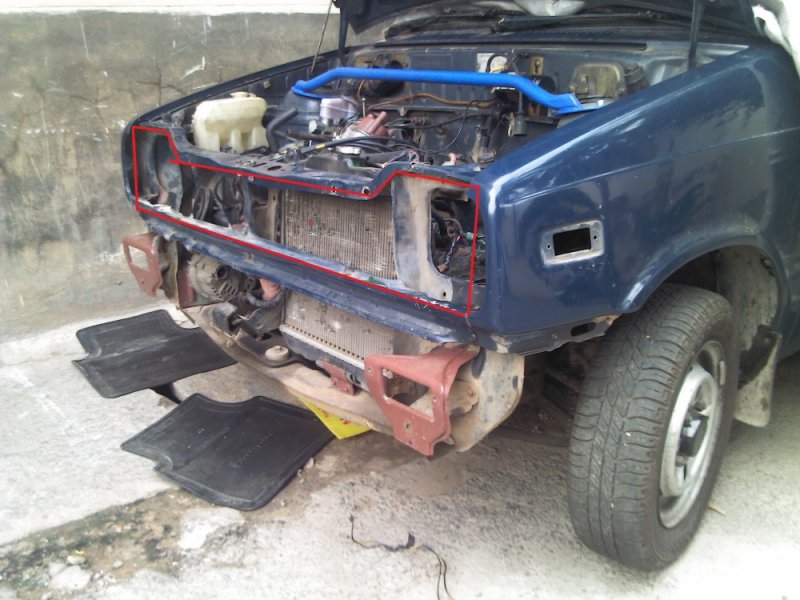
I had to remove the bumper (both front & rear), to access to the rear wiring as well as the alternator connections. remove headlamps so that the grounding bolts are easier to work with. The coolant tank pipe was leaking, so removed the whole tank itself along with pipe till the radiator.
Before you start of with anything else, get yourself a "T" spanner of 12 size without this the steering column & brake pedal brackets cant be opened.
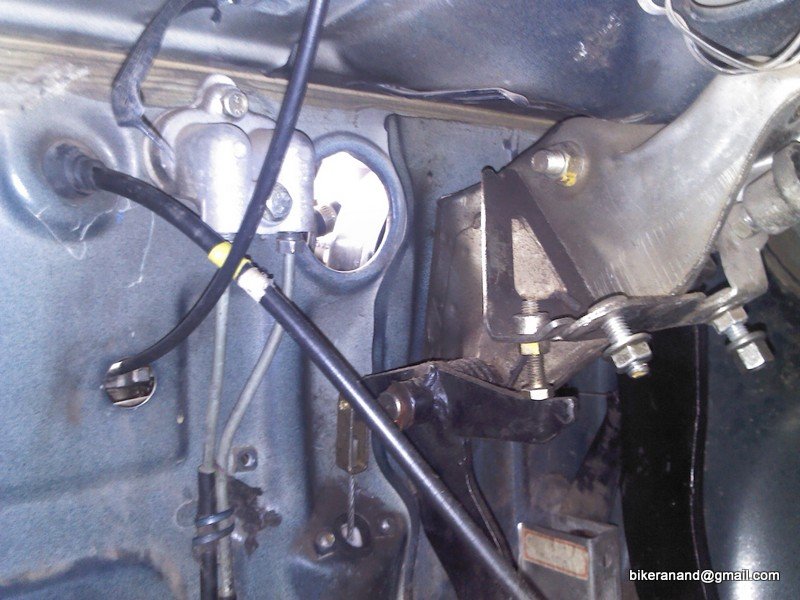
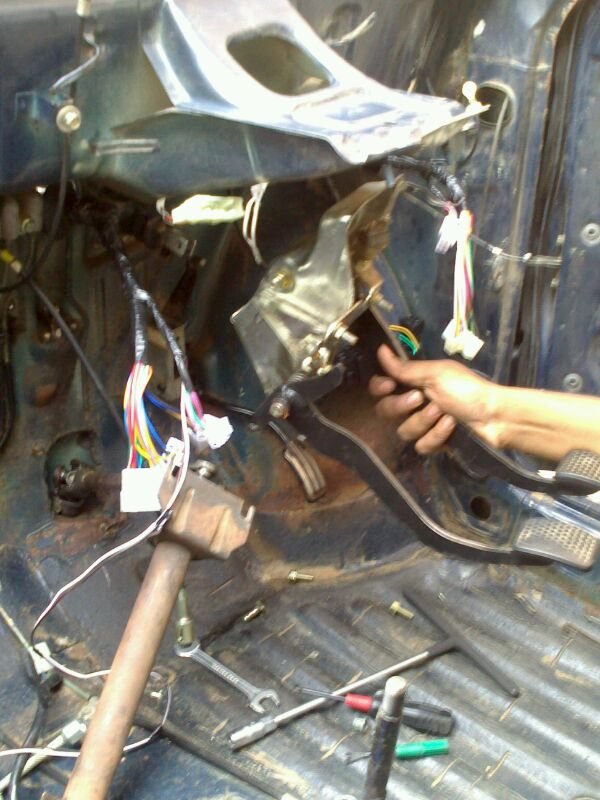
To install fresh wiring you have to remove the part where you have the clutch & brake pedals fixed to the firewall. Ok some pictures now.
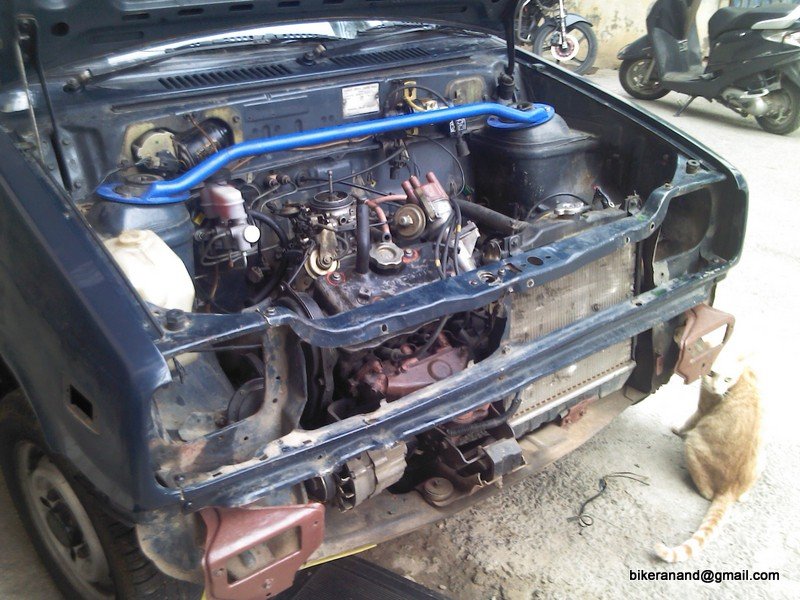
The stripped car
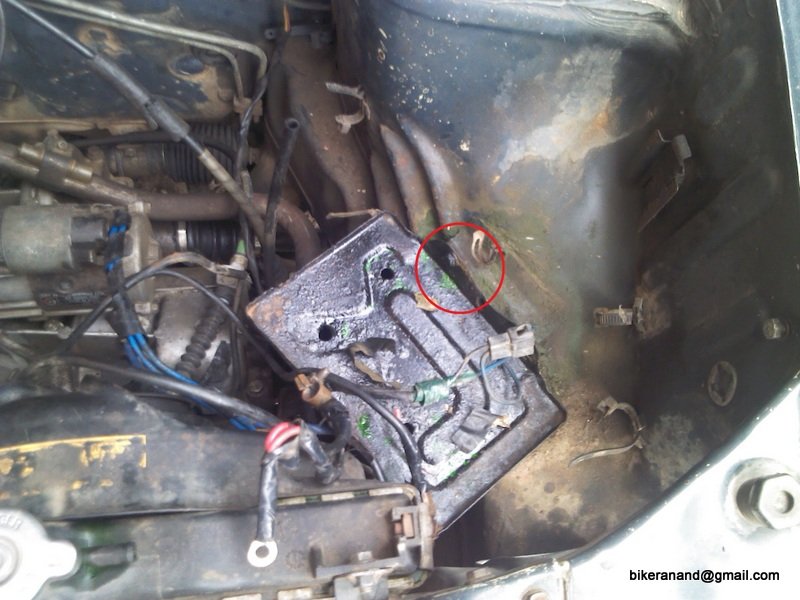
The coolant has leaked a lot & now the battery plate is rusted to the extreme but one of the bolt retaining theplate is stuck very tightly. Even WD-40 could not help me![Anger [anger] [anger]](https://www.theautomotiveindia.com/forums/images/smilies/Anger.gif)
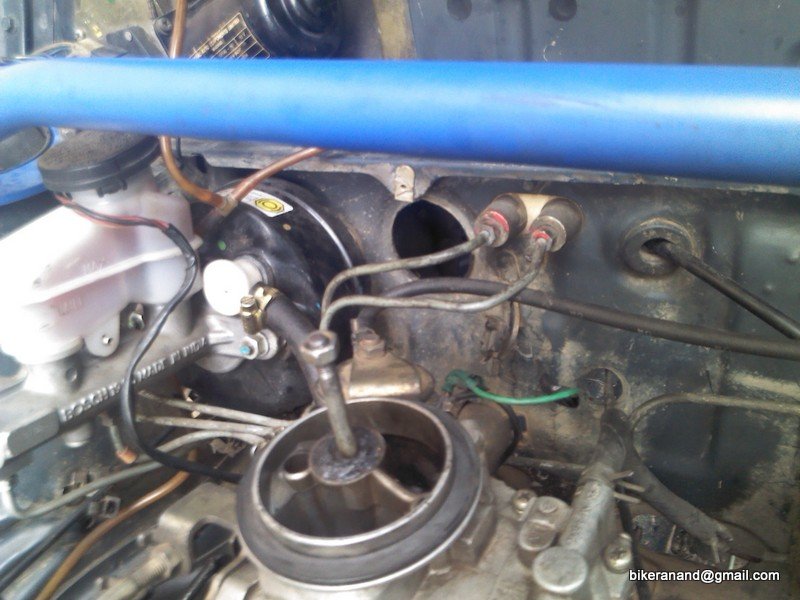
This is the hole in the firewall for the main wiring harness to enter
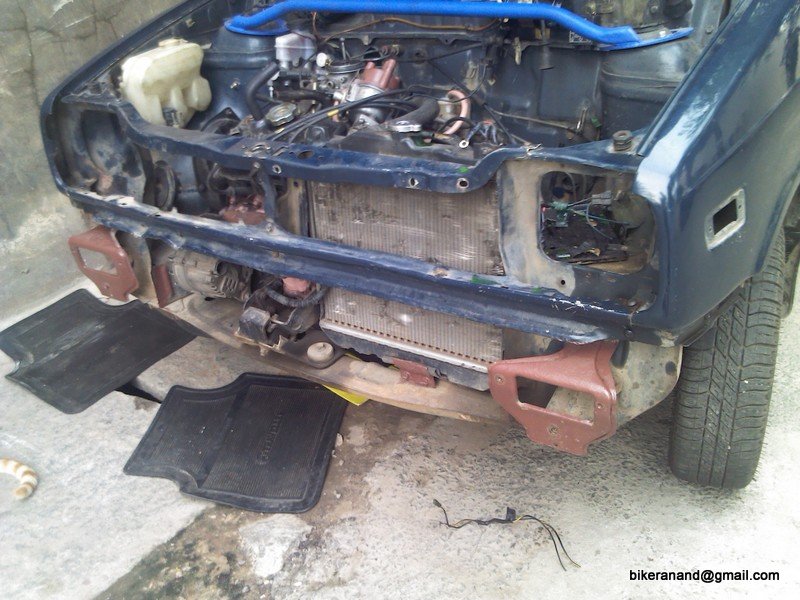
Another short of the car, somehow I love the naked (No bumper) looks
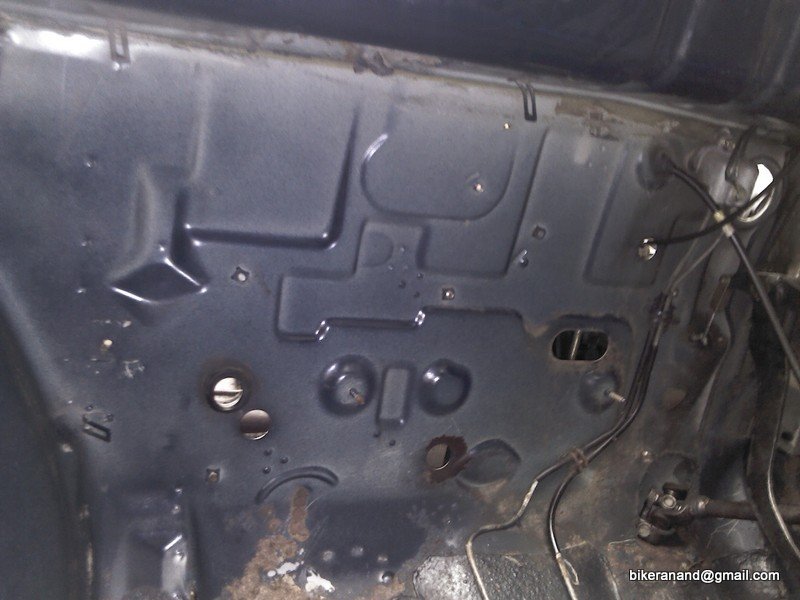
Since I have removed the AC long back in my car, I am left with too many holes in the firewall, not sure how to patch them.
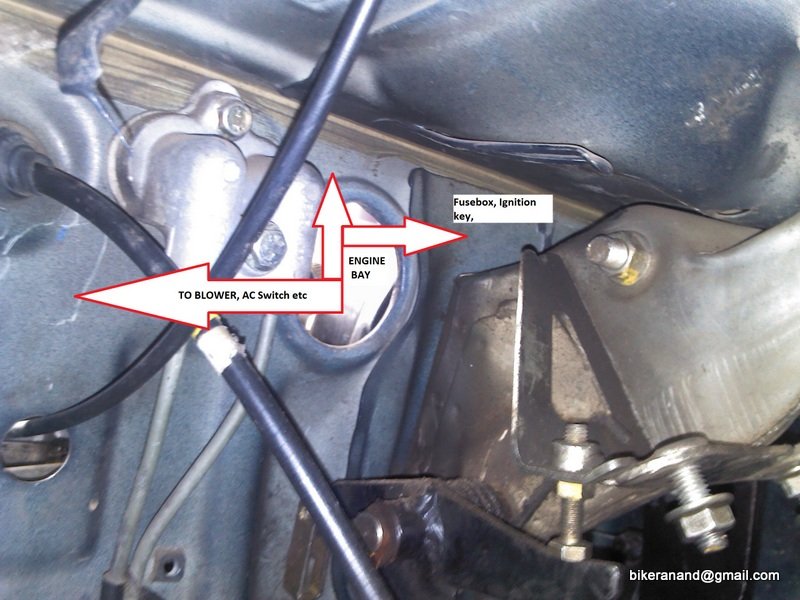
I think, this picture explains clearly the issue with the pedals when you rewire
Hi everybody,
I have successfully replaced the wiring in my car, took some 10+hours of DIY & hours of telephonic help from Varun.
Before we get to the new wiring here are a few pictures to show to what extent you need to strip the car to do rewiring.
I had to remove the bumper (both front & rear), to access to the rear wiring as well as the alternator connections. remove headlamps so that the grounding bolts are easier to work with. The coolant tank pipe was leaking, so removed the whole tank itself along with pipe till the radiator.
Before you start of with anything else, get yourself a "T" spanner of 12 size without this the steering column & brake pedal brackets cant be opened.
To install fresh wiring you have to remove the part where you have the clutch & brake pedals fixed to the firewall. Ok some pictures now.

The stripped car

The coolant has leaked a lot & now the battery plate is rusted to the extreme but one of the bolt retaining theplate is stuck very tightly. Even WD-40 could not help me
![Anger [anger] [anger]](https://www.theautomotiveindia.com/forums/images/smilies/Anger.gif)

This is the hole in the firewall for the main wiring harness to enter

Another short of the car, somehow I love the naked (No bumper) looks

Since I have removed the AC long back in my car, I am left with too many holes in the firewall, not sure how to patch them.

I think, this picture explains clearly the issue with the pedals when you rewire
Attachments
-
118.6 KB Views: 3,024
OH, I was expecting some thing like this !! I wish so see the complete installation of wiring with pic's.
I suggest to get the battery stand changed, cost is 130 rs.
Din't you remove the fenders and check for rust ?
I suggest to get the battery stand changed, cost is 130 rs.
Din't you remove the fenders and check for rust ?
Thread Starter
#118
Bought some more items for car painting
Varun: I am unable to remove those screws holding the front mud flaps to the fenders. They are rusted to the core, tried everything, spoilt a couple of screw drivers, finally gave up.
Yes more clearer pictures of the wiring will be updated ASAP.
I have also bought some painting materials for the floor & dashboard.
Total cost: 1400/-
Paint Brand: Dupont
Shop: Dupont, Mysore Road (Near Nayandahalli Signal)
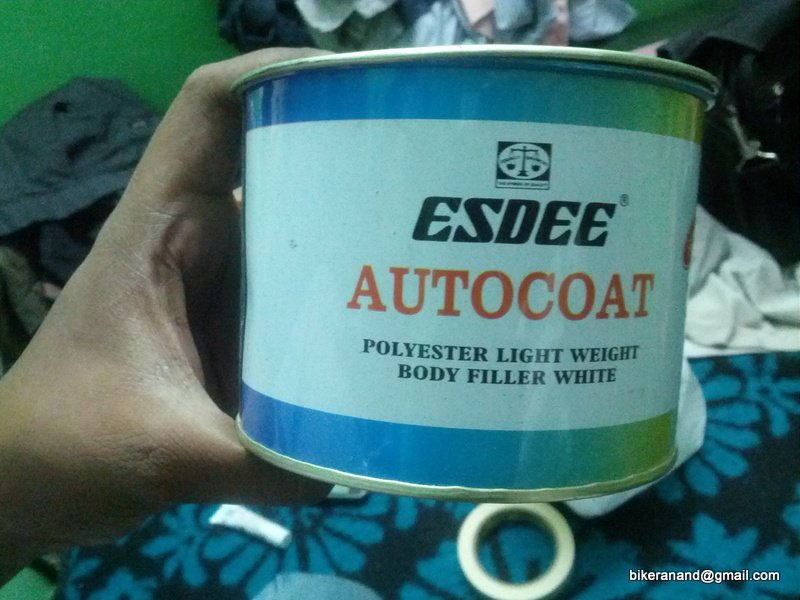
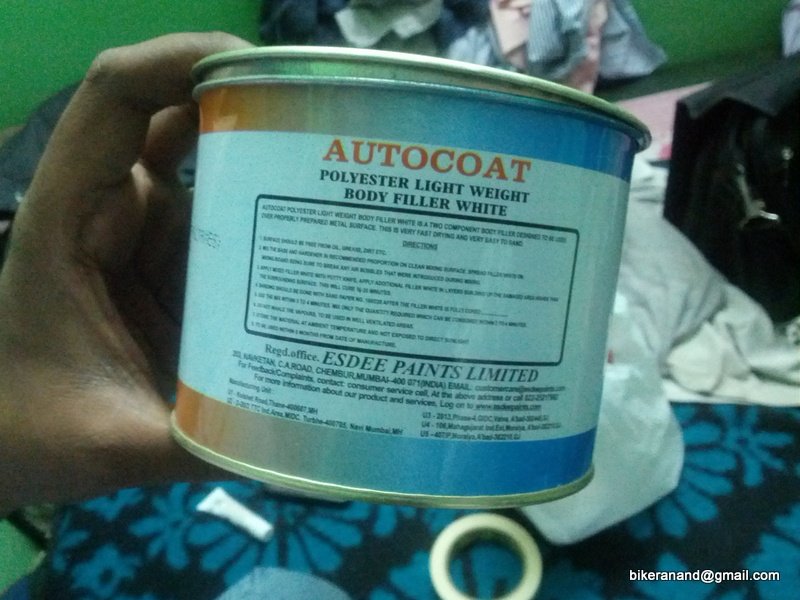
Body Filler for the floor corners 1/2 kg
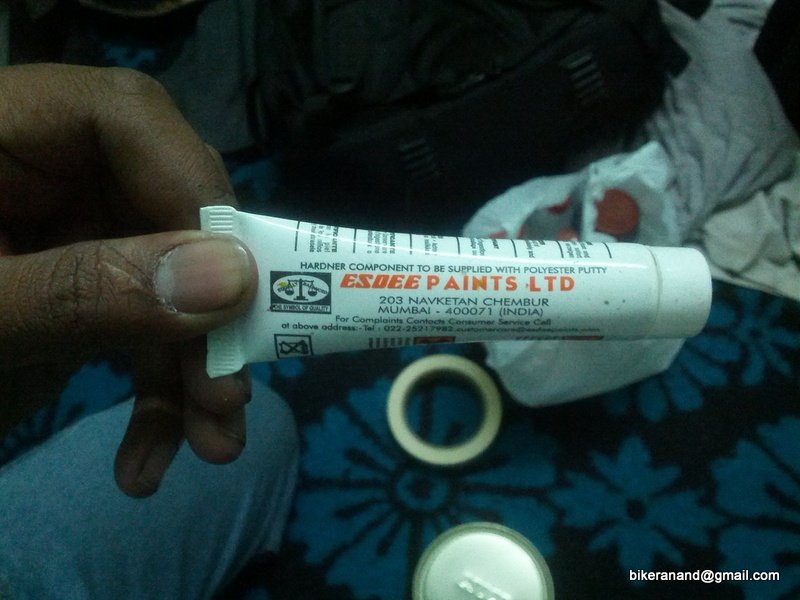
Hardener paste for the body filler
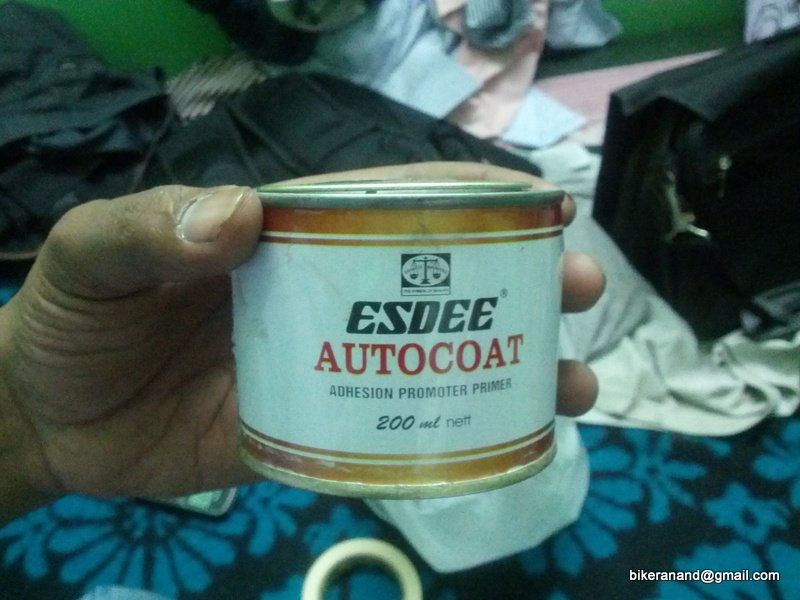
Plastic primer for dashboard & other interior plastic items
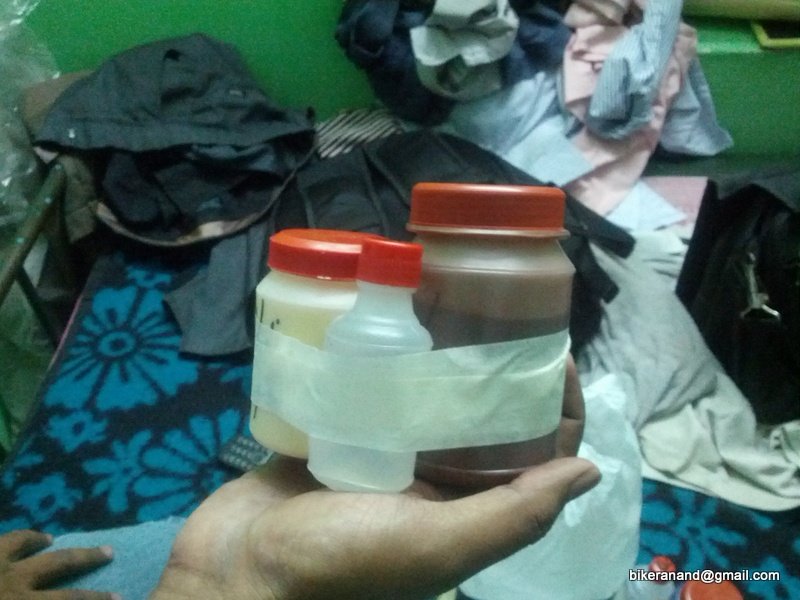
Brown & Beige paints for Dashboard & fittings
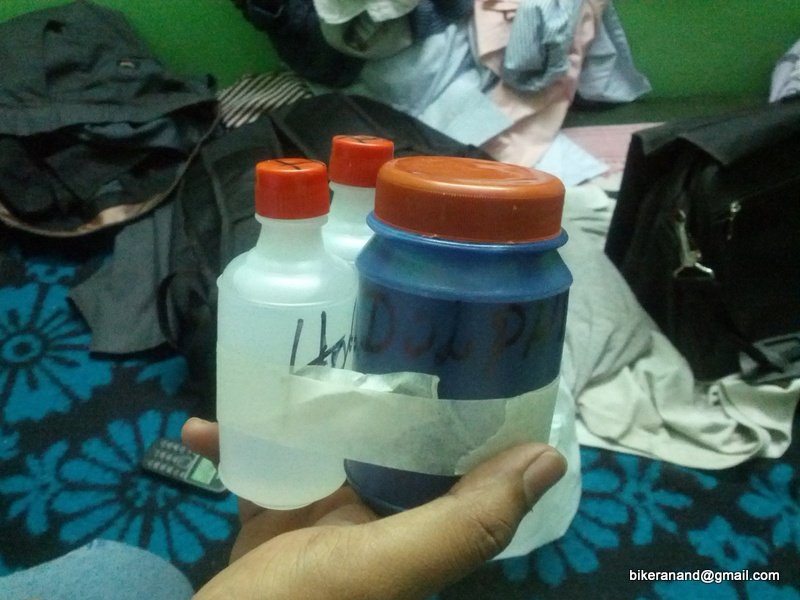
Dolphin blue colour for the interior floor
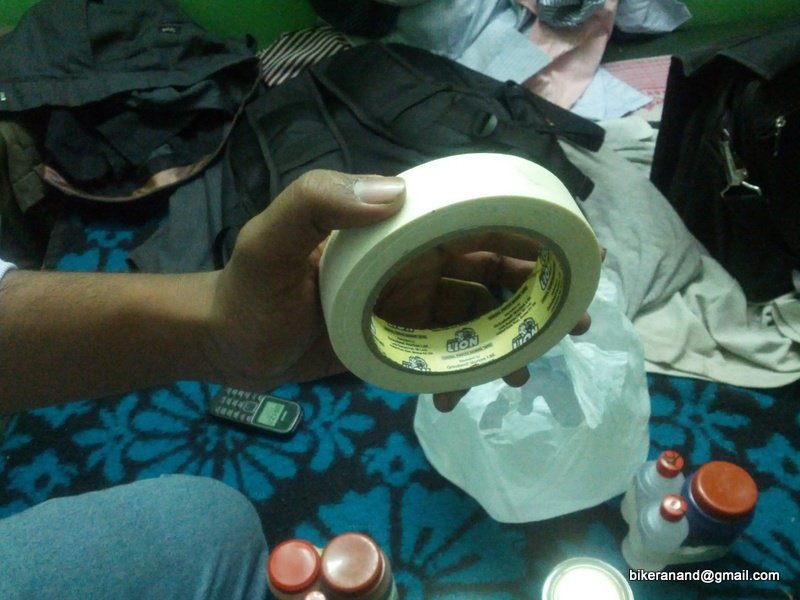
Masking tape
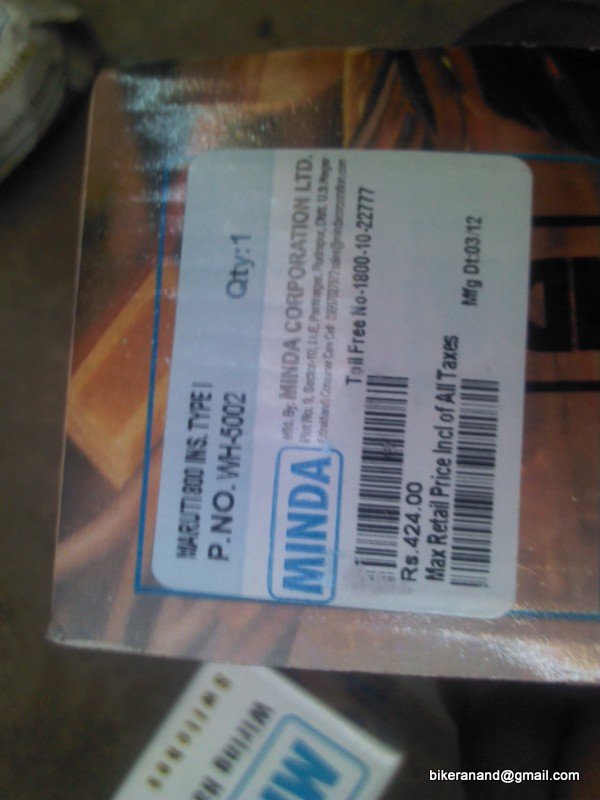
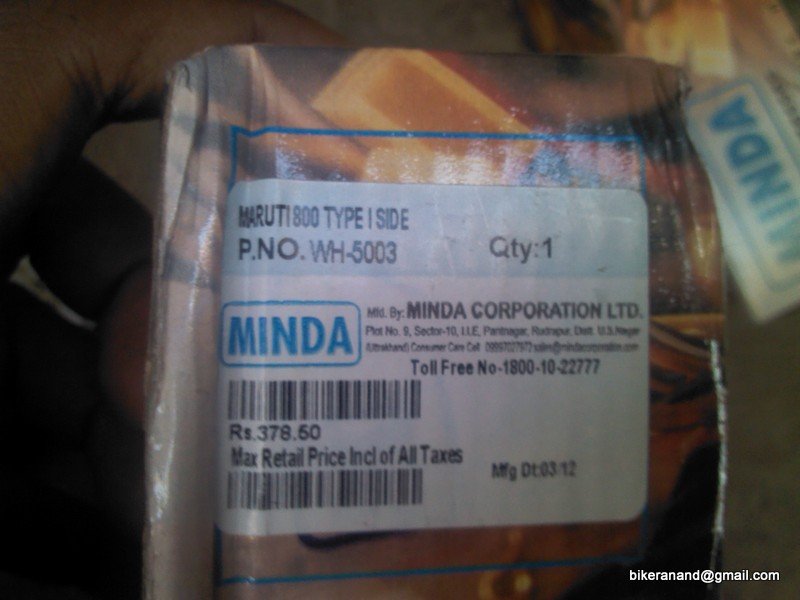
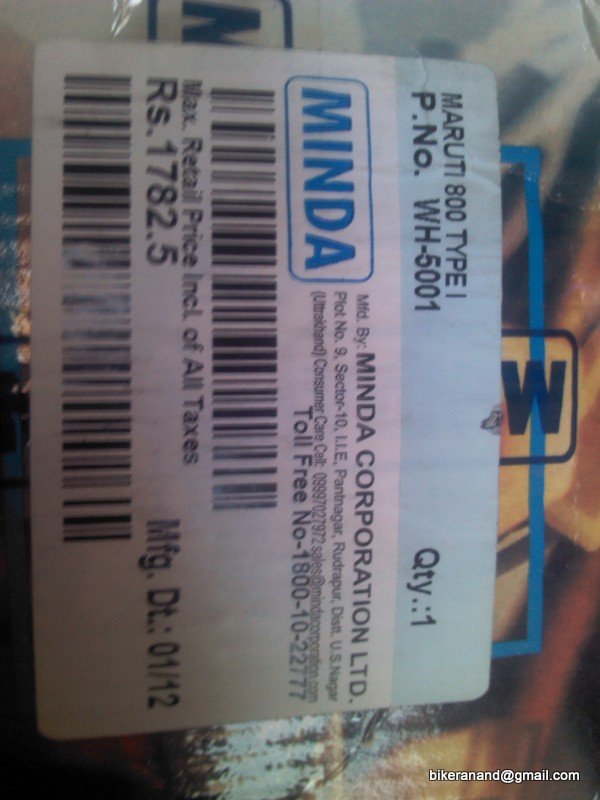
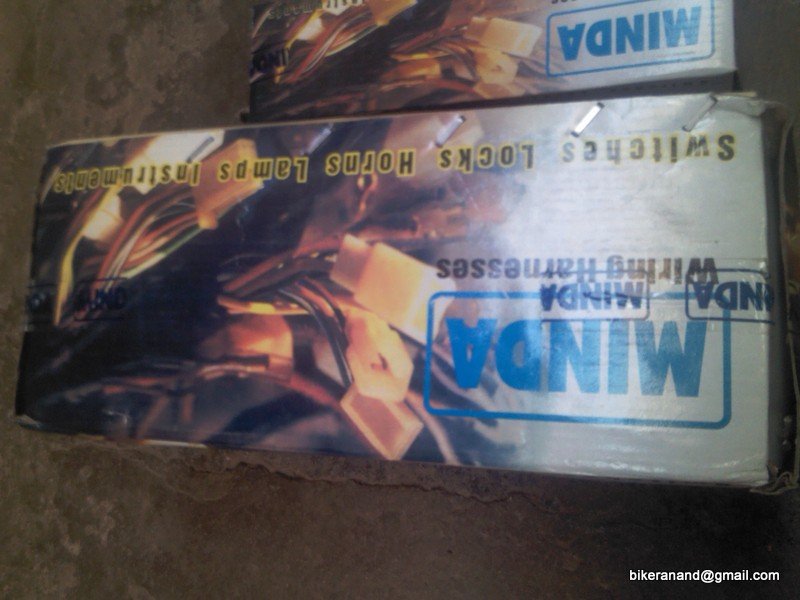
Here are the photos of the Minda wiring kit
Total No:of boxes: 5Nos
Cost: 2585/-
Source: J.K.Automobiles, J.C.Road, Bangalore
Note: This kit comes with Fusebox, Fuses, extra fuses, proper length wires, plugs, pressing clips & also rubber washer kind of thing to fix at the firewall hole. I was surprised I dint expect all this in one package
Varun: I am unable to remove those screws holding the front mud flaps to the fenders. They are rusted to the core, tried everything, spoilt a couple of screw drivers, finally gave up.
Yes more clearer pictures of the wiring will be updated ASAP.
I have also bought some painting materials for the floor & dashboard.
Total cost: 1400/-
Paint Brand: Dupont
Shop: Dupont, Mysore Road (Near Nayandahalli Signal)


Body Filler for the floor corners 1/2 kg

Hardener paste for the body filler

Plastic primer for dashboard & other interior plastic items

Brown & Beige paints for Dashboard & fittings

Dolphin blue colour for the interior floor

Masking tape
Here are the photos of the Minda wiring kit
Total No:of boxes: 5Nos
Cost: 2585/-
Source: J.K.Automobiles, J.C.Road, Bangalore
Note: This kit comes with Fusebox, Fuses, extra fuses, proper length wires, plugs, pressing clips & also rubber washer kind of thing to fix at the firewall hole. I was surprised I dint expect all this in one package
Thread Starter
#119
The wiring kit & installation photos
The wiring boxes
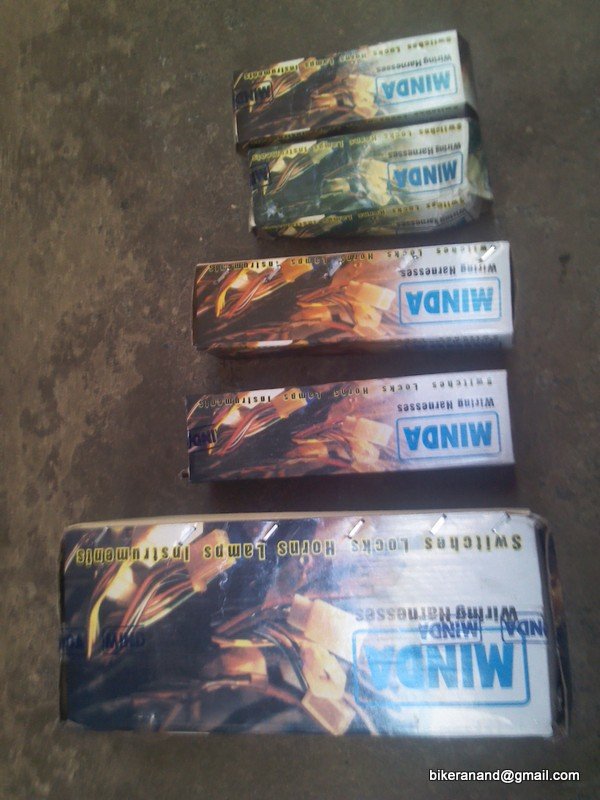
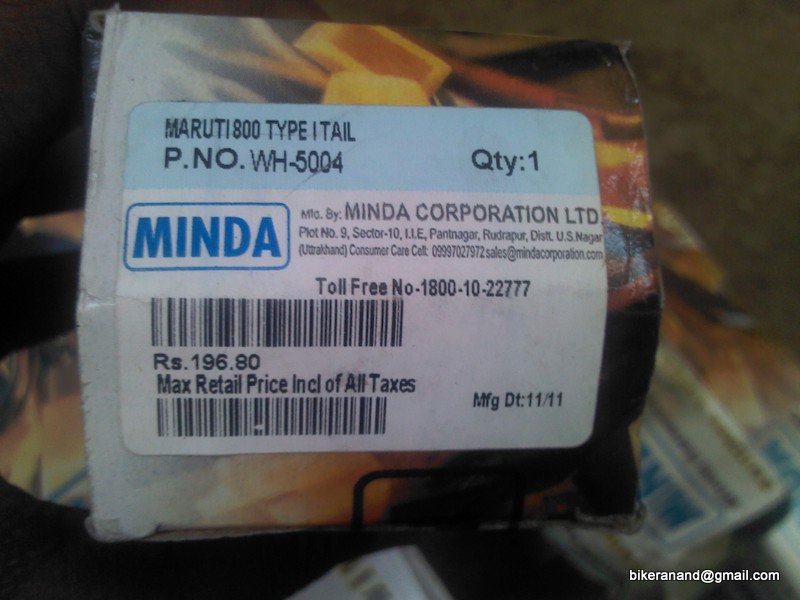
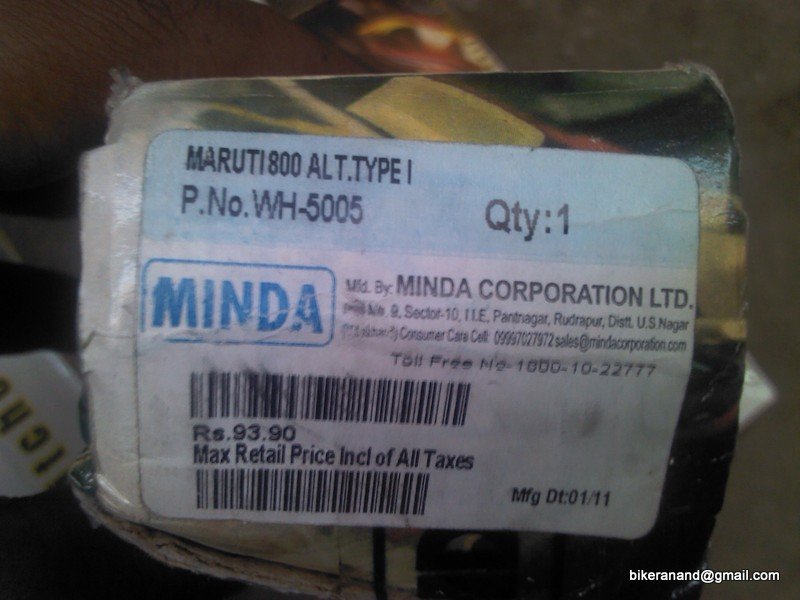
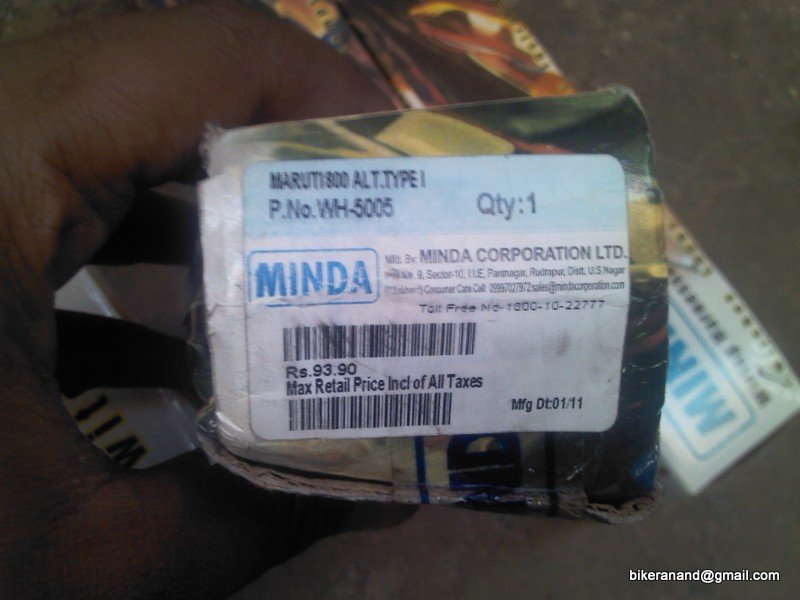
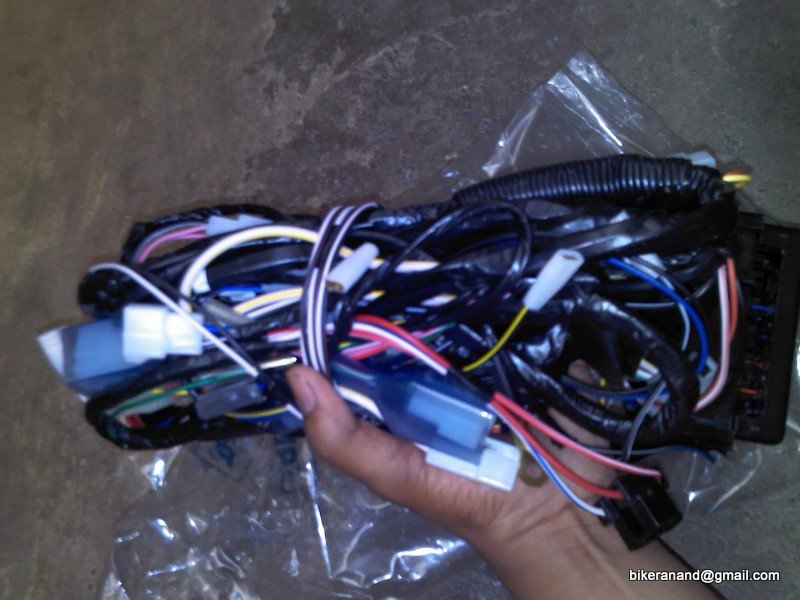
Main wiring rolled in the cover
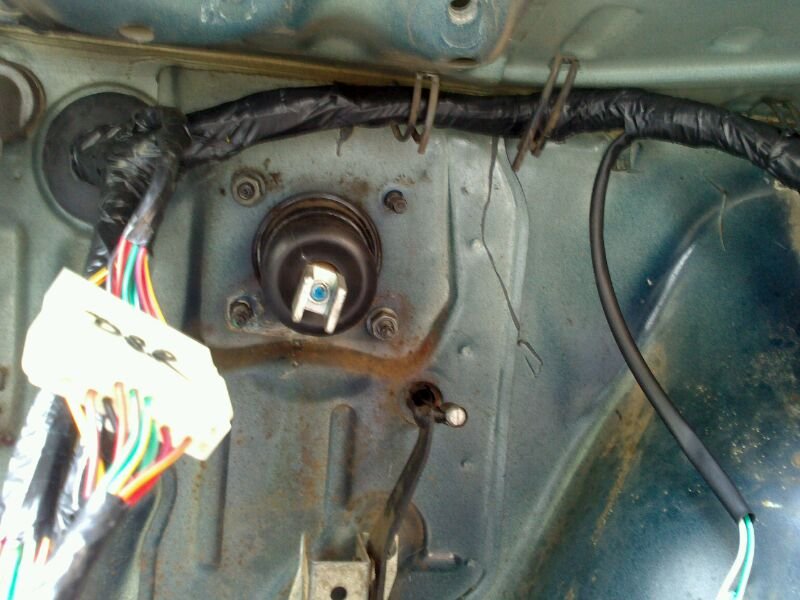
Wiring inserted into the holders after removing the brake pedal brackets
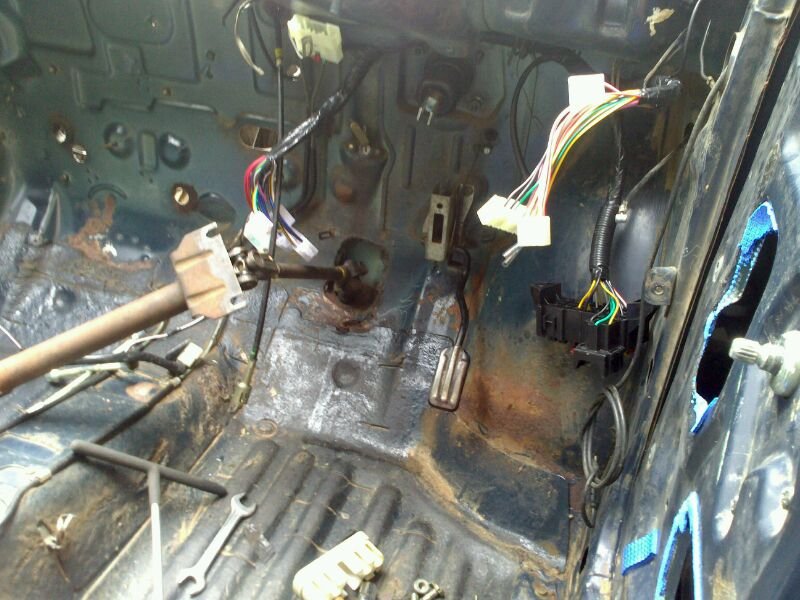
Another angle showing postion of fuse box & other connections

Wiring harness from the inside looks like this
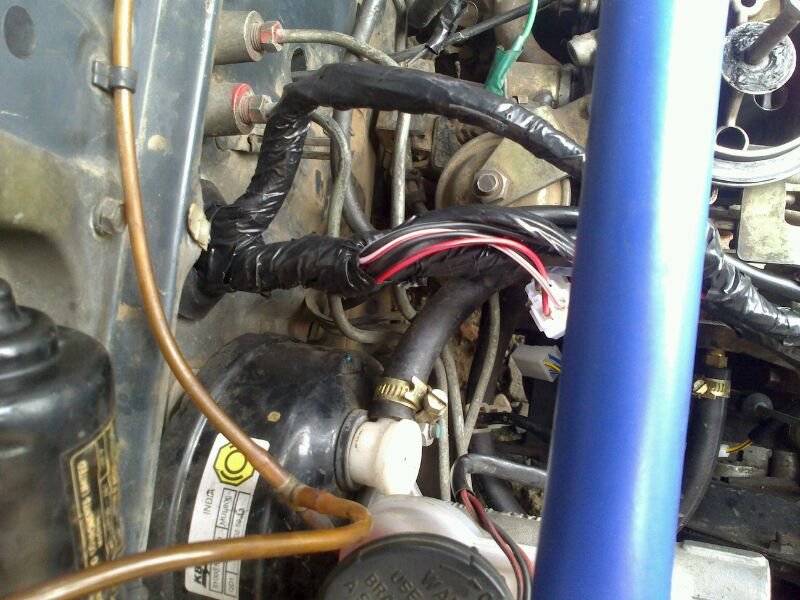
Wiring harness looks like this on the engine bay side
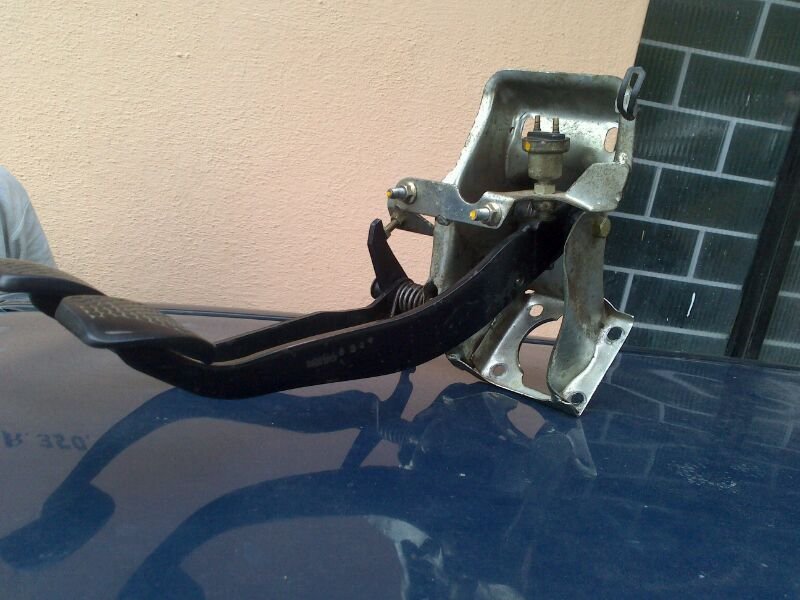
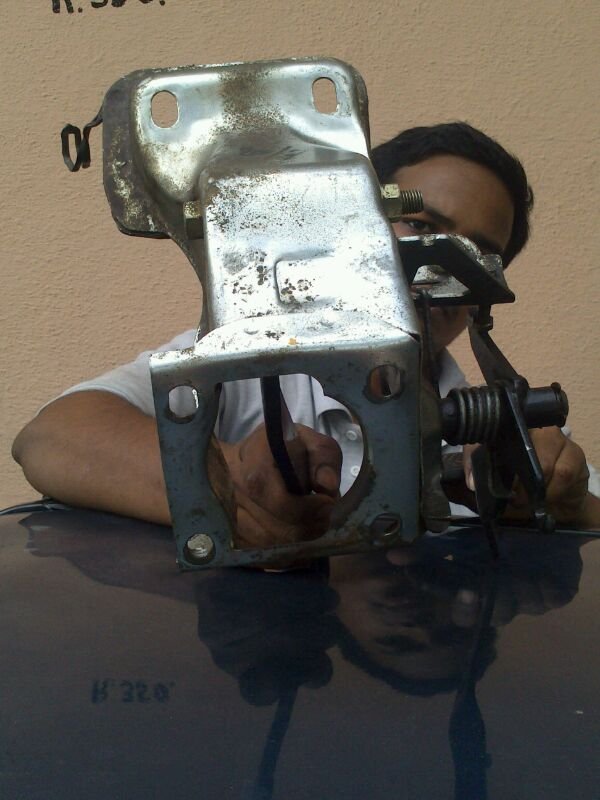
this is the brake pedal bracket that has clucth pedal & brake pedal together fixed in it. You need to remove the brake booster retaining pin & clip + six bolts (4on the firewalll & two on the protruding part of the chassis)
The wiring boxes


Main wiring rolled in the cover

Wiring inserted into the holders after removing the brake pedal brackets

Another angle showing postion of fuse box & other connections

Wiring harness from the inside looks like this

Wiring harness looks like this on the engine bay side


this is the brake pedal bracket that has clucth pedal & brake pedal together fixed in it. You need to remove the brake booster retaining pin & clip + six bolts (4on the firewalll & two on the protruding part of the chassis)
Attachments
-
271.5 KB Views: 969
You are one good lover of this car never seen someone doing so much for his car
Drive Safe,
350Z
- Status
- Not open for further replies.


