Bought My First Car - Maruti 800 AC
- Thread Starter ss80
- Start date
- Status
- Not open for further replies.
Thread Starter
#92
Water Leaking near Front Windshield corner
Hmmm I am here with a new issue now![Frustration [frustration] [frustration]](https://www.theautomotiveindia.com/forums/images/smilies/Frustration.gif)
Water (Rain water) seeps into the cabin through a place near the Front windshield bottom right corner. Please find pictures below for more details.
Is there any DIY to fix this issue? Approx price too will help me.
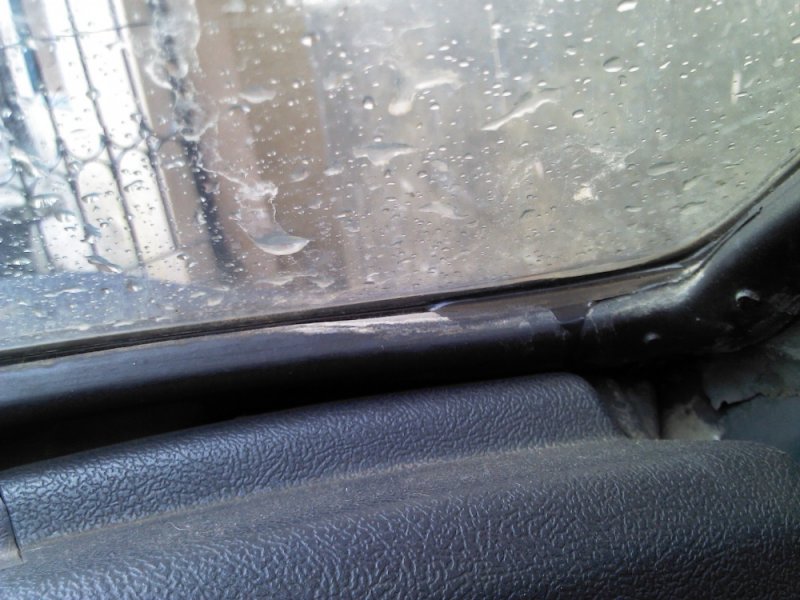
Water entry point
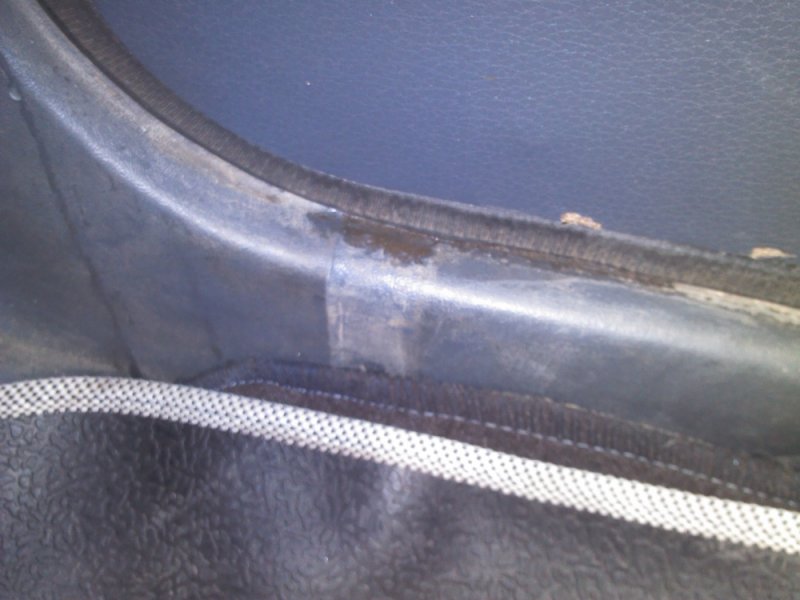
Water reaching the carpet through sidewall
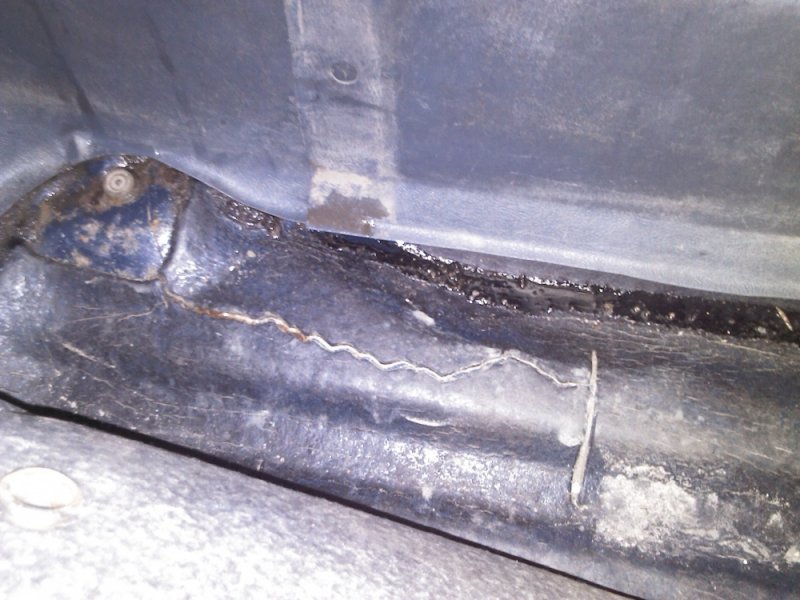
The water adding to my rusting issues
So please advice on what could be a fix.
Hmmm I am here with a new issue now
![Frustration [frustration] [frustration]](https://www.theautomotiveindia.com/forums/images/smilies/Frustration.gif)
Water (Rain water) seeps into the cabin through a place near the Front windshield bottom right corner. Please find pictures below for more details.
Is there any DIY to fix this issue? Approx price too will help me.

Water entry point

Water reaching the carpet through sidewall

The water adding to my rusting issues
So please advice on what could be a fix.
The beeding/gasket of the windshield is weak / cut.
Better to replace it, cost may come around 500rs !!
Try to use silicon gum from outside so that it will stop the water to enter inside.
Better to replace it, cost may come around 500rs !!
Try to use silicon gum from outside so that it will stop the water to enter inside.
Thread Starter
#95
Spoke to Windhsield Experts on Dickenson Road (near M.G.Road).
Approx cost of replacing the gasket+beeding will come to 1000 (including labour)
I am also thinking of replacing gaskets for the rear quarter glasses too. As right side is already leaking water inside cabin.
Approx cost of replacing the gasket+beeding will come to 1000 (including labour)
I am also thinking of replacing gaskets for the rear quarter glasses too. As right side is already leaking water inside cabin.
Is it so costly ? The wind shield itself would cost some where around 1.5 k I guess.
Ok try for the gasket in essar motors, we shall do it (DIY)??
Ok try for the gasket in essar motors, we shall do it (DIY)??
Thread Starter
#98
Thread Starter
#99
Did some shopping for my cutie
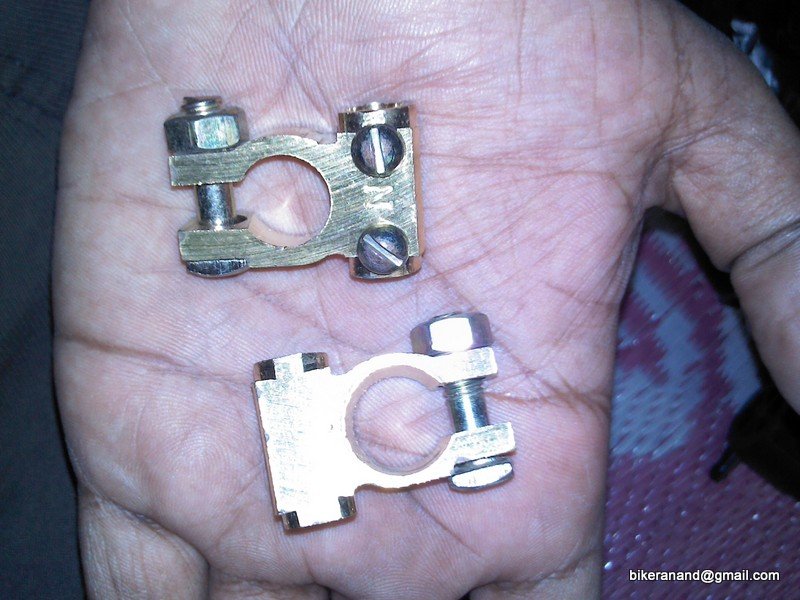
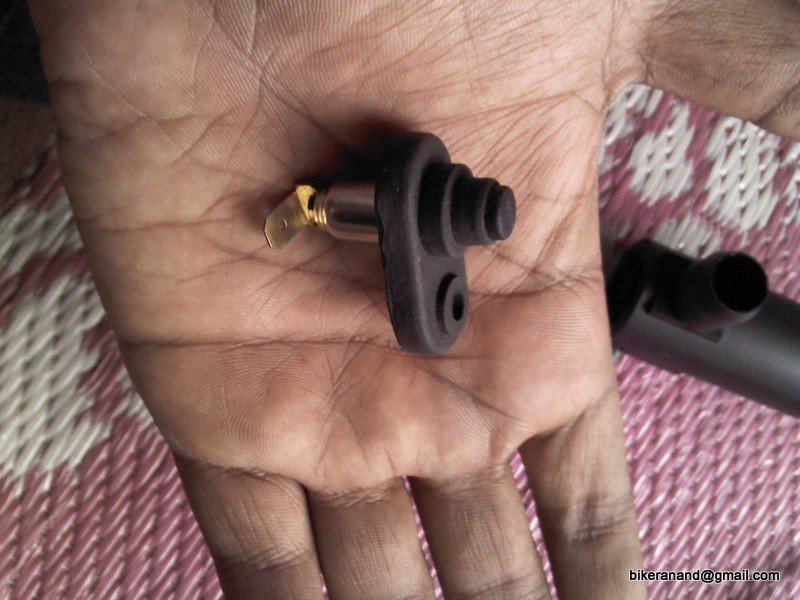
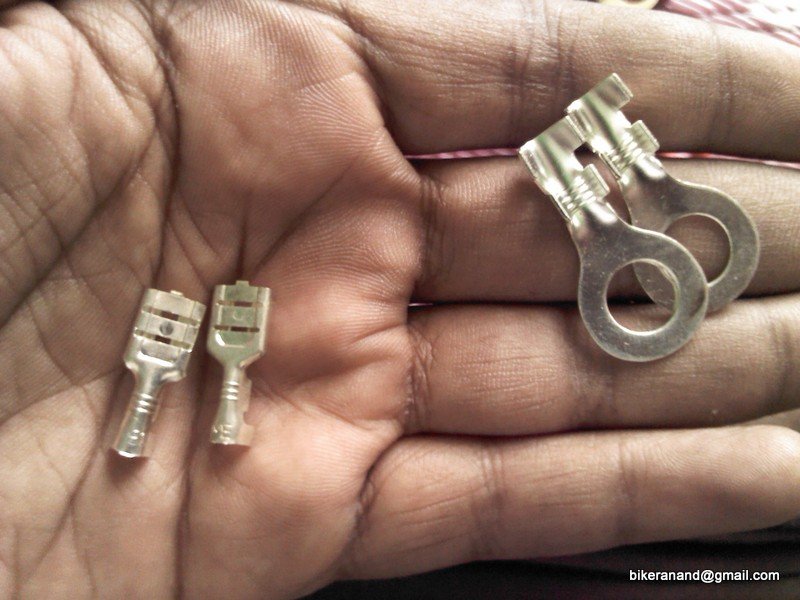
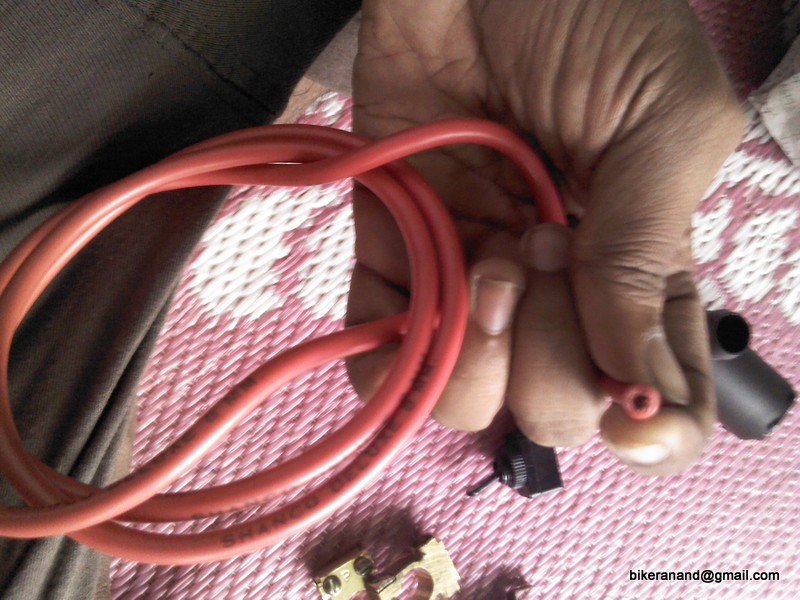
ought some more small parts - door switches for cabin lights, battery terminals, thicker wire for the battery to grounding point, some pressing clips etc
Repainted the rear drums & fuel pipe (I dono the exact name), applied Redoxide for exhaust pipes.
Some pictures![Big Smile [:D] [:D]](https://www.theautomotiveindia.com/forums/images/smilies/Big%20Smile.gif)
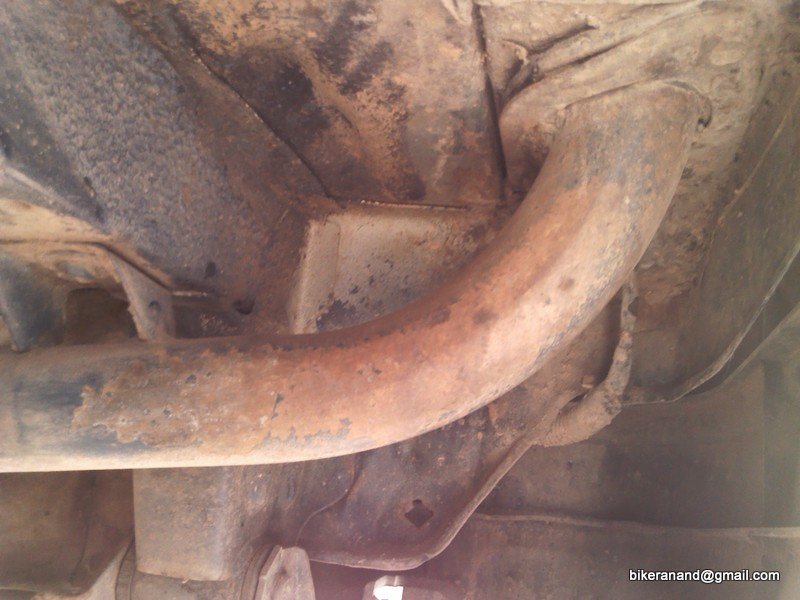
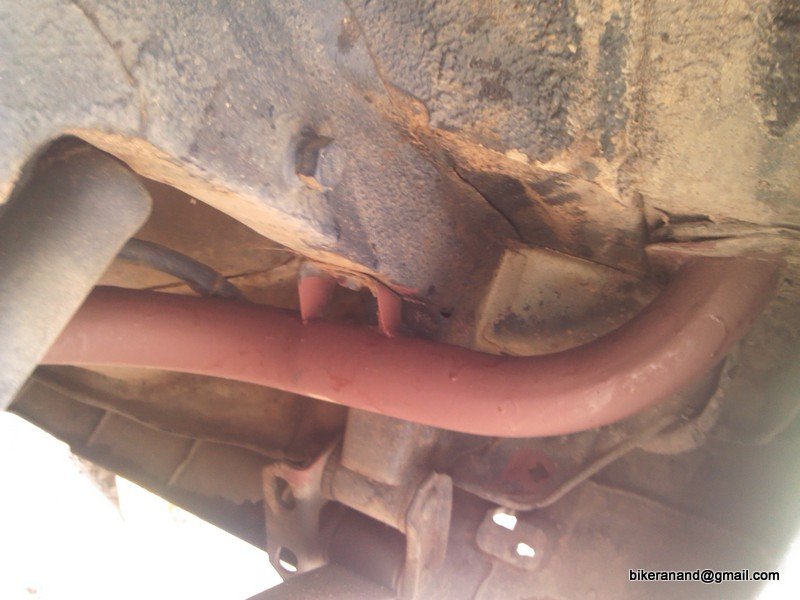
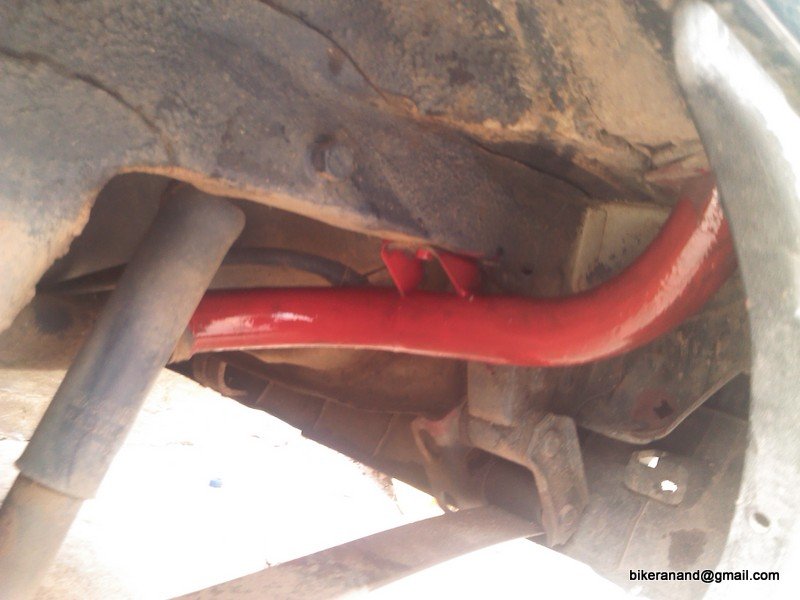
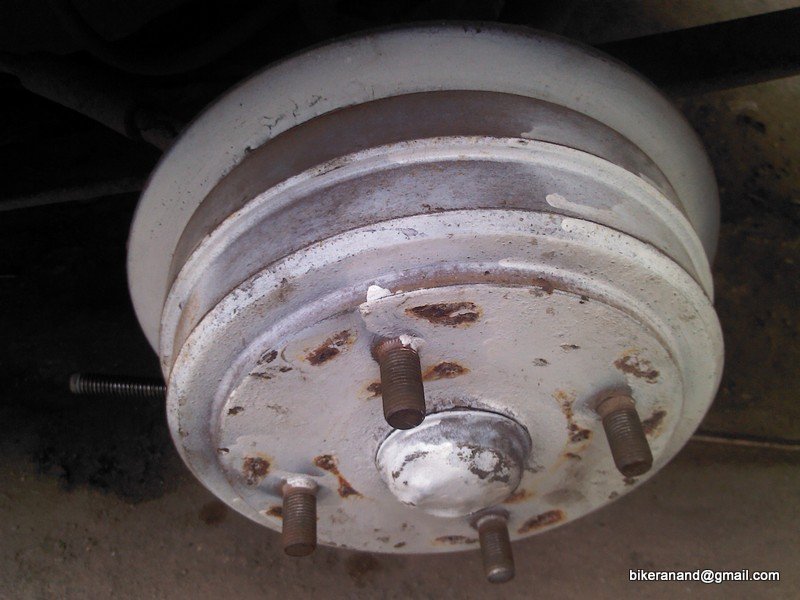
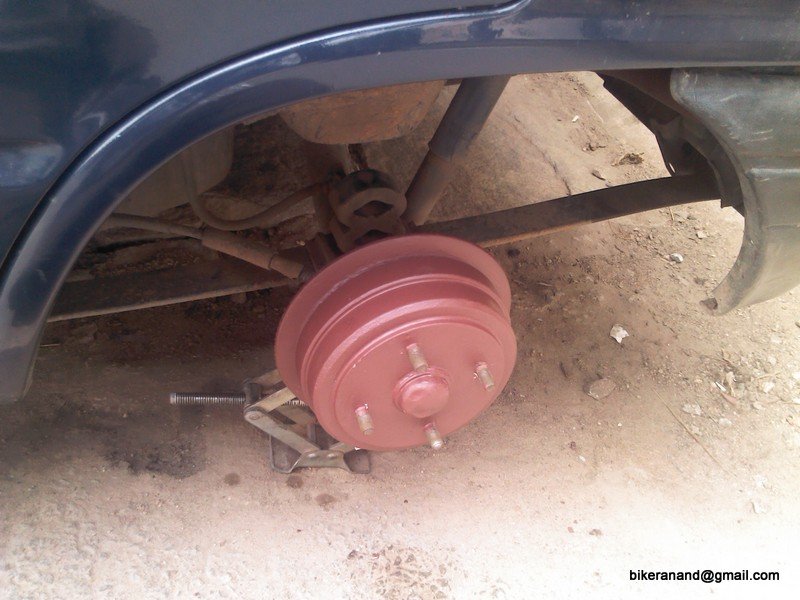
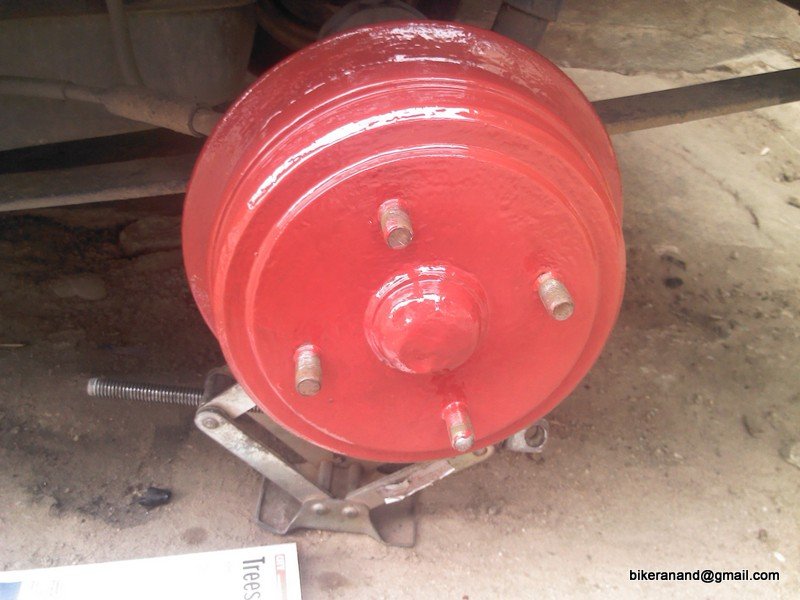
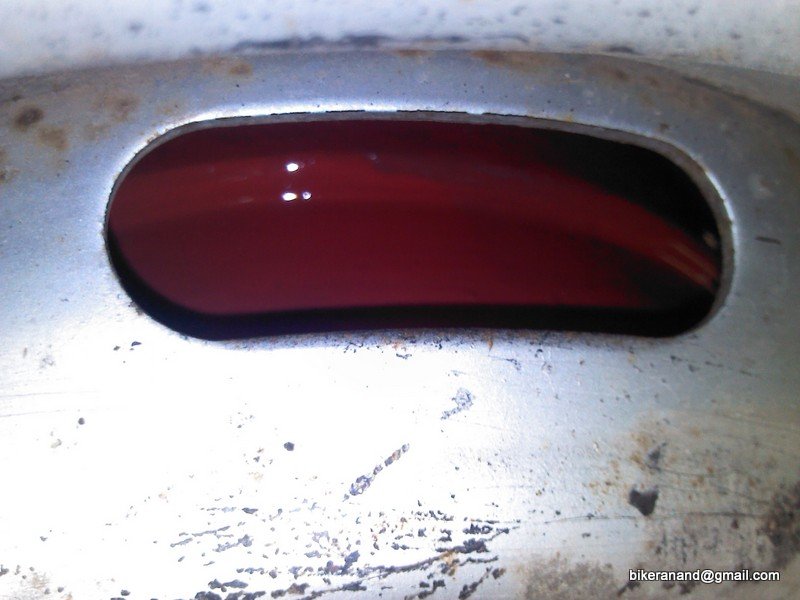
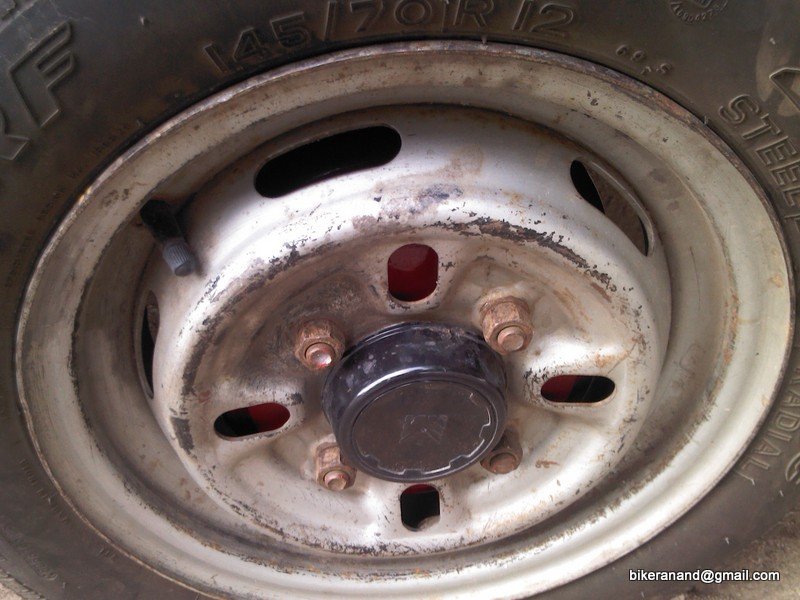
The exhaust has severe rust so I just used sand paper, then a coat of metal primer.
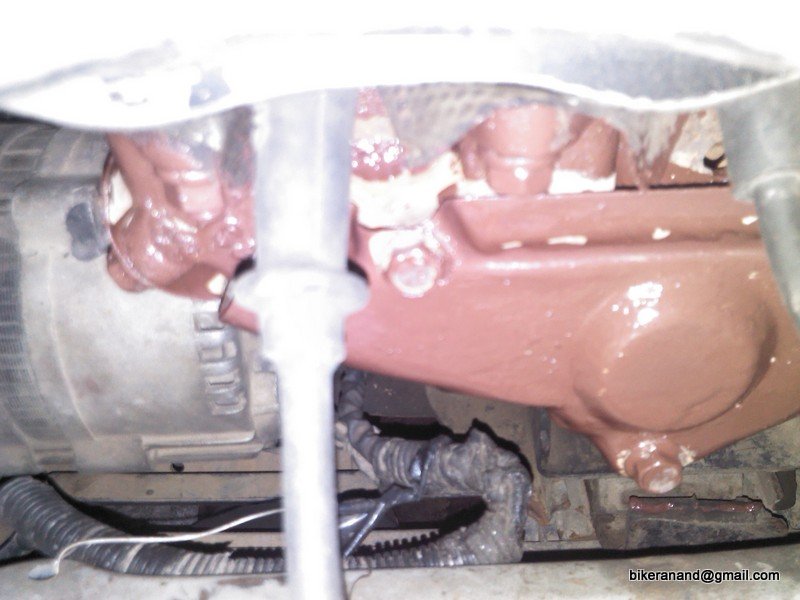
The exhuast pipes
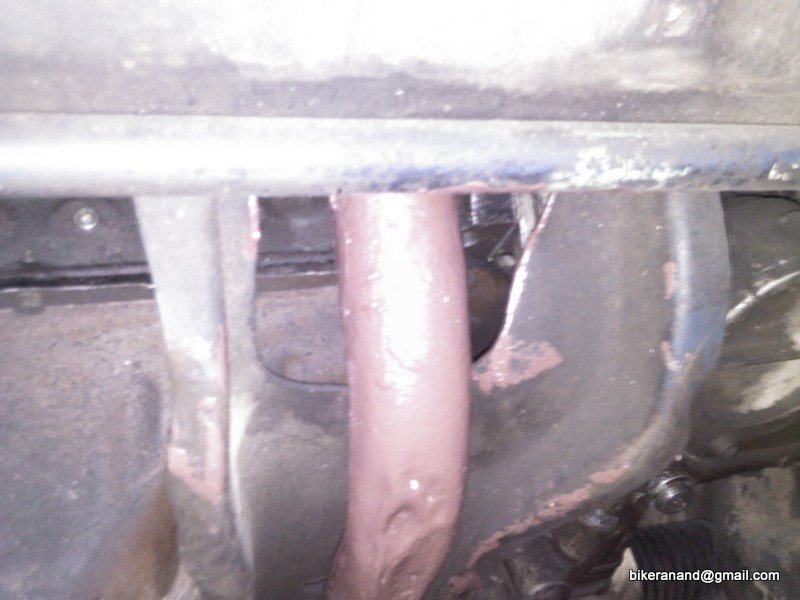
Another angle
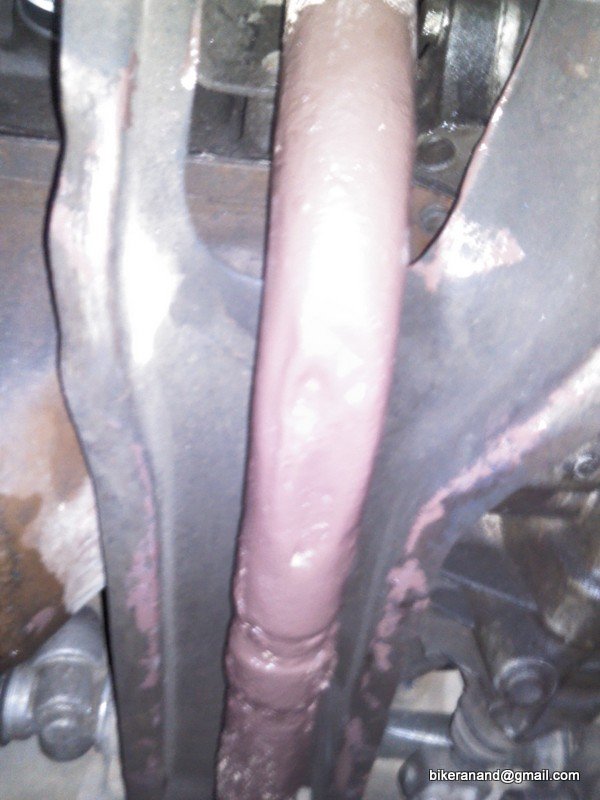
ought some more small parts - door switches for cabin lights, battery terminals, thicker wire for the battery to grounding point, some pressing clips etc


Repainted the rear drums & fuel pipe (I dono the exact name), applied Redoxide for exhaust pipes.
Some pictures
![Big Smile [:D] [:D]](https://www.theautomotiveindia.com/forums/images/smilies/Big%20Smile.gif)


The exhaust has severe rust so I just used sand paper, then a coat of metal primer.

The exhuast pipes

Another angle

Thread Starter
#100
Stripping car for rust removal & installing beedings
Bought today beeding for the front windshield & rear quarter panels & also a pair of front Combo Indicators (Type 1) all from MGP.
I am also attaching the visiting card of ESSAR (MGP Authorised dealer) so that others too can check with them for price of parts before purchasing from some other source. All these below shown parts, cost much more in other shops, half the time MGP parts are not given to you unless you insist.
I am not a 100% fan of MGP parts as such, but in certain areas, I prefer paying more for them.
Some more pictures (price is visible in it, just in case any of you are planning to buy the same part)

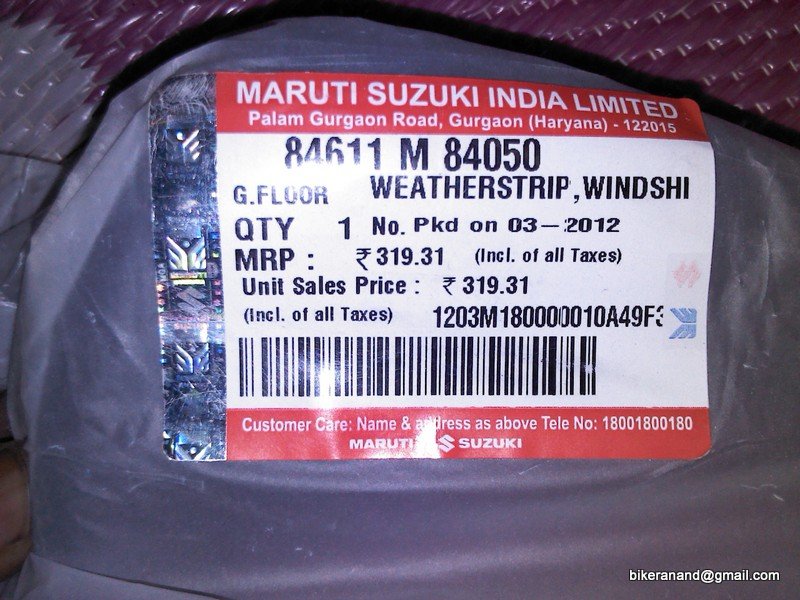
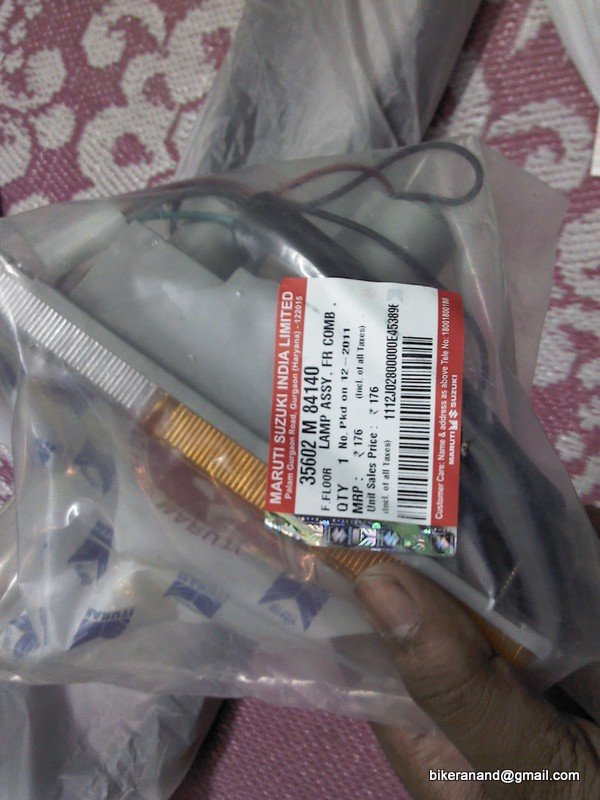
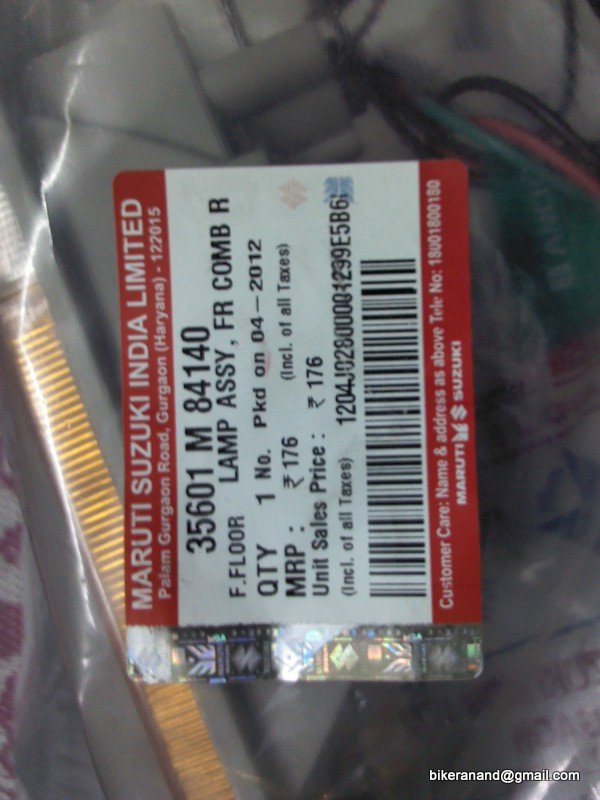
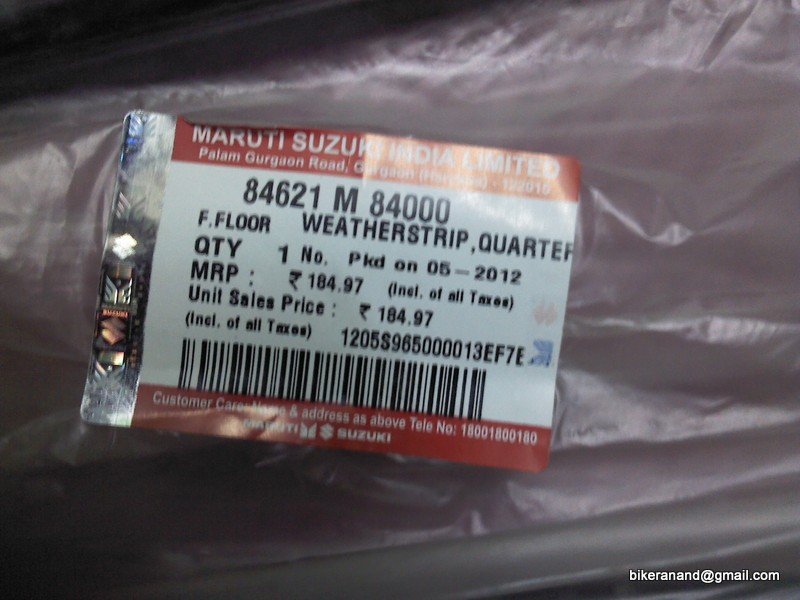
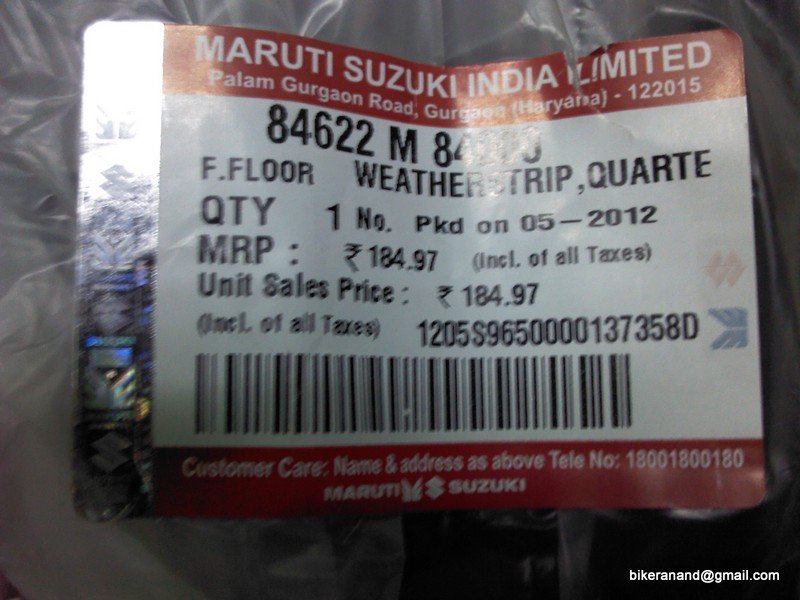
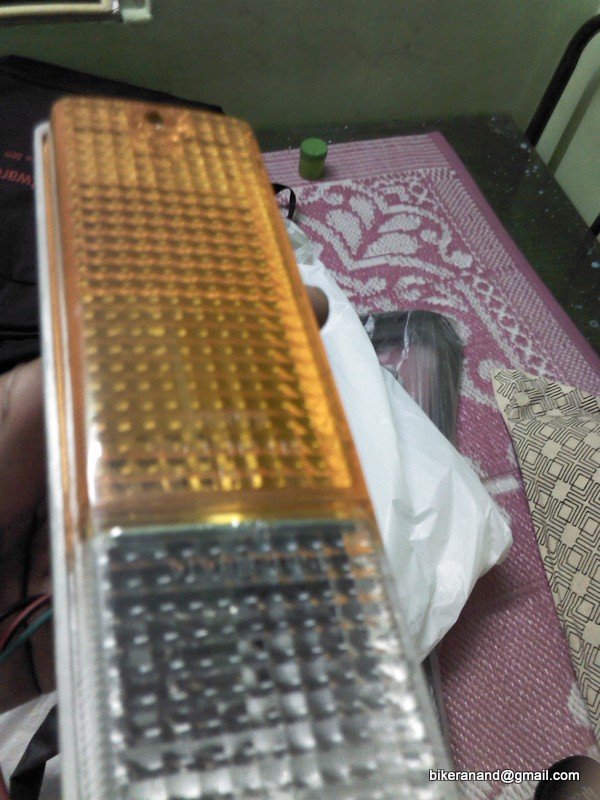
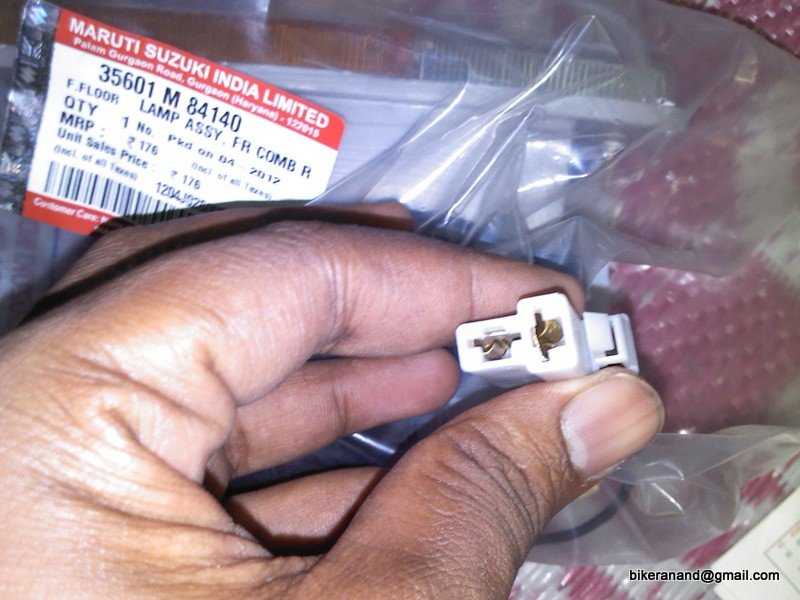
A note to all Type 1 M800 owners, the plug of the front indicator is almost the same as the Type 1 Alternator Plug, so in case you need this plug, now you know where to get it![Big Smile [:D] [:D]](https://www.theautomotiveindia.com/forums/images/smilies/Big%20Smile.gif)
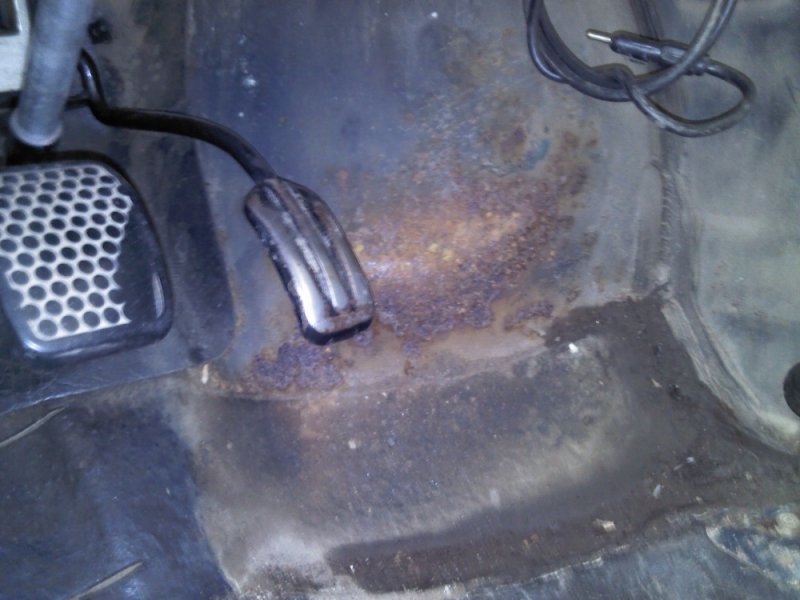
The front windshield beeding/gasket started to leak in many more places resulting in the carpet getting wet & rusting. I did not start the car for a week (was held up with routine works) & then a big shock was waiting for me.
Lot of rusting & water stagnating on the floor, to my horror even the rear quarter panel beedings too gave up. However the rear windshield beeding is still intact.
So I decided to strip the car interior completely (Roof,Seats, stepney, dashboard, pillar trims etc) & then
1. Get the beedings replaced
2. Sand all the rusting areas in the interiors
3. Apply a coat of primer wherever required
4. One or two coats of paint for the floor
Other To-Do's
5. Get the interiors redone like roof etc
6. DIY - Swapping pillar trims from other car (if possible)
7. Get new seats for the front - Chevy Beat type would do, not yet decided
8. Replace Handbrake lever with some other car (black handle+chrome button)
9. Replace Bumpers/ fix DIY clamps
10. Zen Type1 Dashboard instead of the current one
Most of these things will be DIY & hence will take more than a couple of weeks to do.
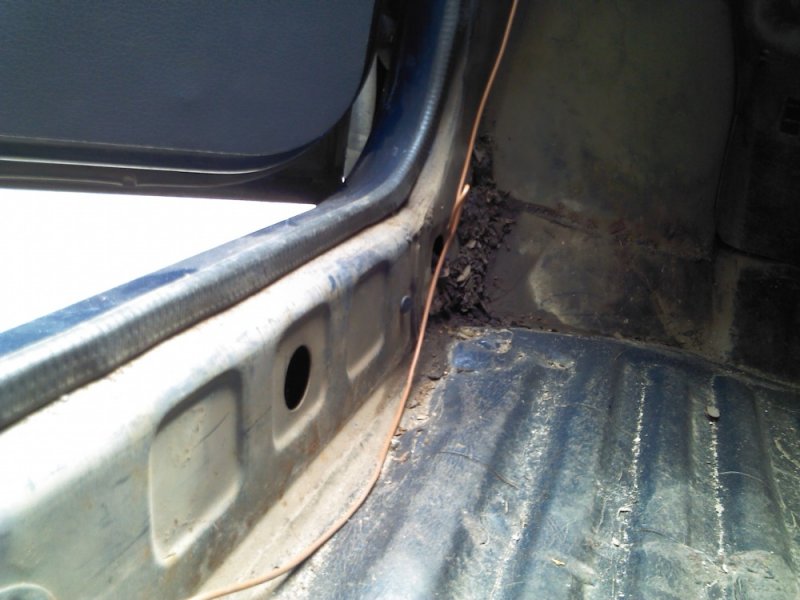
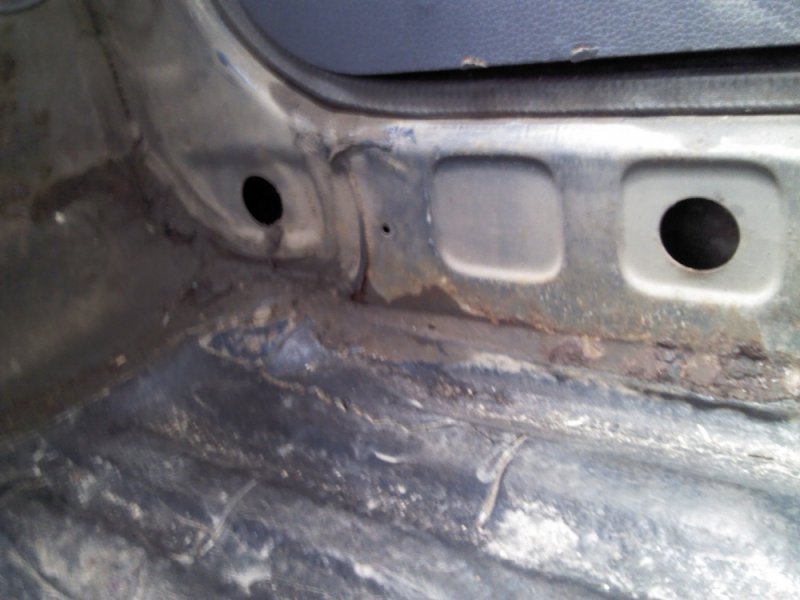
Stripping & the shocking rust!
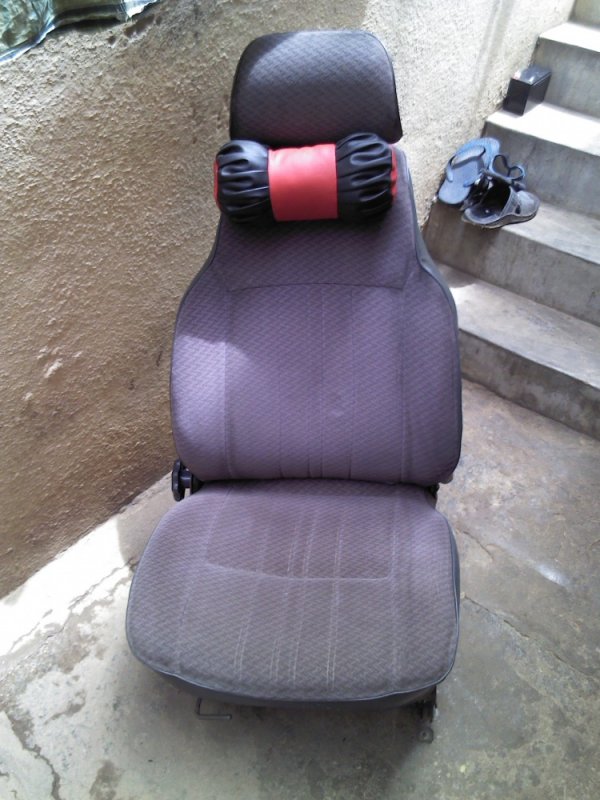
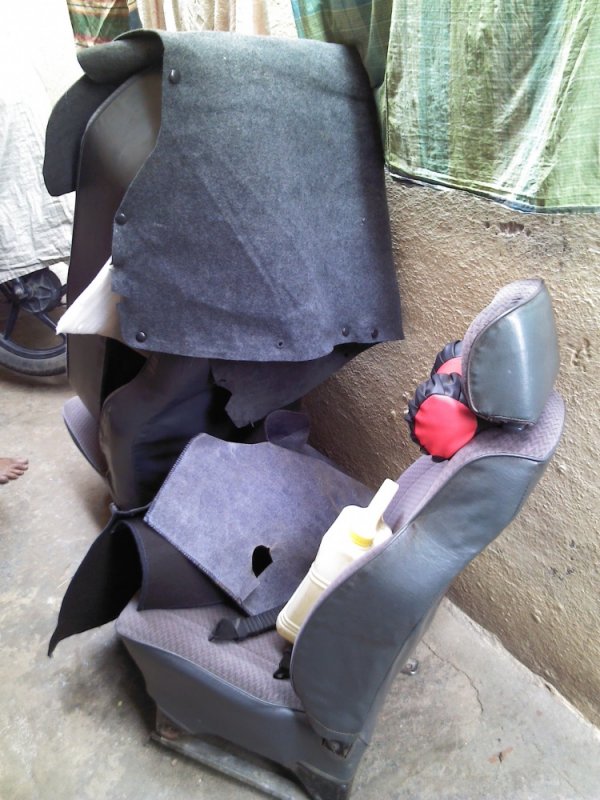
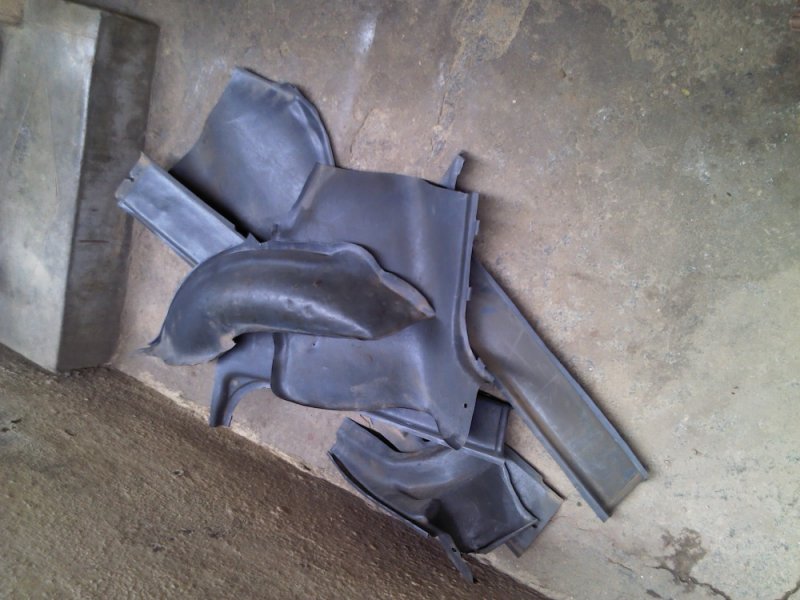
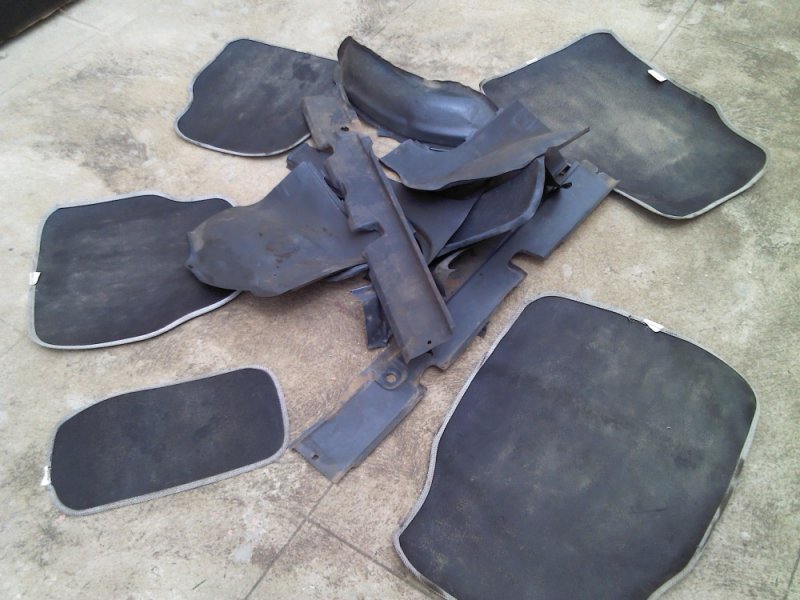
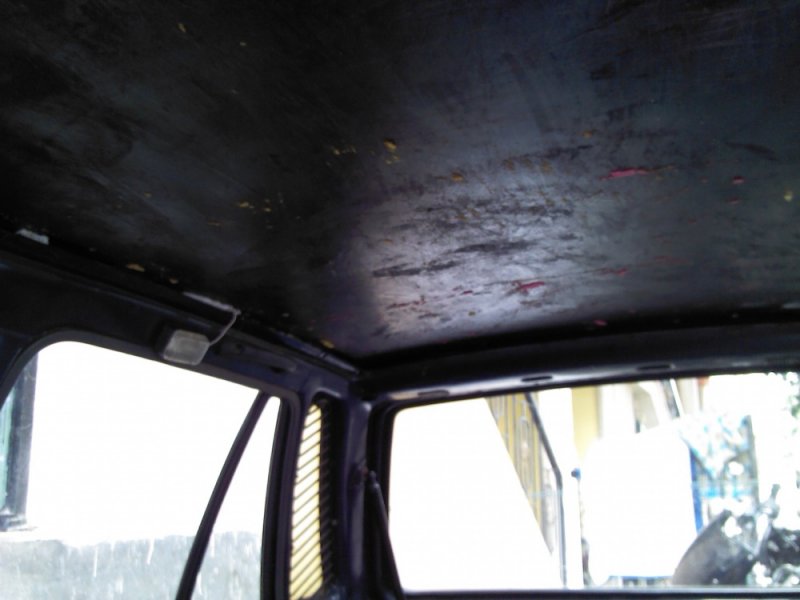
The rust & dirt
Planning to remove Dashboard tomorrow, Not sure if the current blower unit will fit into the Zen dashboard. Please share pictures of any Zen dashboard's mounting points.
Bought today beeding for the front windshield & rear quarter panels & also a pair of front Combo Indicators (Type 1) all from MGP.
I am also attaching the visiting card of ESSAR (MGP Authorised dealer) so that others too can check with them for price of parts before purchasing from some other source. All these below shown parts, cost much more in other shops, half the time MGP parts are not given to you unless you insist.
I am not a 100% fan of MGP parts as such, but in certain areas, I prefer paying more for them.
Some more pictures (price is visible in it, just in case any of you are planning to buy the same part)


A note to all Type 1 M800 owners, the plug of the front indicator is almost the same as the Type 1 Alternator Plug, so in case you need this plug, now you know where to get it
![Big Smile [:D] [:D]](https://www.theautomotiveindia.com/forums/images/smilies/Big%20Smile.gif)
The front windshield beeding/gasket started to leak in many more places resulting in the carpet getting wet & rusting. I did not start the car for a week (was held up with routine works) & then a big shock was waiting for me.
Lot of rusting & water stagnating on the floor, to my horror even the rear quarter panel beedings too gave up. However the rear windshield beeding is still intact.
So I decided to strip the car interior completely (Roof,Seats, stepney, dashboard, pillar trims etc) & then
1. Get the beedings replaced
2. Sand all the rusting areas in the interiors
3. Apply a coat of primer wherever required
4. One or two coats of paint for the floor
Other To-Do's
5. Get the interiors redone like roof etc
6. DIY - Swapping pillar trims from other car (if possible)
7. Get new seats for the front - Chevy Beat type would do, not yet decided
8. Replace Handbrake lever with some other car (black handle+chrome button)
9. Replace Bumpers/ fix DIY clamps
10. Zen Type1 Dashboard instead of the current one
Most of these things will be DIY & hence will take more than a couple of weeks to do.
Stripping & the shocking rust!


The rust & dirt


Planning to remove Dashboard tomorrow, Not sure if the current blower unit will fit into the Zen dashboard. Please share pictures of any Zen dashboard's mounting points.
Hi SS80.. Nice DIY.. After painting the primer, why not get the same color of your car and paint it !
My best suggestion is get 3m primer coat and paint that's more than enough.
For A/B pillar moldings, ASFIK zen (old)/ altos will match.
Or get a piece of art leather and cut them stick it, even that too looks good.
Also If you are planning to remove the dash, try to re-wire every thing under it, fuse box etc.
Hi, Also one chemical is available - "Rust converter spray". It converts the rust into metal and over that zinc oxide should be applied and then only top coat paint. If you inquire with chemical shops in Bangalore you may get it.
I have some phone numbers:
1)Avudai surface treatment, Chennai: 09444147070
2) Jupiter Enterprises, Chennai: 09363244326
3)Novel Surface treatment, Mumbai: 09322246307
4) Krishna Innovative chemicals, Bangalore:080-28437431
5)Dharani & company, Bangalore: 080-32345118
6)Metal pre treatment chemicals, Bangalore: 080-23284559
7)Supreme chemicals, Bangalore:9844057840
Thread Starter
#104
Varun:
Yes you are right, I have to rewire the entire car. I am attaching some pictures below. I am worried that this poor wiring and the million cuts & joints in it might cause short circuit/ fire.
Rao66:
Thank you so much for all this information, will speak to them and will follow these steps.
Water wash
1. Some amount of sanding
2. Rust converter spray
3.Zinc oxide
4. Painting
My car will be stationary for atleast a month, so that I can finish all these DIY's.
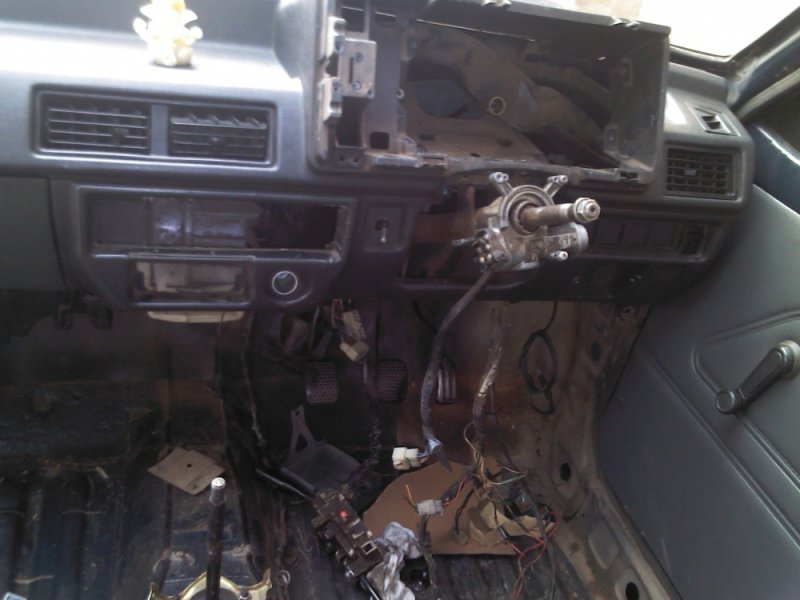
Sorry state of wiring
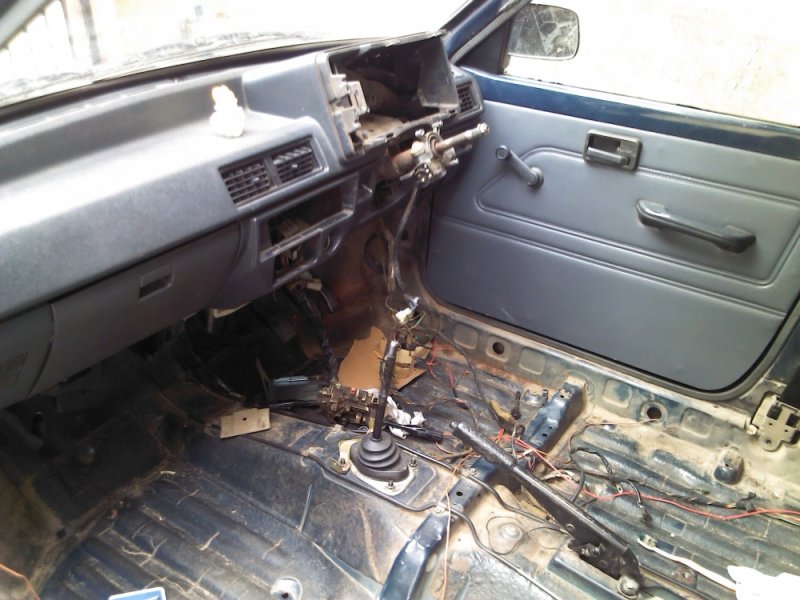
Work in progress (DIY)
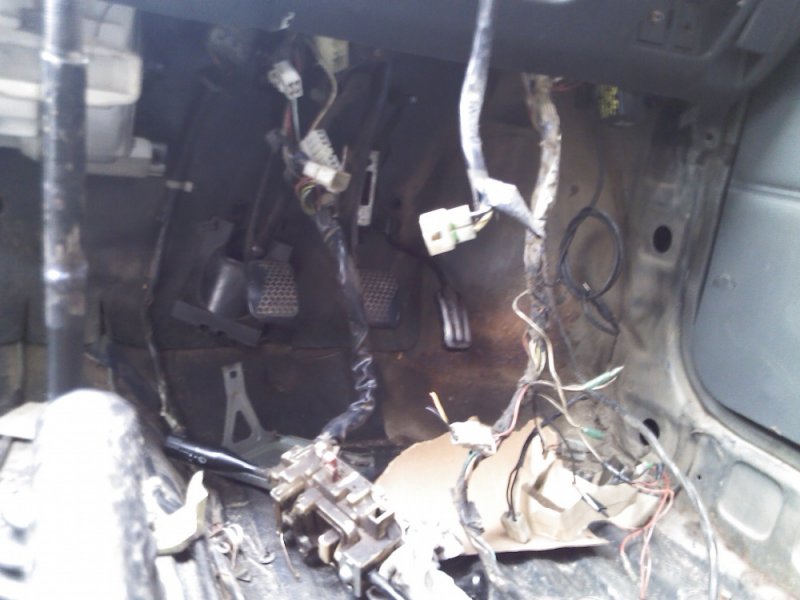
Chaos
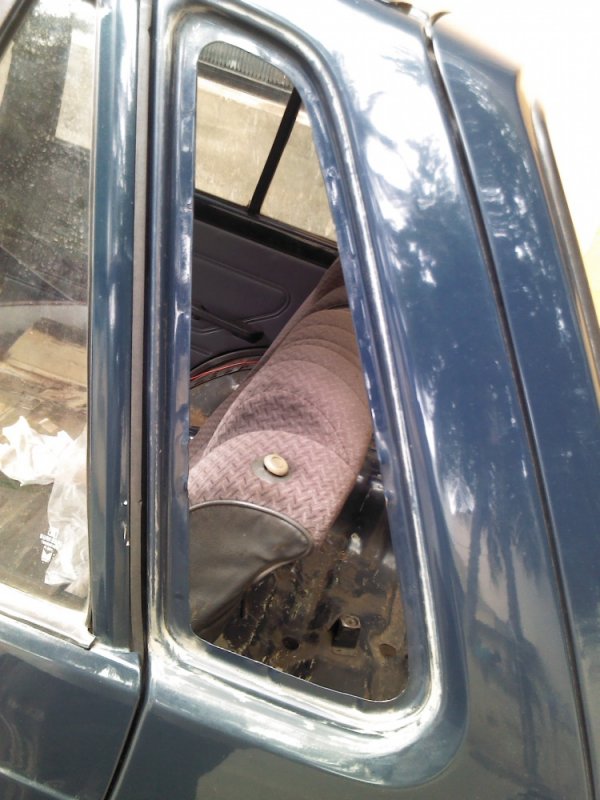
Removed rear quarter panel
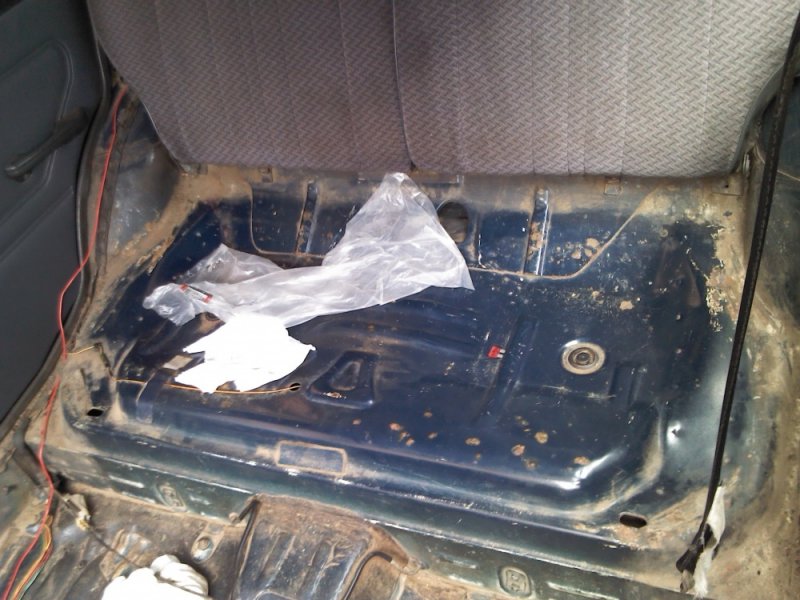
Rusting around back seat
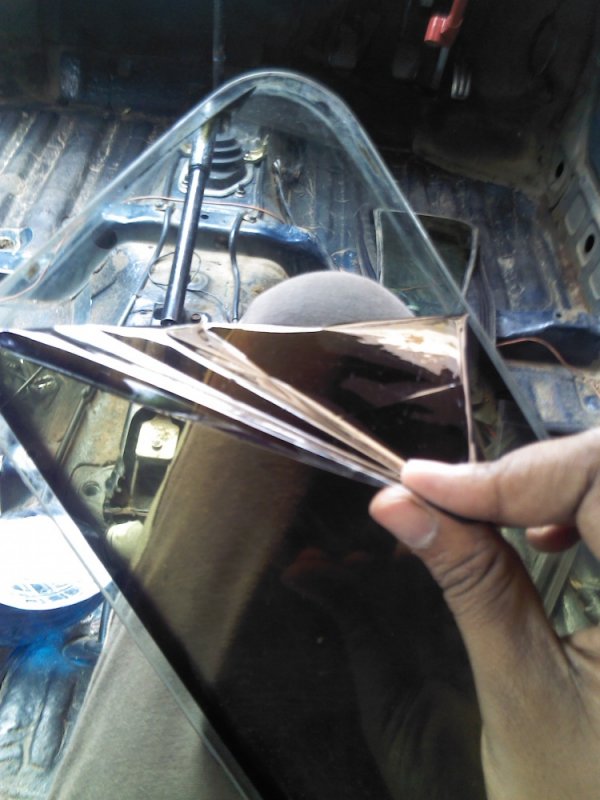
Removing tint from rear quarter glass
Today is a pretty sad day, I am shocked by first the rust now the wiring. I managed to dismantle almost everything inside the cabin, but one silly screw is not allowing the dash board to be removed.
I am struggling to put back the quarter panel & to my luck lighting is poor now & its drizzling![Frustration [frustration] [frustration]](https://www.theautomotiveindia.com/forums/images/smilies/Frustration.gif)
Yes you are right, I have to rewire the entire car. I am attaching some pictures below. I am worried that this poor wiring and the million cuts & joints in it might cause short circuit/ fire.
Rao66:
Thank you so much for all this information, will speak to them and will follow these steps.
Water wash
1. Some amount of sanding
2. Rust converter spray
3.Zinc oxide
4. Painting
My car will be stationary for atleast a month, so that I can finish all these DIY's.

Sorry state of wiring

Work in progress (DIY)

Chaos

Removed rear quarter panel

Rusting around back seat

Removing tint from rear quarter glass
Today is a pretty sad day, I am shocked by first the rust now the wiring. I managed to dismantle almost everything inside the cabin, but one silly screw is not allowing the dash board to be removed.
I am struggling to put back the quarter panel & to my luck lighting is poor now & its drizzling
![Frustration [frustration] [frustration]](https://www.theautomotiveindia.com/forums/images/smilies/Frustration.gif)
Please post the pic of entire car (inside) I want to see how it looks.
I guess it would look very spacious !!![Evil [evil] [evil]](https://www.theautomotiveindia.com/forums/images/smilies/Evil.gif)
I guess it would look very spacious !!
![Evil [evil] [evil]](https://www.theautomotiveindia.com/forums/images/smilies/Evil.gif)
- Status
- Not open for further replies.


![Clap [clap] [clap]](https://www.theautomotiveindia.com/forums/images/smilies/Clap.gif)