Confirmed the location of the leak.
WOW car is looking as if it is new !!
Why not bend the bumper clamp down so that the bolts fit in properly, also remove the center pole and make it straight, its very easy job just 3 screws it will come out.
For the water leakage try as told by Samsang12, use silicon paste and seal it.
Thanks Varun & Samsag,
I will surely buy that Anabond 666T & fix that leak soon. The bumper will have to wait as this Oil leak is sort of disturbing me a lot.
The body panels are shining in full glory, great job
![Thumbs Up [thumbsup] [thumbsup]](https://www.theautomotiveindia.com/forums/images/smilies/Thumbs%20Up.png)
& thanks for uploading the pics.
Regarding the water leakage after the rubber beading replacement, its a sure shot case of fitting the rubber beading directly without using the 3M sealant. The same thing is used to stick windshield glasses in new age cars nowadays.
As I have faced similar water leaking issue in my 800 & old Fiat too i would suggest
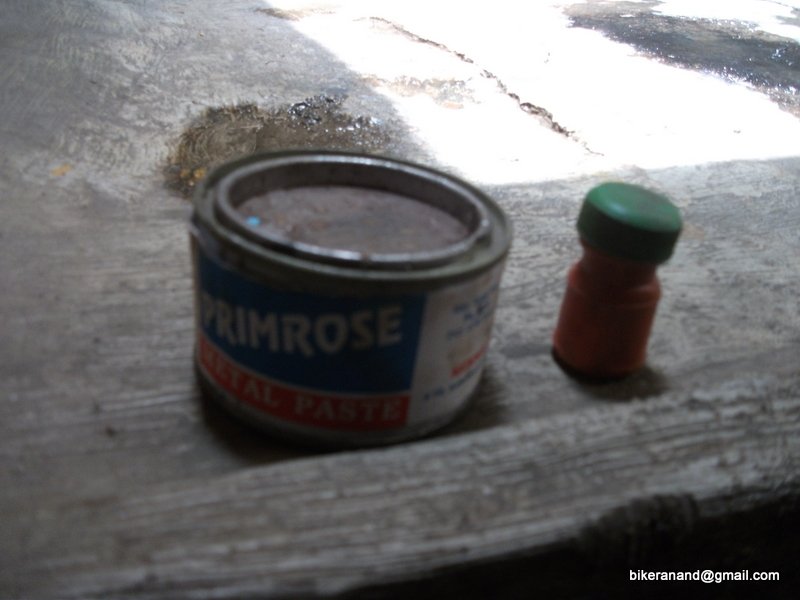
you to use a Anabond 666T silicone gasket maker ( a tube costs Rs 50) , lift the rubber beading away from the body a few millimeters ( using a flat screw driver) and squeeze the sealant in between the gap. Once dry it will prevent water from entering the car.
Hope this helps.
That is very helpful, thanks a lot.
Instead of Waxpol, A good Autowax will give more shine !!
The problem may not be with the windshield beeding, check the roof rail corner area for any kind of gaps( remove the windshield beeding to understand this)
I tried to remove the Windshield beeding, but fixing it again is a big head ache. I better try the silicon sealant tube first.
Yeah, you are right. Waxpol is good, but not good enough. Is "AutoWax" name of a polish? or is there any other brand that you would suggest.
Your car looks shiny after waxpol polish and interiors are lovely.
Great going SS80
![Thumbs Up [thumbsup] [thumbsup]](https://www.theautomotiveindia.com/forums/images/smilies/Thumbs%20Up.png)
Thanks again.
Last night after the cleaning, I spread some newspapers below the car & kep stones on them in corners (so that they dont fly off
![Wink [;)] [;)]](https://www.theautomotiveindia.com/forums/images/smilies/Wink.gif)
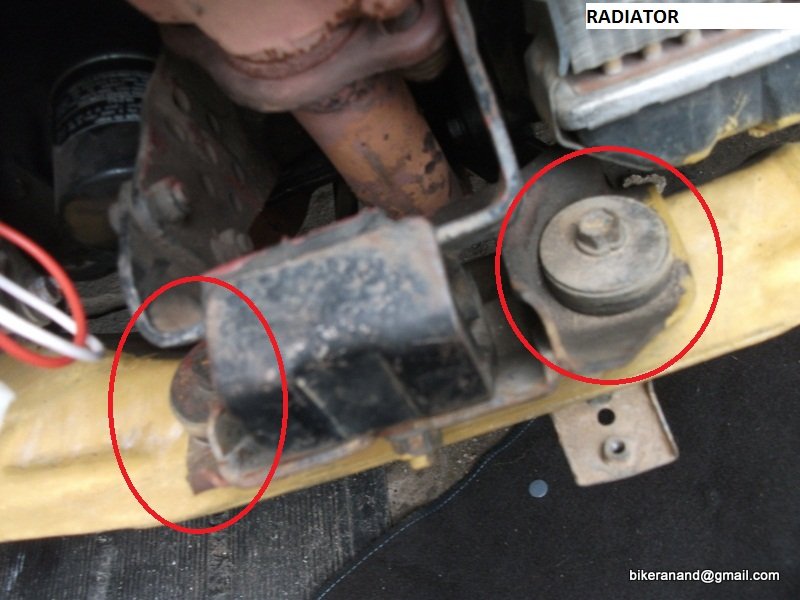
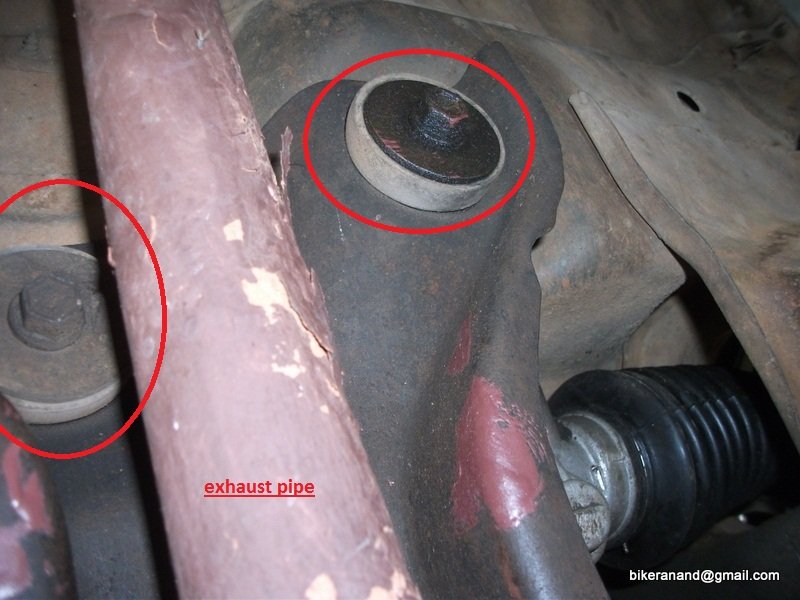
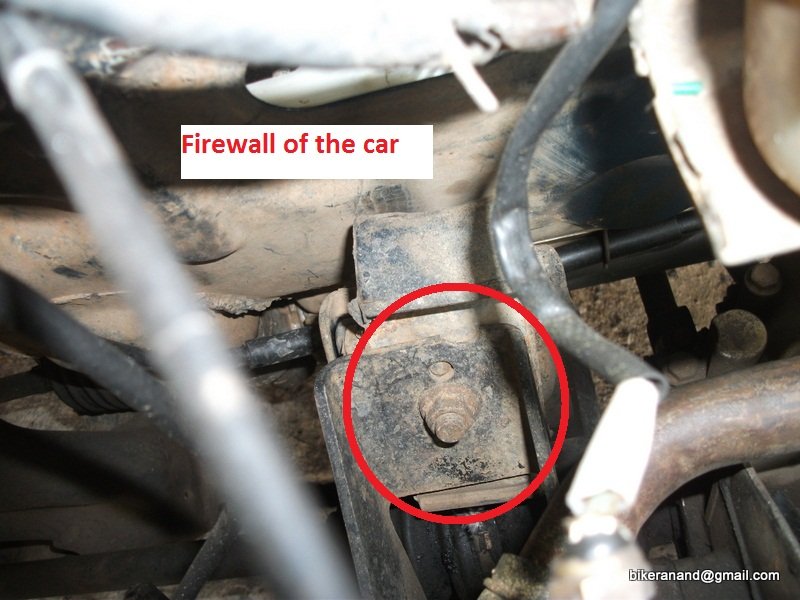
). This morning I checked, I am 100% sure that this leak is not from any other source (like oil filter/steering parts etc) it is coming from the Mseal near the drain bolt. Here are a few pics.
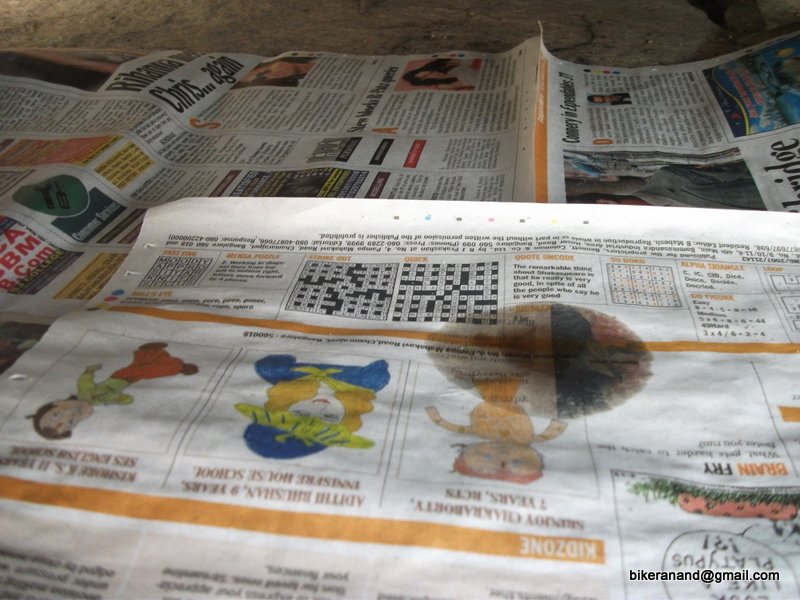
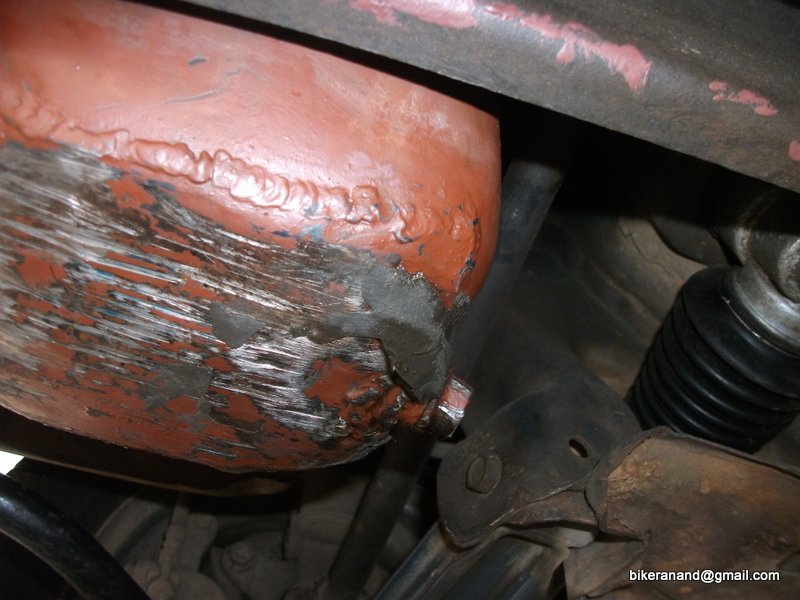
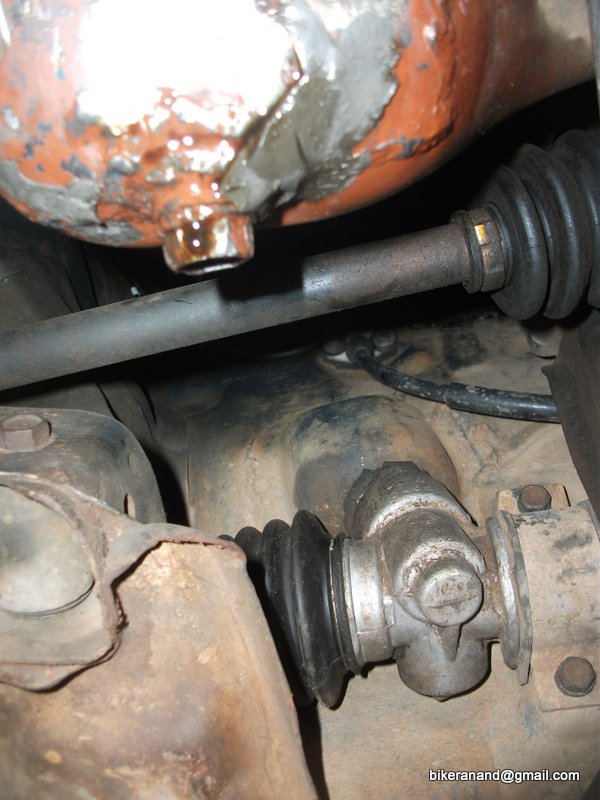
.
I think to fix this issue (permanently) I need to
- Drain the engine oil & store it seperately away from dust etc.
- Disconnect the battery terminals (to avoid cranking when no oil is there)
- Keep stones on both sides of rear wheel
- jack the right side front wheel & get some wooden blocks to support the weight of car in case the Jack gives up
- Remove the Exhaust Pipe (not manifold, only the pipe)
- Remove heat shield above it
- then carefully remove all the bolts holding the oil sump
- look for replacement part either new(preferred choice) or used one
- Not sure if this part has some gasket also near the bolts
Here is a pic to understand what all sits between the oil sump & me
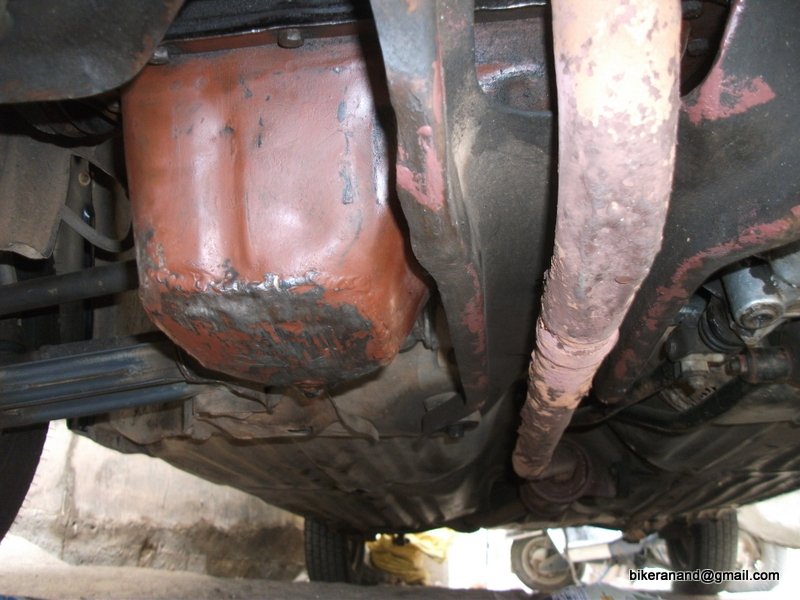
Please let me know if I am missing something here.
Varun I dont think I need to do anything to the cross member, plz confirm.
![Thumbs Up [thumbsup] [thumbsup]](https://www.theautomotiveindia.com/forums/images/smilies/Thumbs%20Up.png)
![Thumbs Up [thumbsup] [thumbsup]](https://www.theautomotiveindia.com/forums/images/smilies/Thumbs%20Up.png)
![Thumbs Up [thumbsup] [thumbsup]](https://www.theautomotiveindia.com/forums/images/smilies/Thumbs%20Up.png)
![Thumbs Up [thumbsup] [thumbsup]](https://www.theautomotiveindia.com/forums/images/smilies/Thumbs%20Up.png) & thanks for uploading the pics.
& thanks for uploading the pics. ![Thumbs Up [thumbsup] [thumbsup]](https://www.theautomotiveindia.com/forums/images/smilies/Thumbs%20Up.png) & thanks for uploading the pics.
& thanks for uploading the pics. ![Thumbs Up [thumbsup] [thumbsup]](https://www.theautomotiveindia.com/forums/images/smilies/Thumbs%20Up.png)
![Wink [;)] [;)]](https://www.theautomotiveindia.com/forums/images/smilies/Wink.gif) ). This morning I checked, I am 100% sure that this leak is not from any other source (like oil filter/steering parts etc) it is coming from the Mseal near the drain bolt. Here are a few pics.
). This morning I checked, I am 100% sure that this leak is not from any other source (like oil filter/steering parts etc) it is coming from the Mseal near the drain bolt. Here are a few pics.

 .
.
![Confused [confused] [confused]](https://www.theautomotiveindia.com/forums/images/smilies/Confused.gif)
![Smile [:)] [:)]](https://www.theautomotiveindia.com/forums/images/smilies/Smile.gif) . Just wanted to point out one thing, the engine oil sump does have a gasket to seal the joint. Please obtain a new one and use the Anabond sealant to stick it on the clean sump surface to prevent mismatch.
. Just wanted to point out one thing, the engine oil sump does have a gasket to seal the joint. Please obtain a new one and use the Anabond sealant to stick it on the clean sump surface to prevent mismatch. 