Bought My First Car - Maruti 800 AC


Status
Not open for further replies.
Thread Starter #166
Joined
Dec 13, 2011
Messages
1,714
Likes
1,083
Location
Bangalore
Yes you are right, but hope this does the job. I guess this primer is used in railway track markings (correct me if I am wrong) Or should I switch to the usual grey primer?
That trial with brush was to convince myself to go for a compressor [;)]

Hmmm you see 10things in pictures where I manage to see only 2 or 3, no wonder you are the DIY guru. If I start anything of the kind I mentioned, there will be good & exclusive discounts for TAIans sure.
 
Thread Starter #168
Joined
Dec 13, 2011
Messages
1,714
Likes
1,083
Location
Bangalore
Thanks Jarpickle, Ok I will stick to this primer itself, I will dilute it with Kerosene/Thinner & spray it all around.
Sanding whole floor is taking lots of time and effort. Will complete the rear seat area & footwell area today.
 
Thread Starter #171
Joined
Dec 13, 2011
Messages
1,714
Likes
1,083
Location
Bangalore
Update on progress - Dashboard + cabin floor Painted

Hi everyone,

Here are the photos with explaination below. I am really happy today, sprayed a coat of Joy on my car [:D]

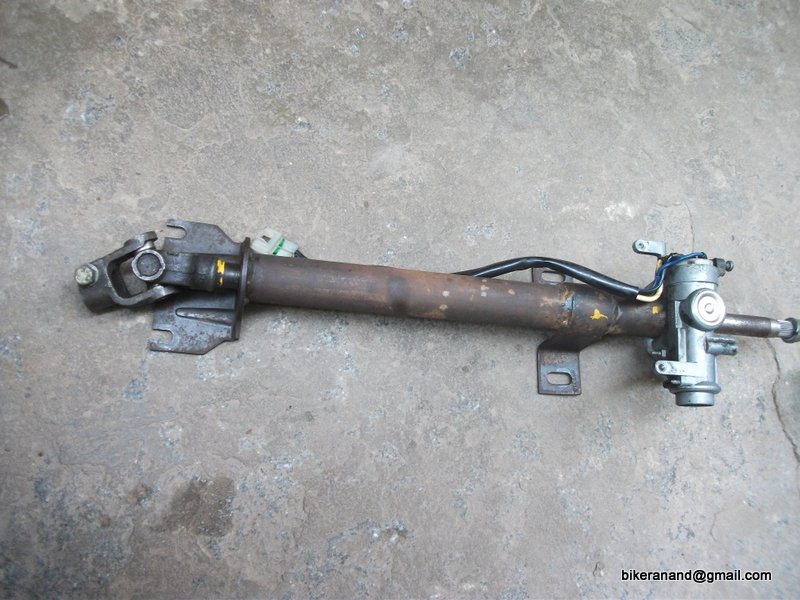
The rusted steering column
1 rusted steering column.JPG


Sanding completed on the rusted steering column with the roll (non branded sandpaper roll available in any hardware shop)
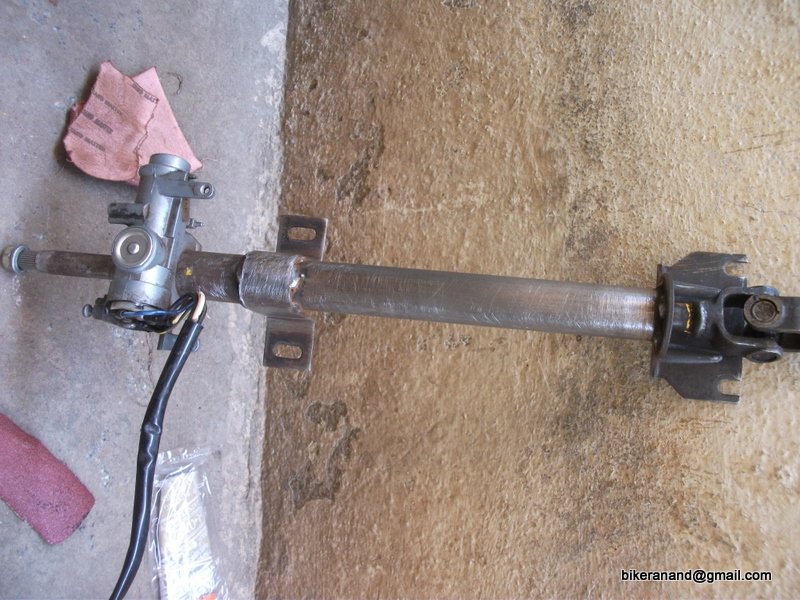
2 sanded steering column.JPG

Painted it with Zinc primer by hand & brush. I was satisfied with the output but made my mind to hire a compressor.
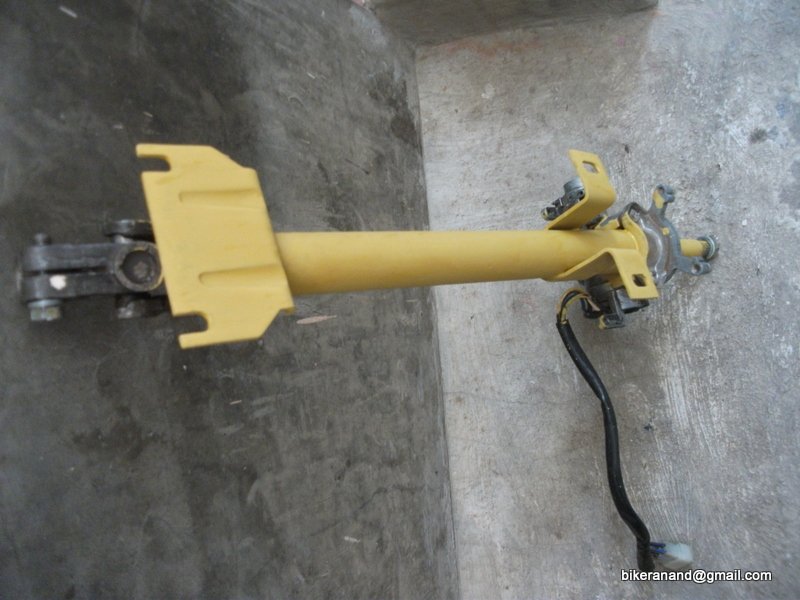
3 Primered Steering column.JPG

I took a compressor on rent from a local automotive paint shop @ 150/day 4 Compressor on rent.JPG
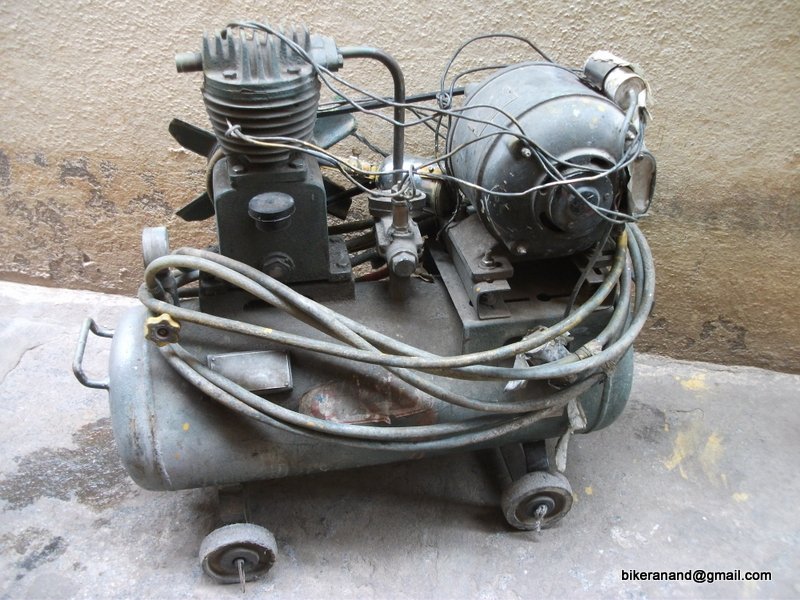
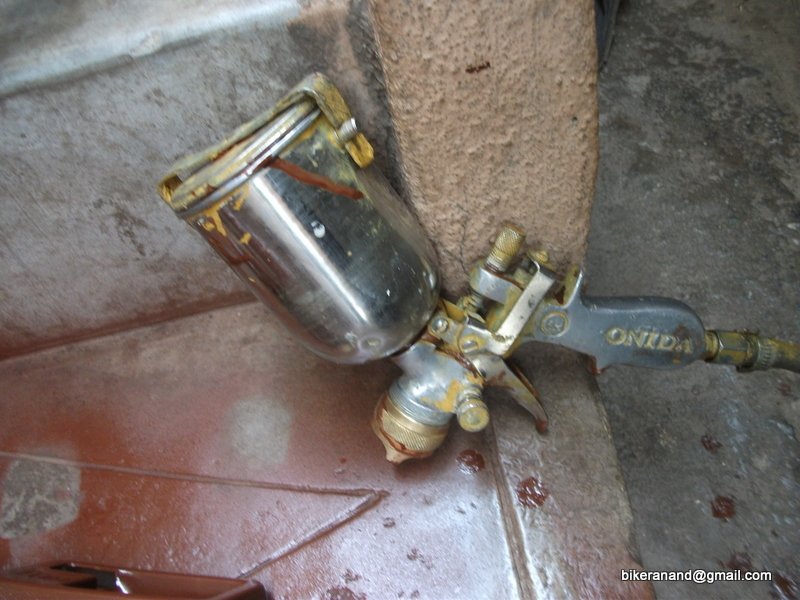
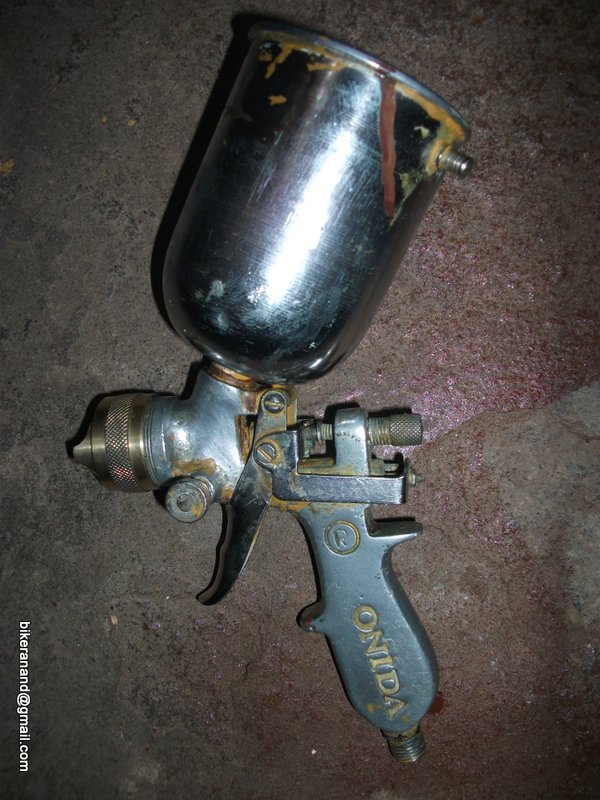
The gun that came with it.
21 the gun I used.JPG

This is the backside of my dashboard, pretty dirty so washed it & dried it sun. 5 Backside of dashboard.JPG
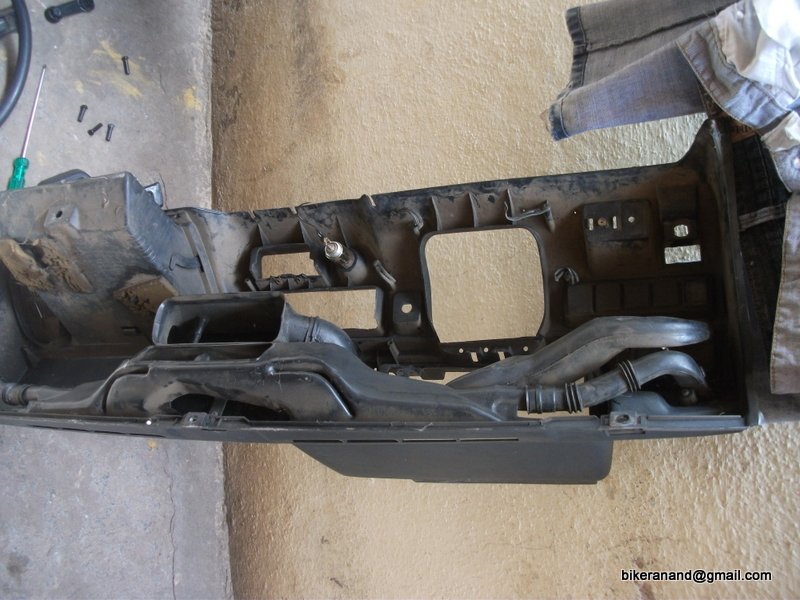
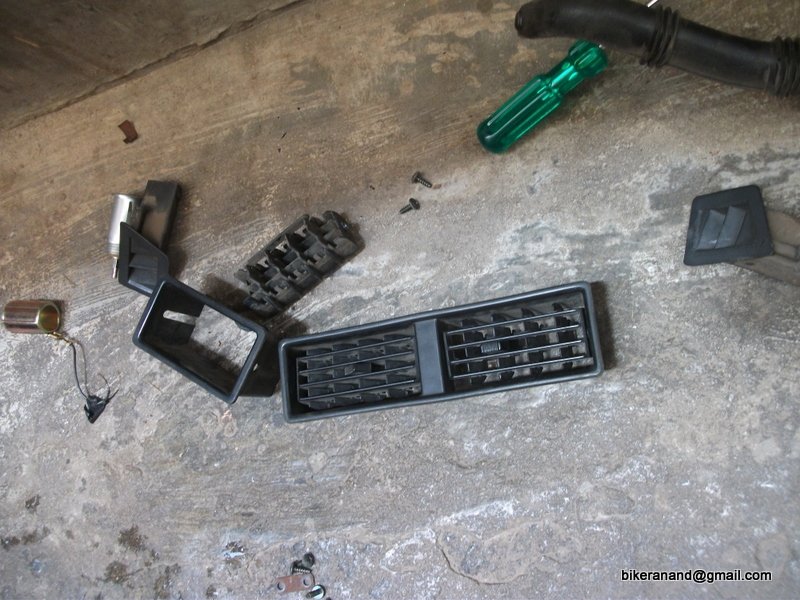
While the dashboard was drying, I dismantled its backside components
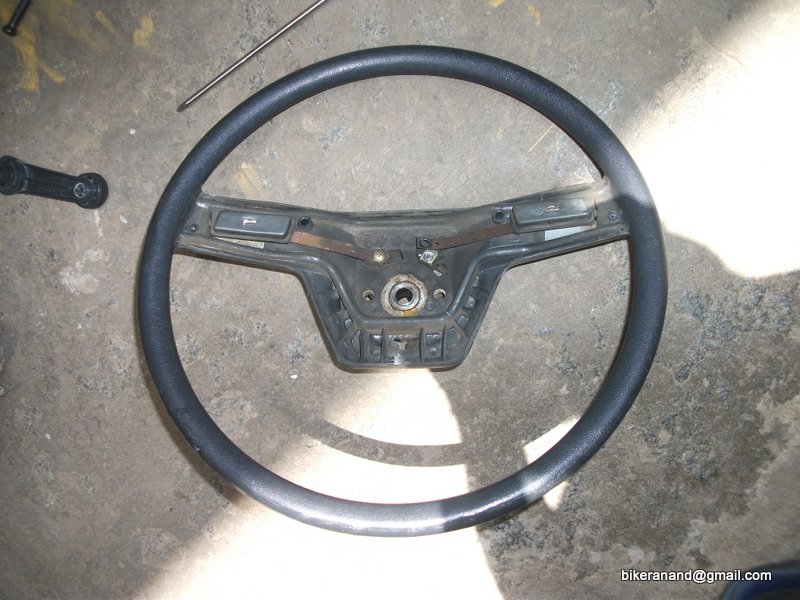
6 Steering column dismantled.JPG
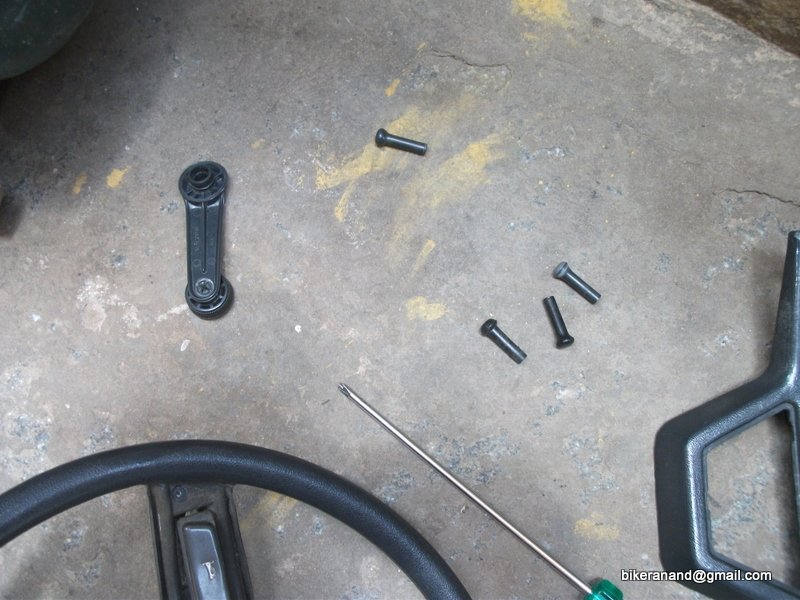
7 door lock knobs.JPG
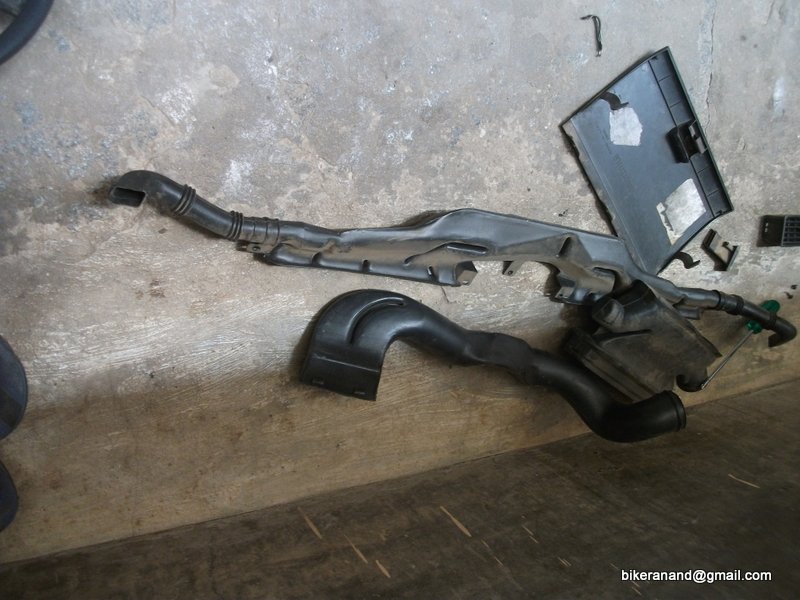
8 Airducts + gloebox.JPG
9 Airvents dismantled.JPG

I washed all the small parts with heavy detergent water & then flushed/rinsed it in normal water. Also used a old toothbrush to clean them when soaked in the detergent water.
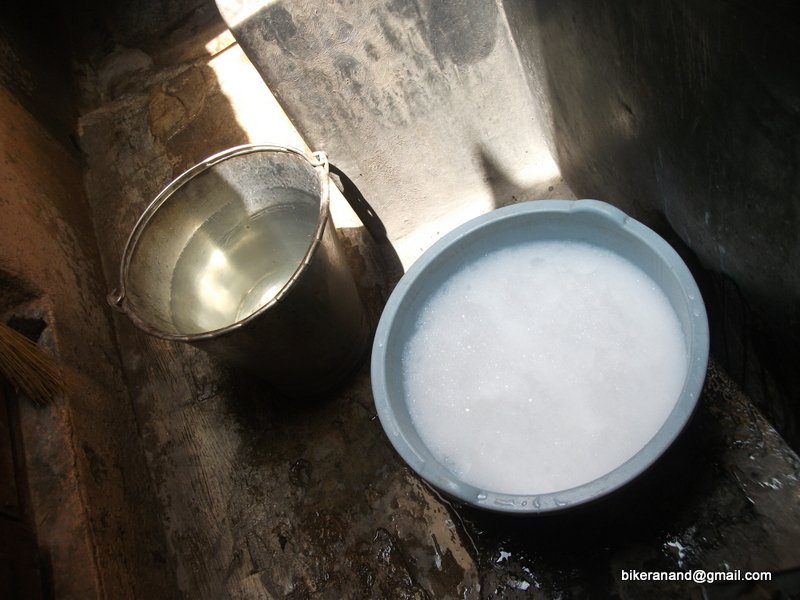
10 detergent + normal water wash.JPG

Finally the dashboard was dry & I wiped it clean with thinner. To remove all dust etc.
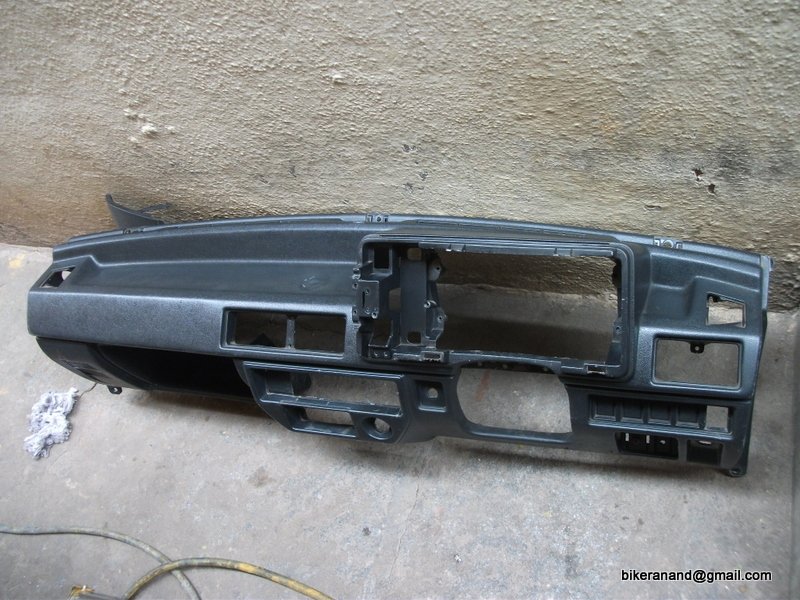
11 Dashboard cleaned with Thinner.JPG

Rest of the parts returned from the terrace after drying & laid down for painting.
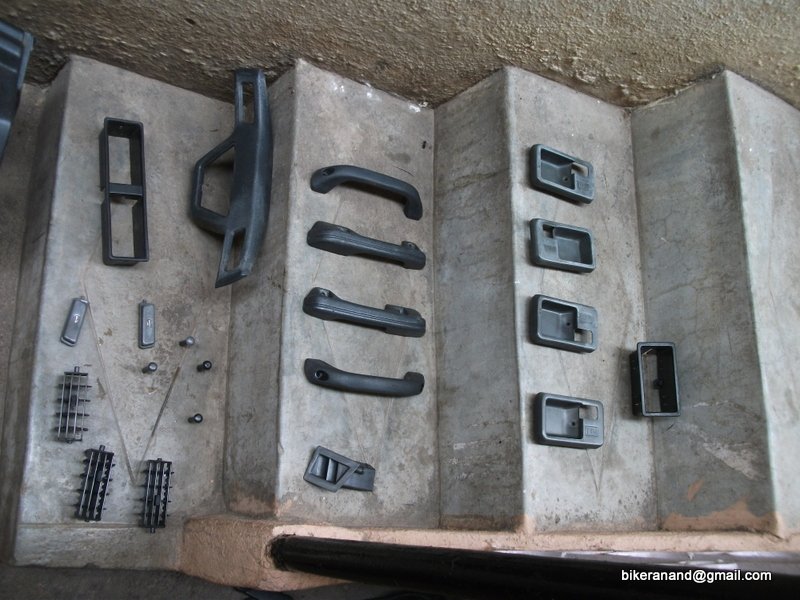
12 Rest of parts lined up for painting.JPG

This is the last picture of my grey dashboard
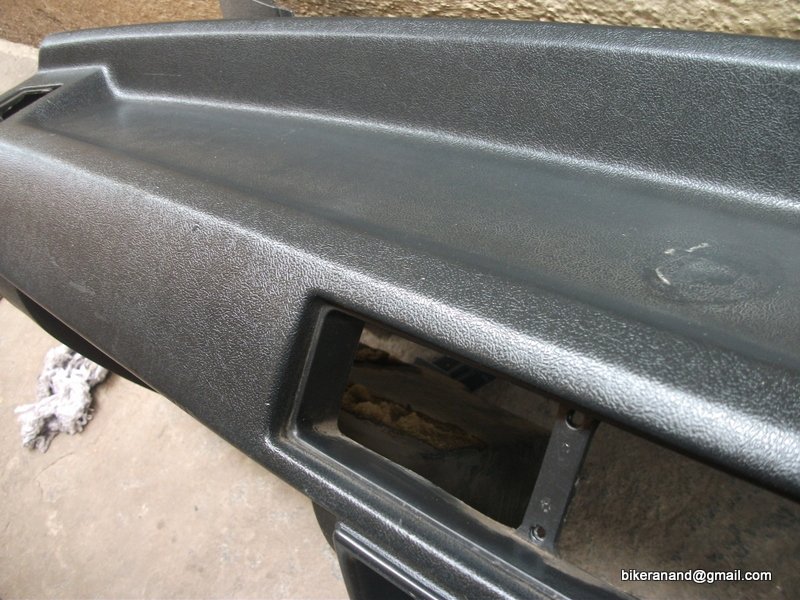
13 Last picture of the grey dash.JPG

Poured the plastic primer in the gun tank (I think that is what they call it)
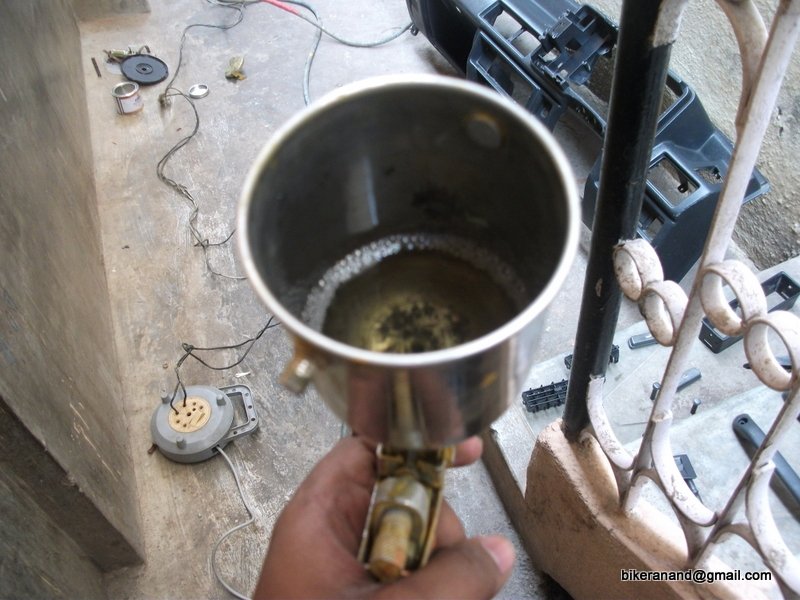
14 Plastic primer in the gun tank.JPG

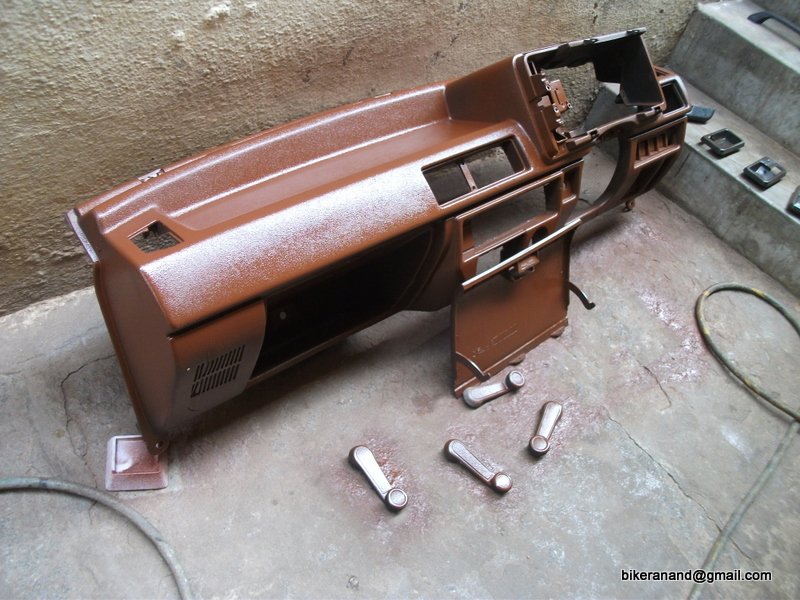
Painting started
16 Painting started.JPG

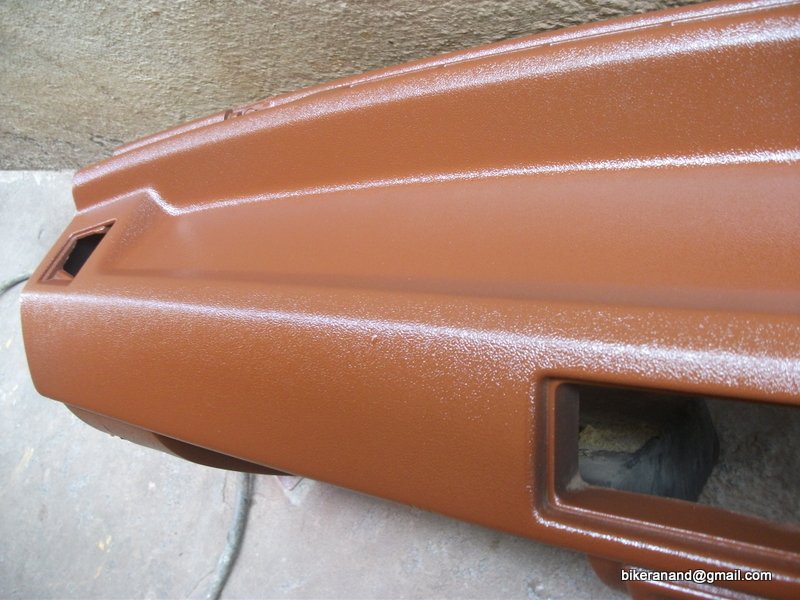
Close up of the dashboard with the first coats of paint
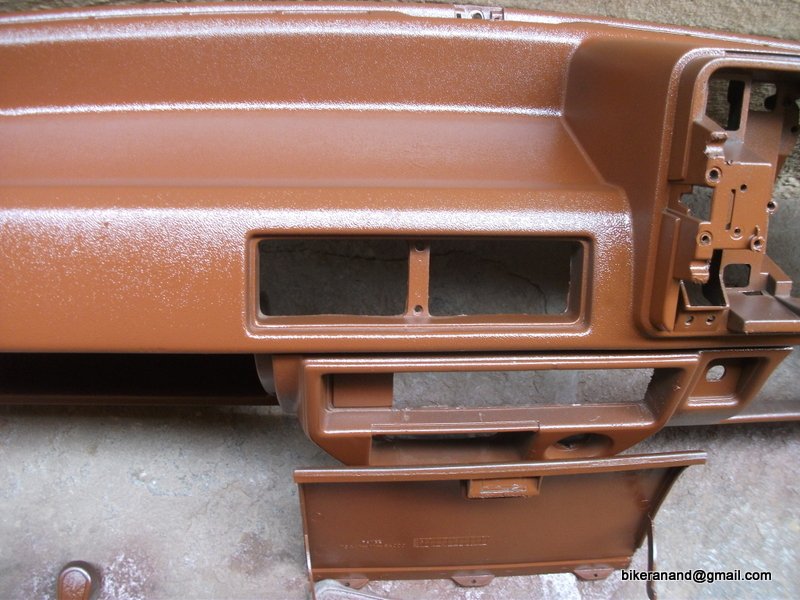
17 Closeup of the dash with first coat.JPG

18 one more close up.JPG

In a josh, forgot the combination I had planned and painted this part also in Brown. It was supposed to be Beige.
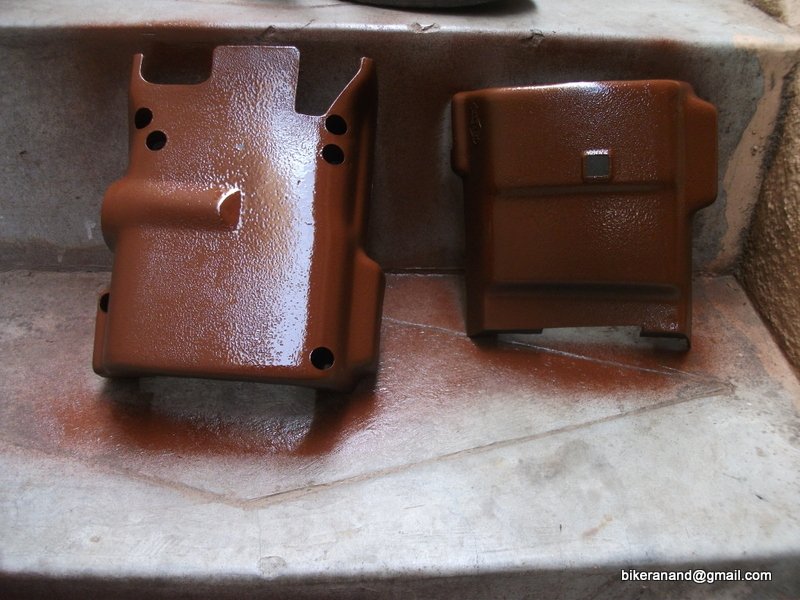
19 brwn by mistake.JPG

I did not carefully adjust the knob at the gun, so failed in painting these items properly. They will be stripped & painted again in a few days.
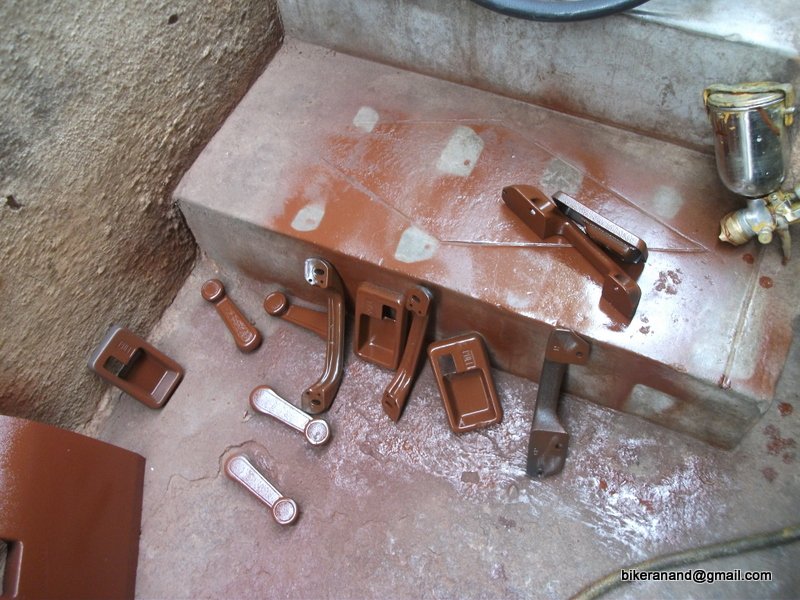
20 goof up is small parts.JPG

Covered the windshield with newspapers so that the Zinc primer doesnt stick to the windshield.
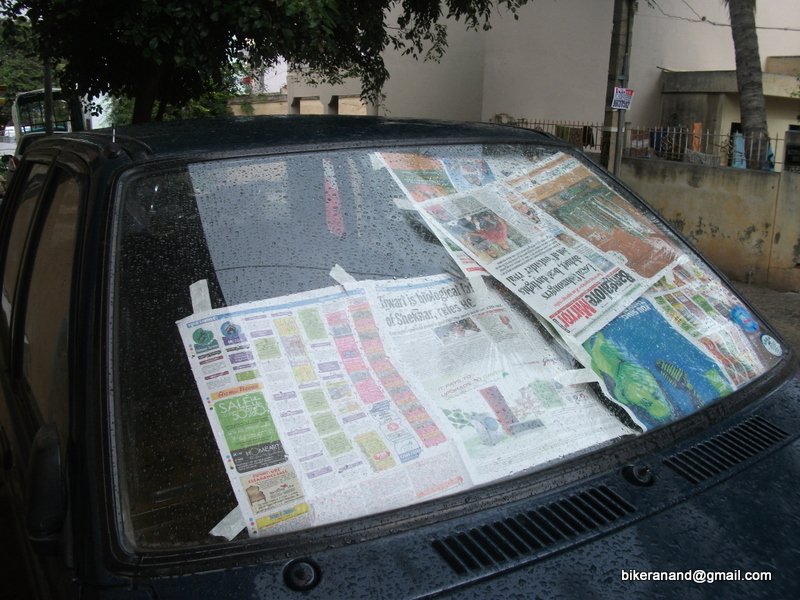
22 covered the windshield to avoid paint droplets.JPG

Primer spraying in progress
23 Primer sprayed.JPG

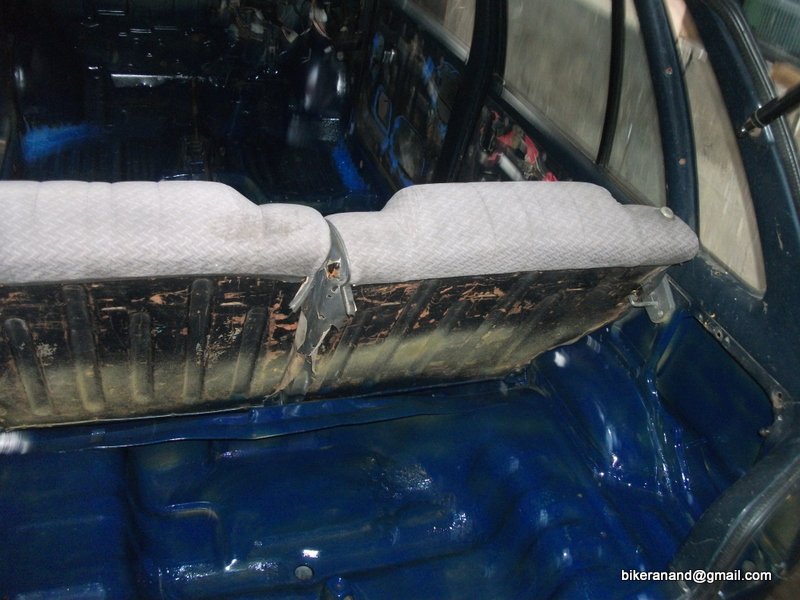
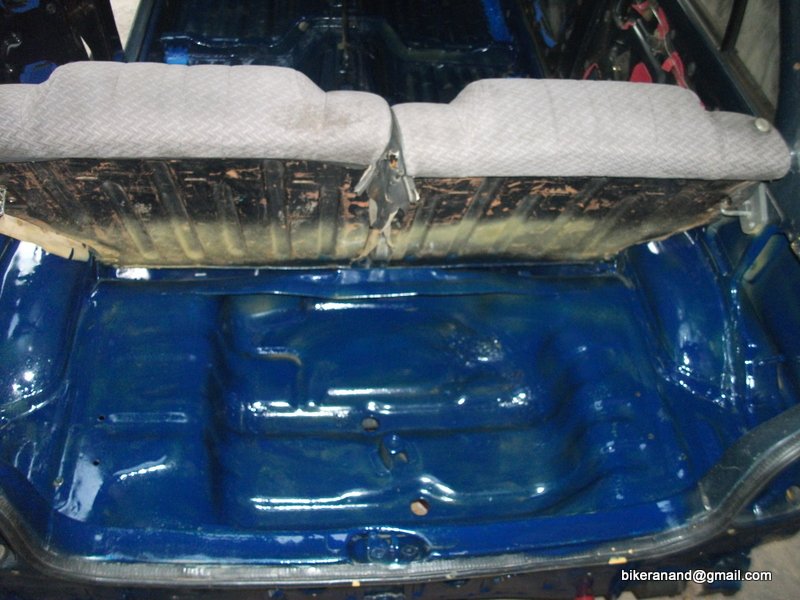
Sprayed too much on the rear seat are without much sanding, this is what happened.
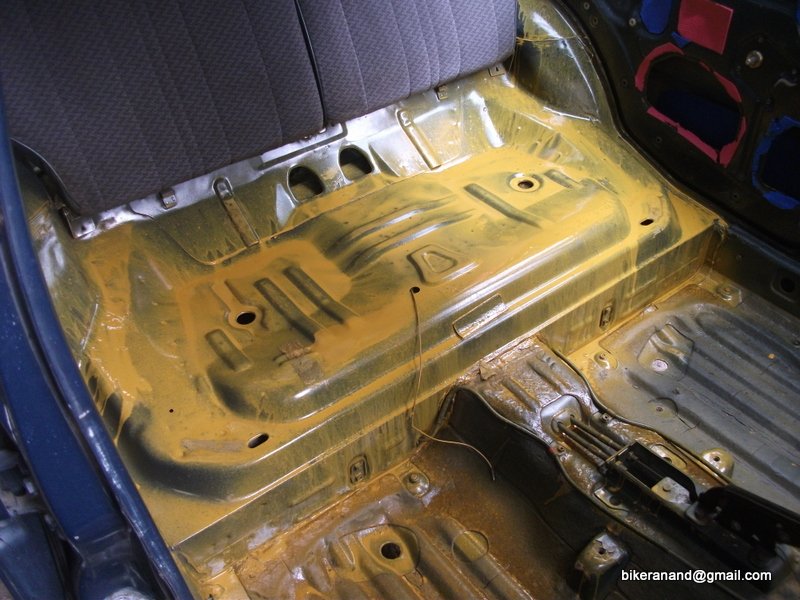
24 excess spray on tank.JPG
 
Thread Starter #172
Joined
Dec 13, 2011
Messages
1,714
Likes
1,083
Location
Bangalore
Update continued...

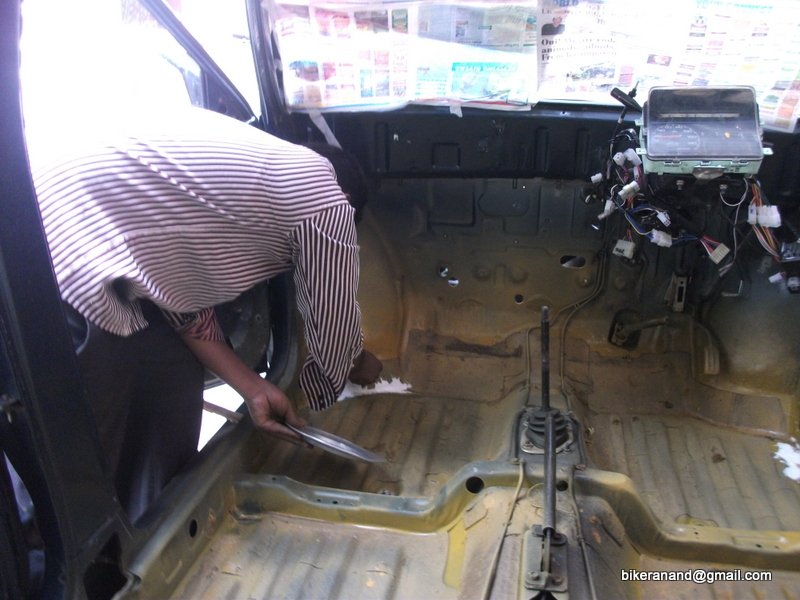
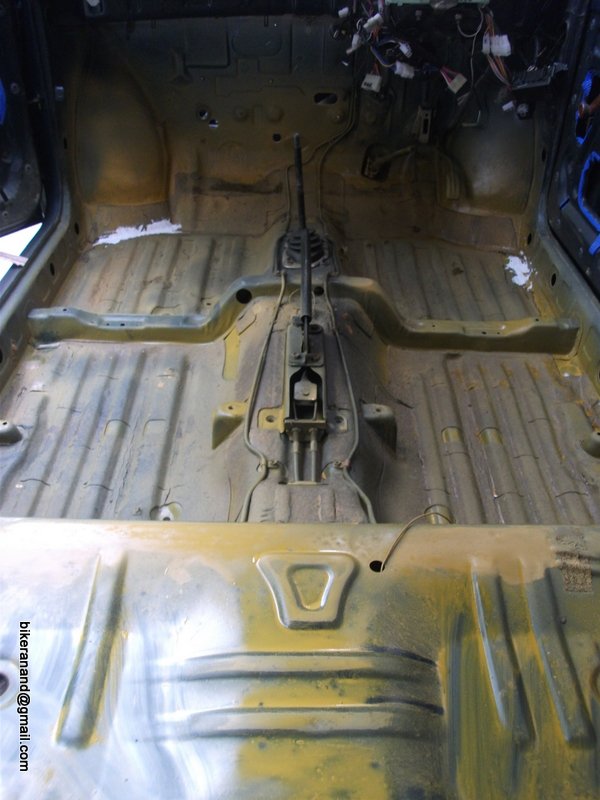
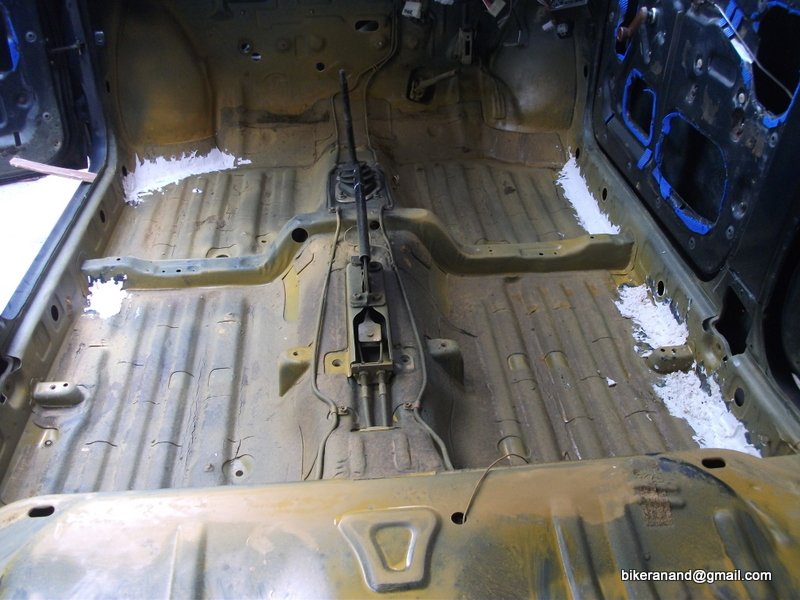
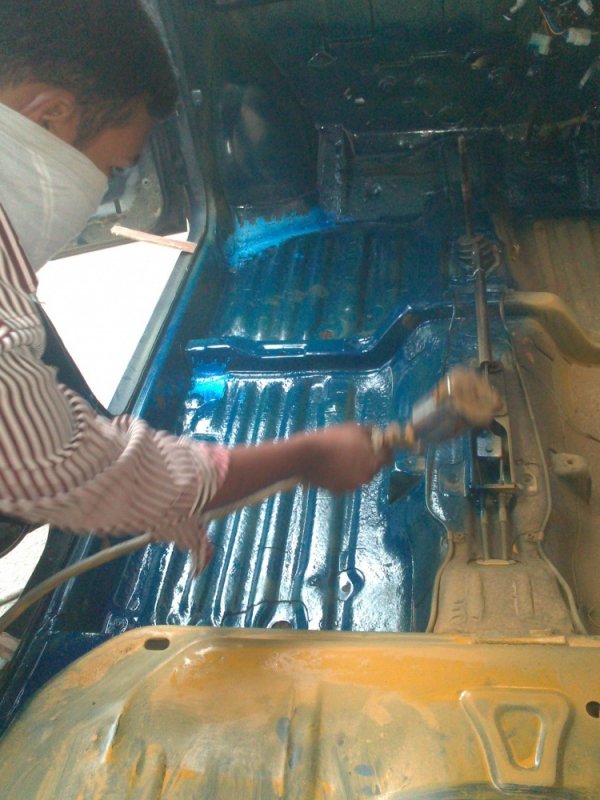
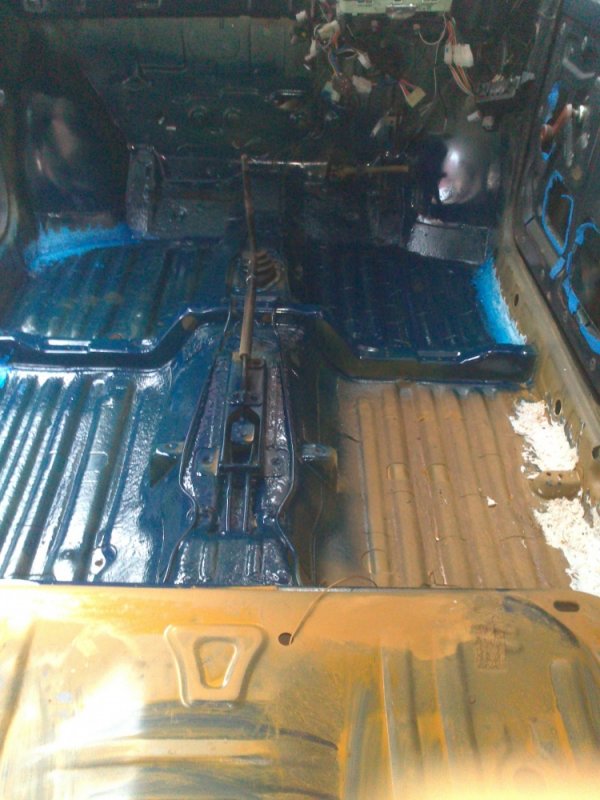
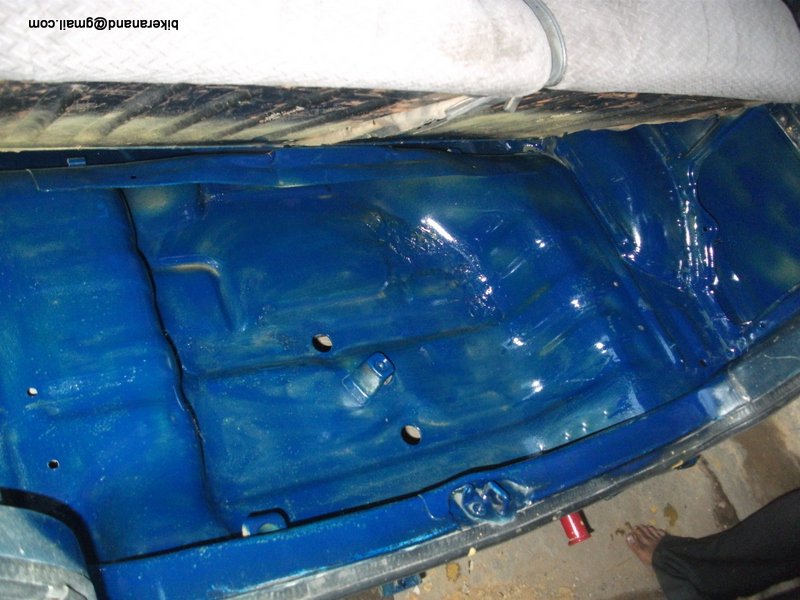
Started spraying primer on the car floor (Which sanded partially wherever required + wiped with thinner wet cloth)
25 primer on floor.JPG

26 footwell one more shot.JPG

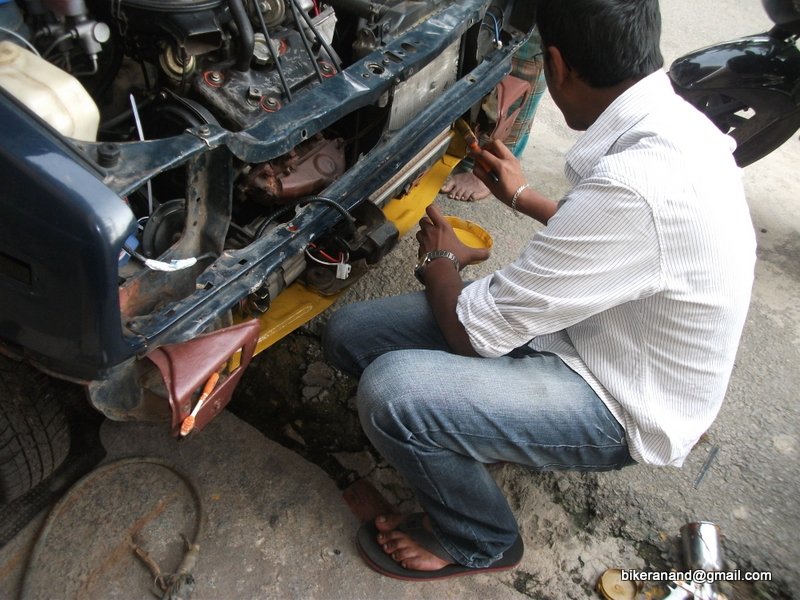
One of my close friend joined me & he started to rub off the rust from cross member & painted it with the primer.
27 cross member.JPG

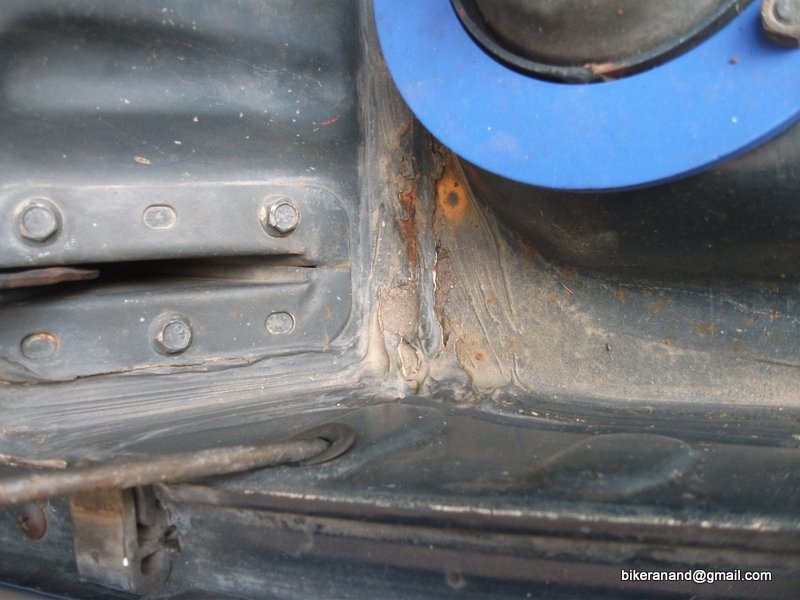
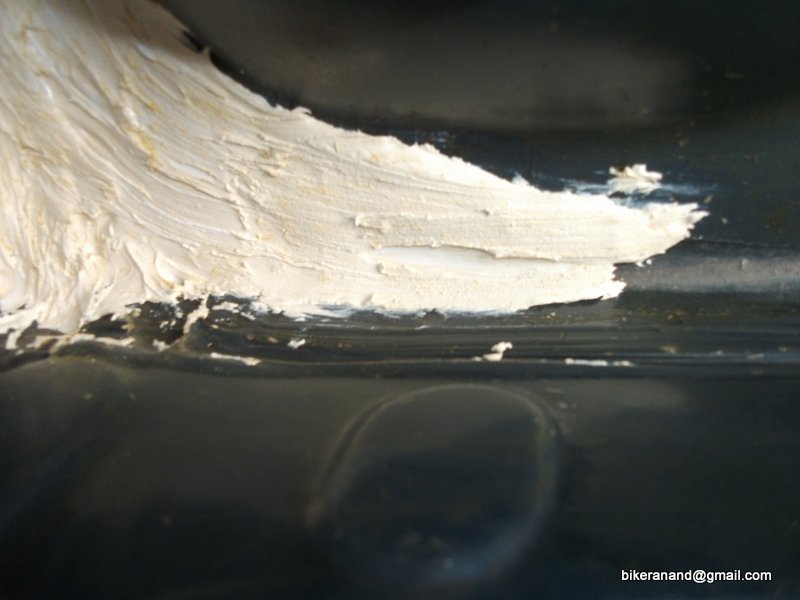
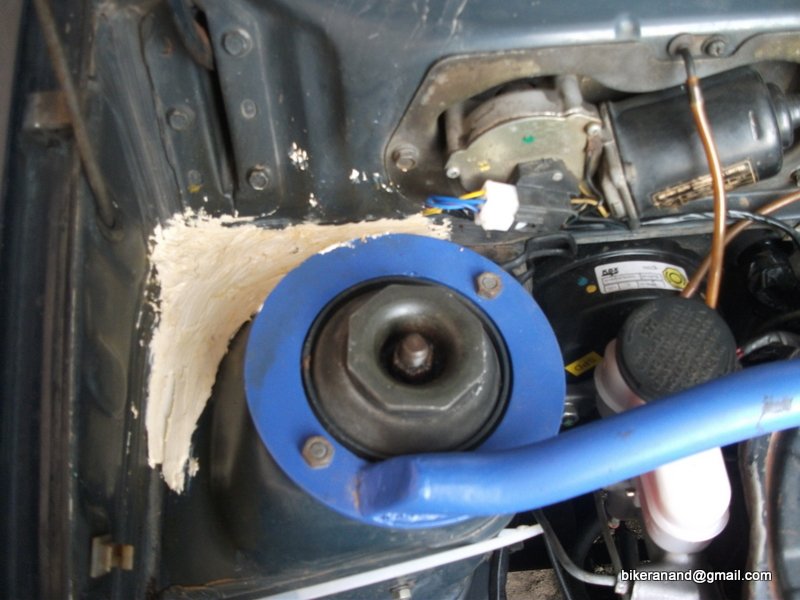
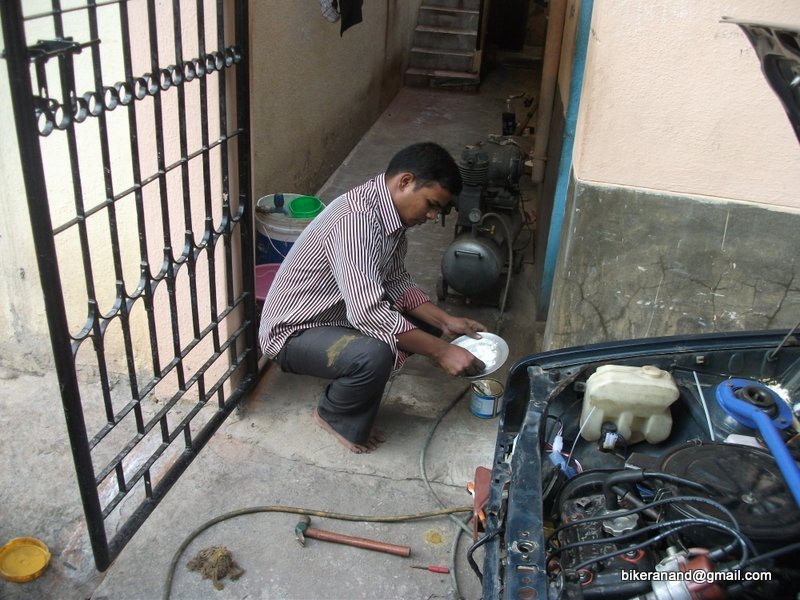
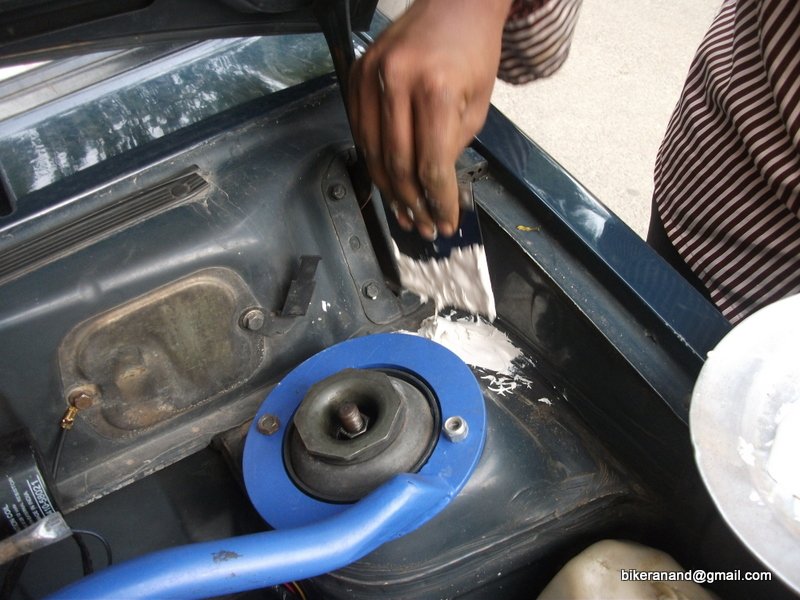
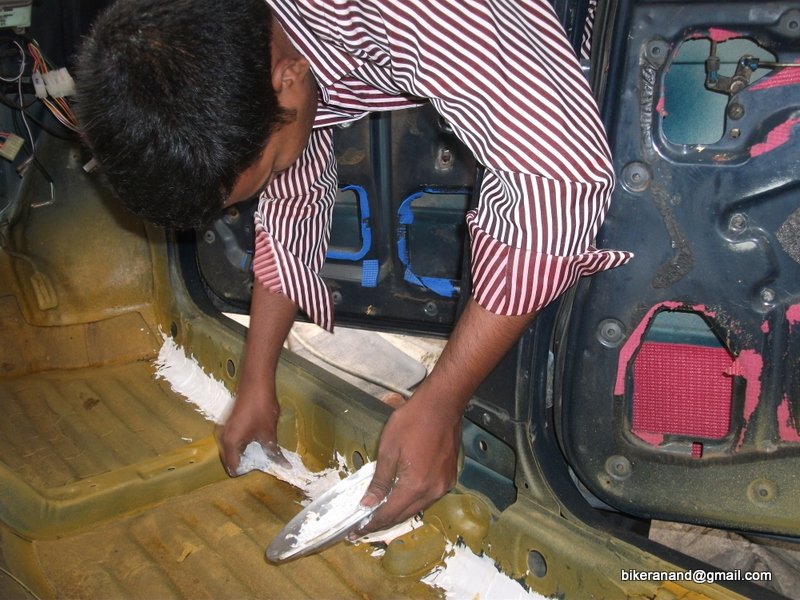
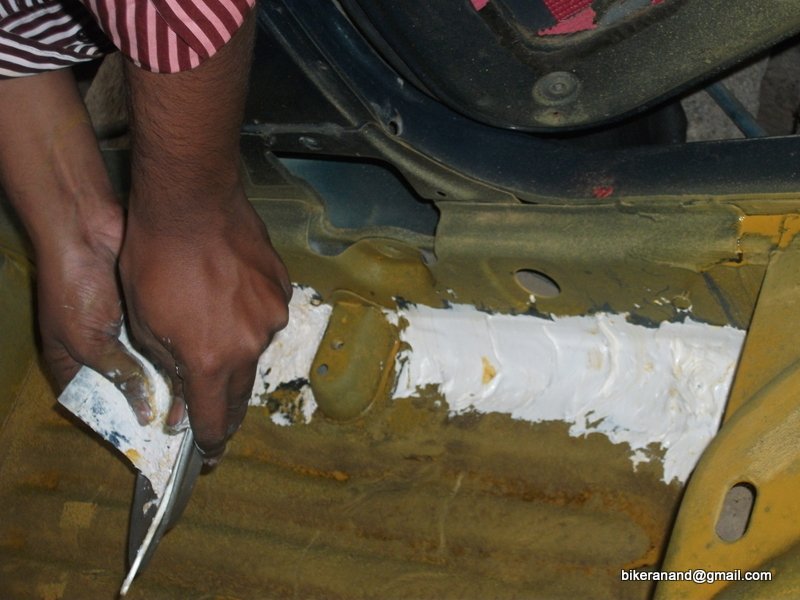
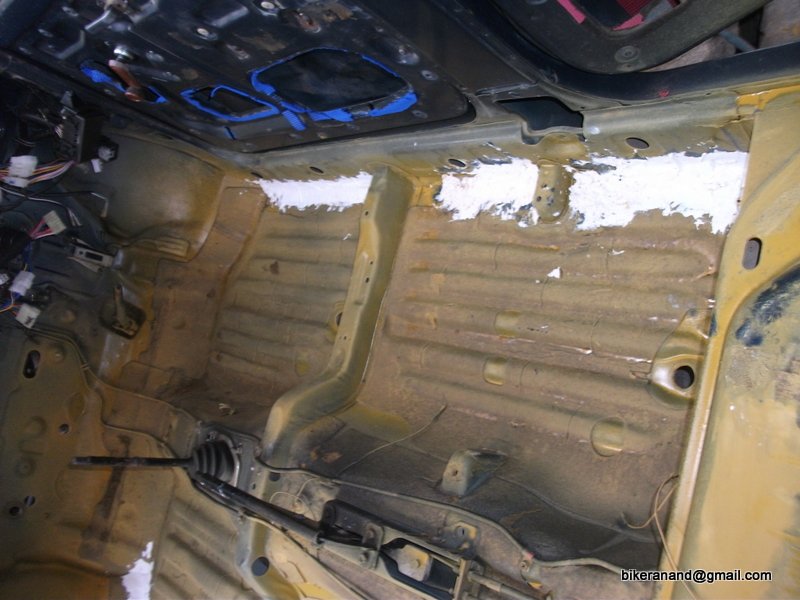
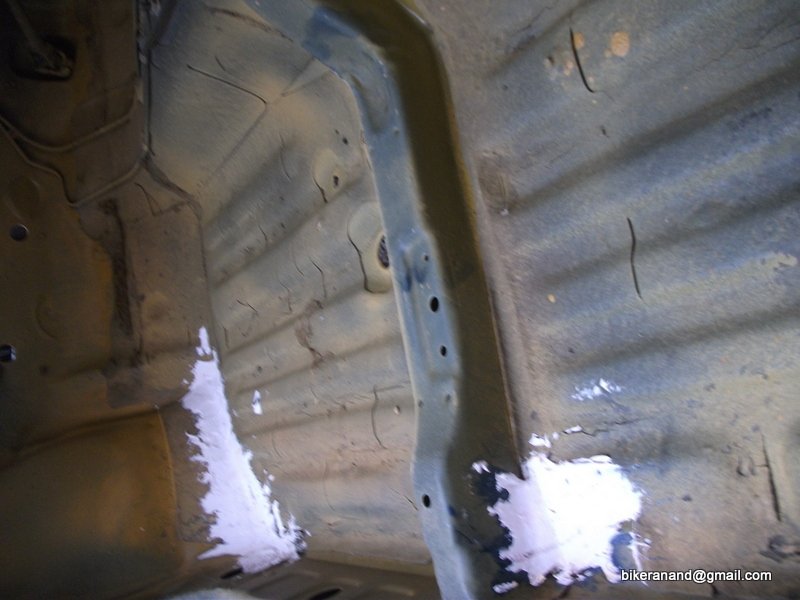
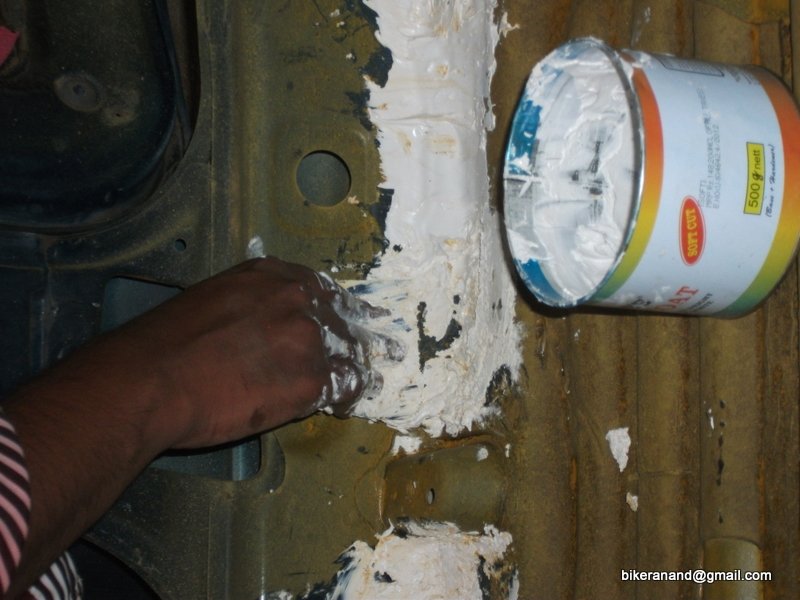
Rain water stagnates in the strut area in my car, so I used a screw driver removed old filler & filled fresh body filler there. Finishing isnt so clean, but will rub off using sandpaper so that outer edges look better.
29 strut area rusting.JPG

28 Body filler for the stryt area (1).JPG

30 filler srtut shot.JPG

31 filler filling.JPG

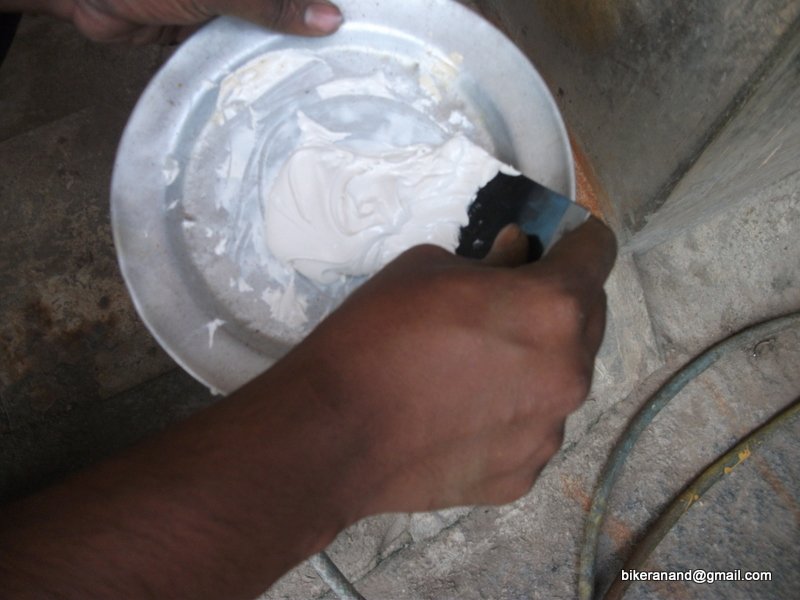
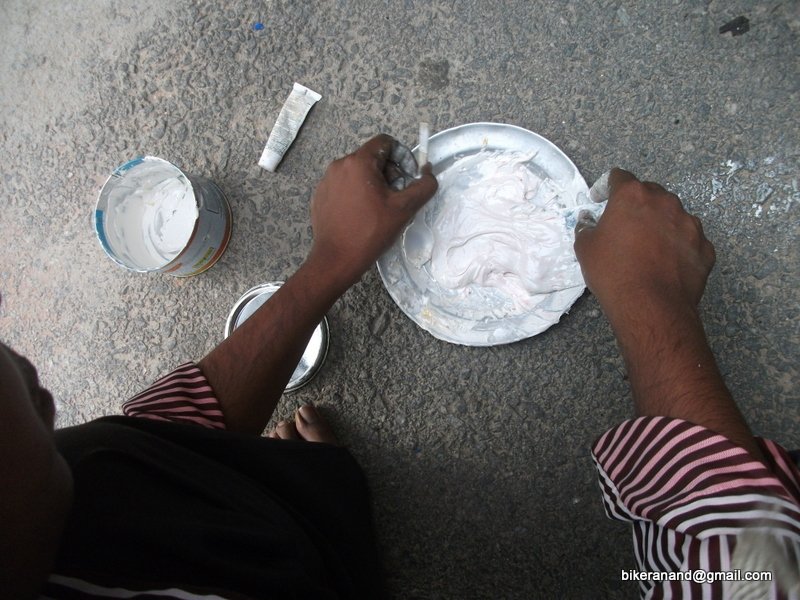
The filler preparation, i used the whole tin I had bought. Very useful.
32 Me & Filler.JPG

33 Filler application (1).JPG

34 Filler application (2).JPG

Almost done with the filling
35 long shot.JPG

36 long shot.JPG

37 filler + hardener.JPG

Filled all corners where water & dust usually stagnates
38 filling corners.JPG

39 filling corners.JPG

This is one more mistake I did, I used too much of hardener with the filler & this is the mess I created. Managed somehow later.

40 too much hardener.JPG

41 filling almost complete.JPG

42 another shot.JPG

43 done filling.JPG
 
Thread Starter #173
Joined
Dec 13, 2011
Messages
1,714
Likes
1,083
Location
Bangalore
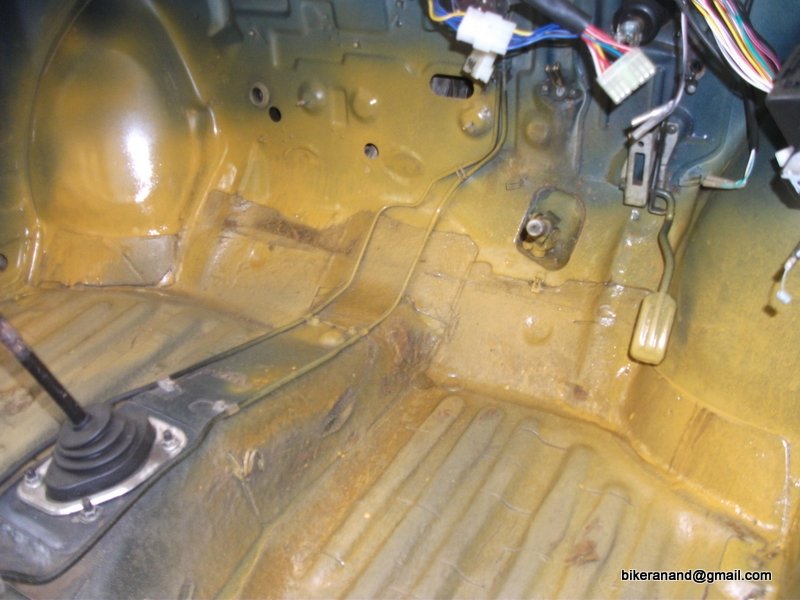
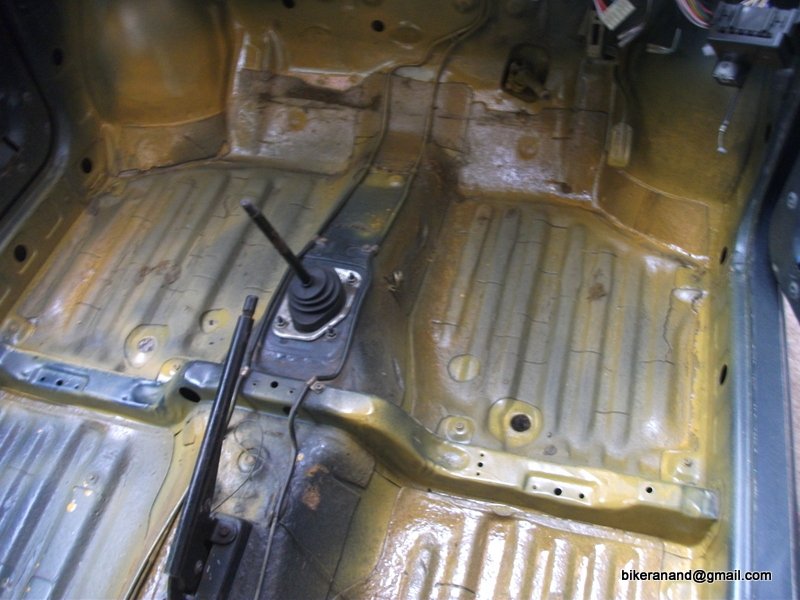
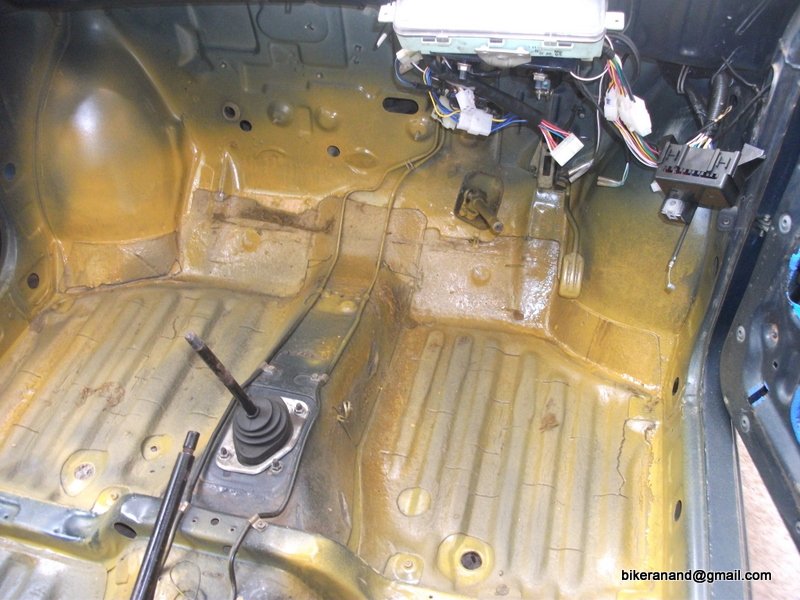
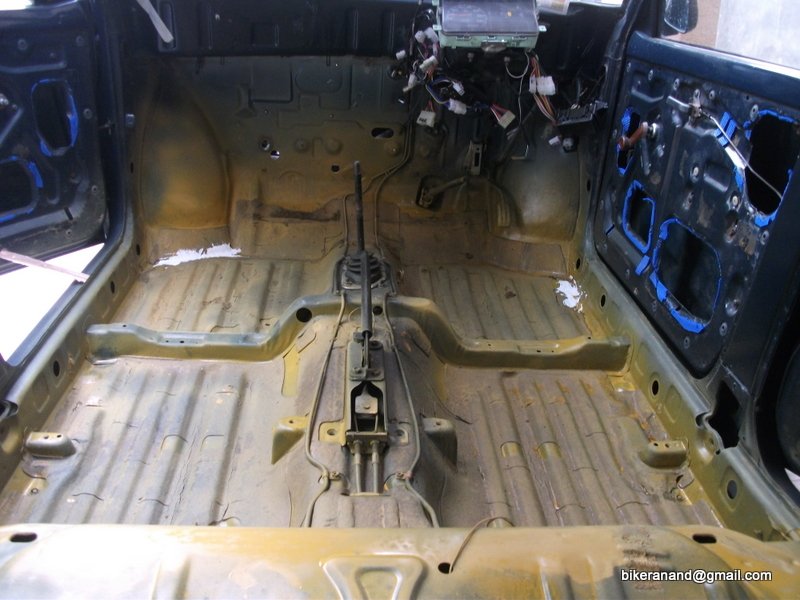
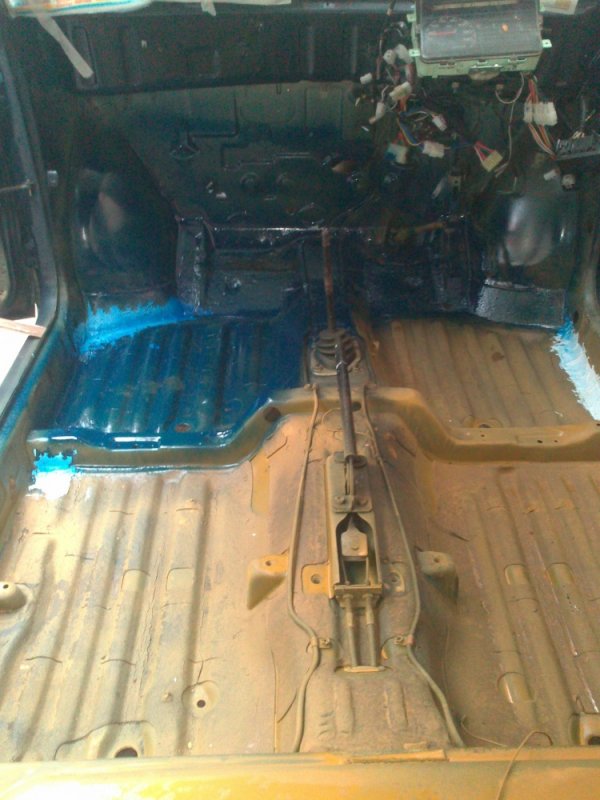
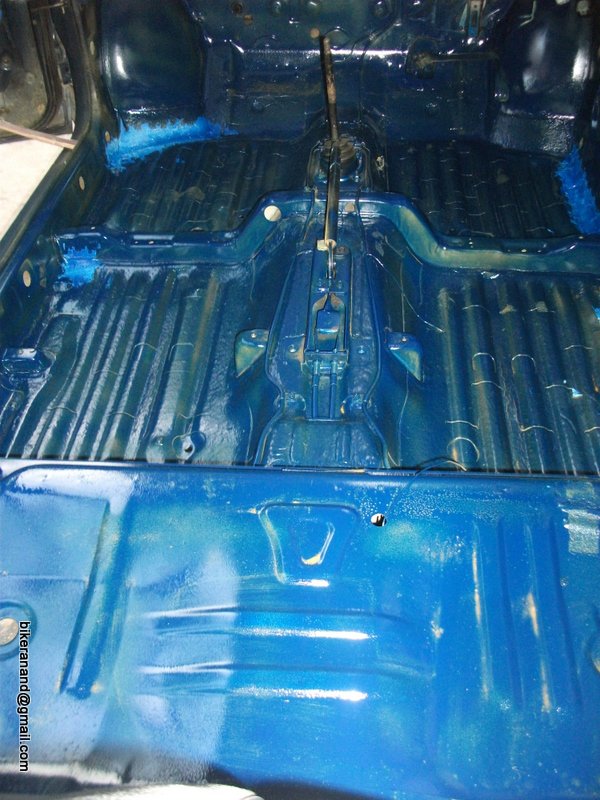
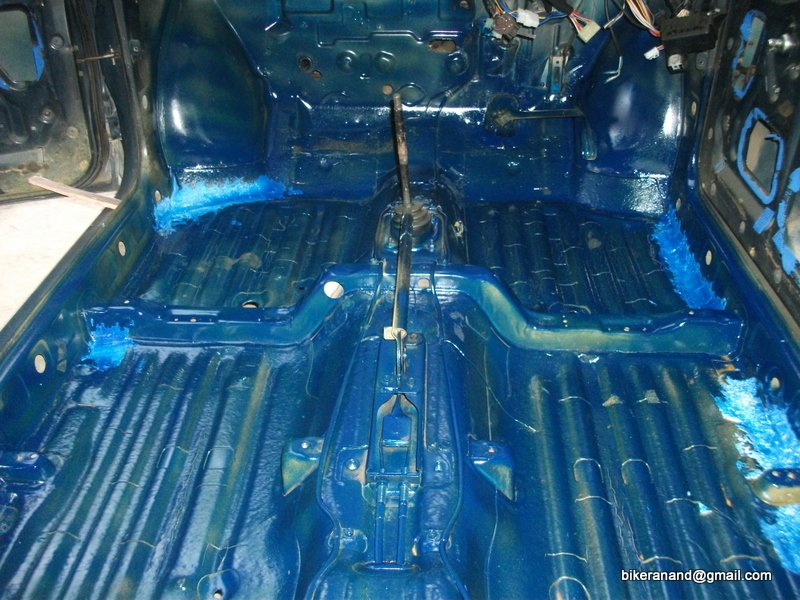
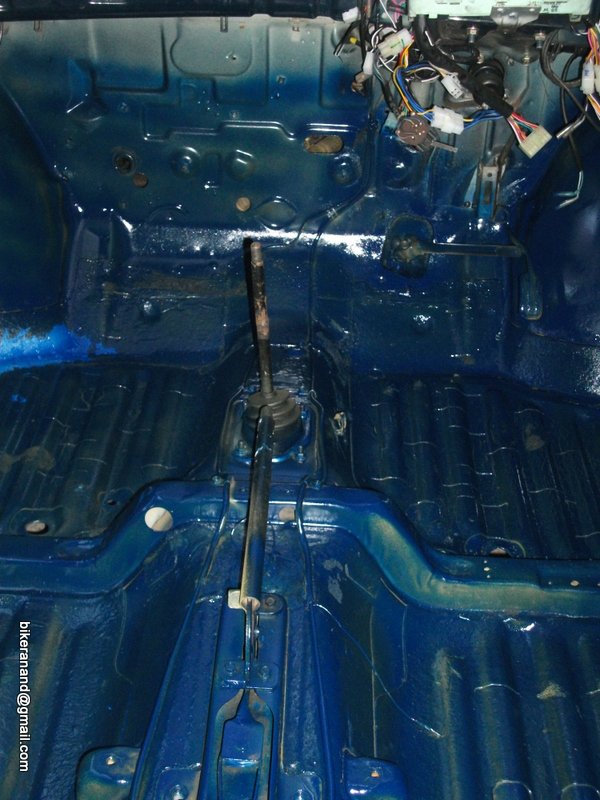
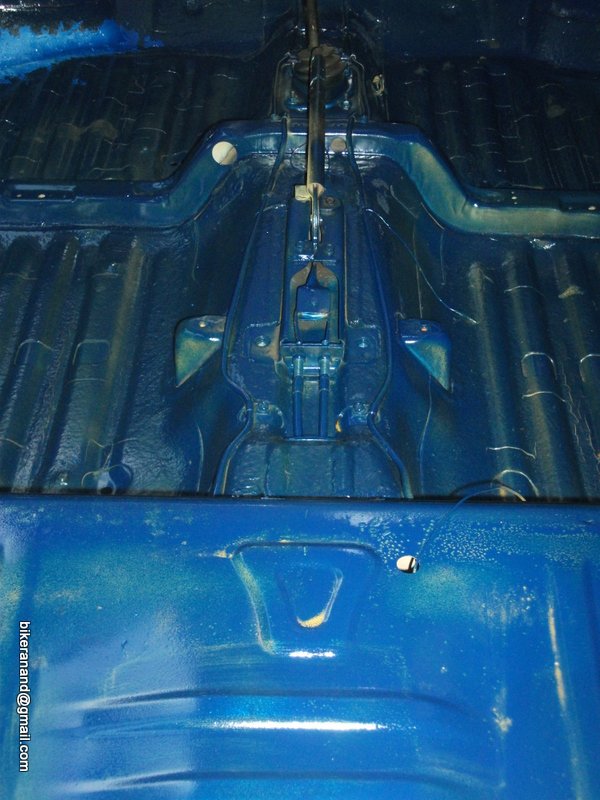
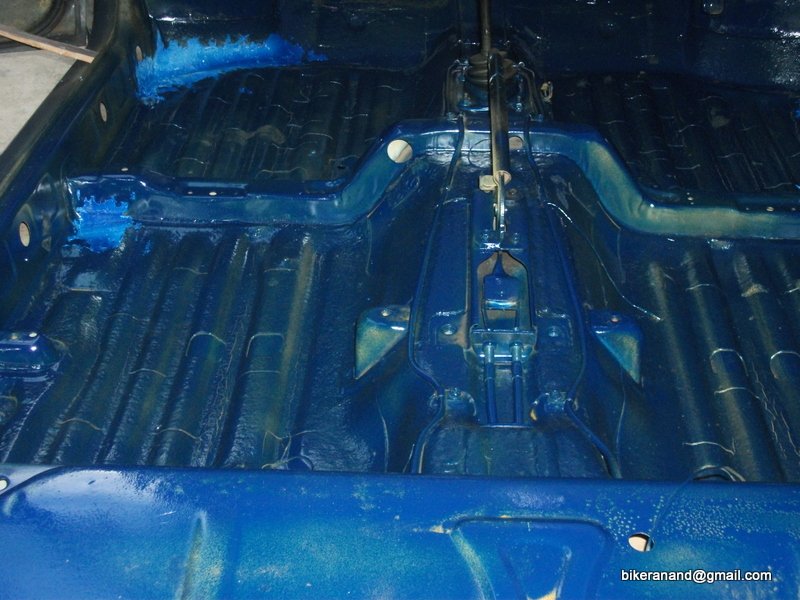
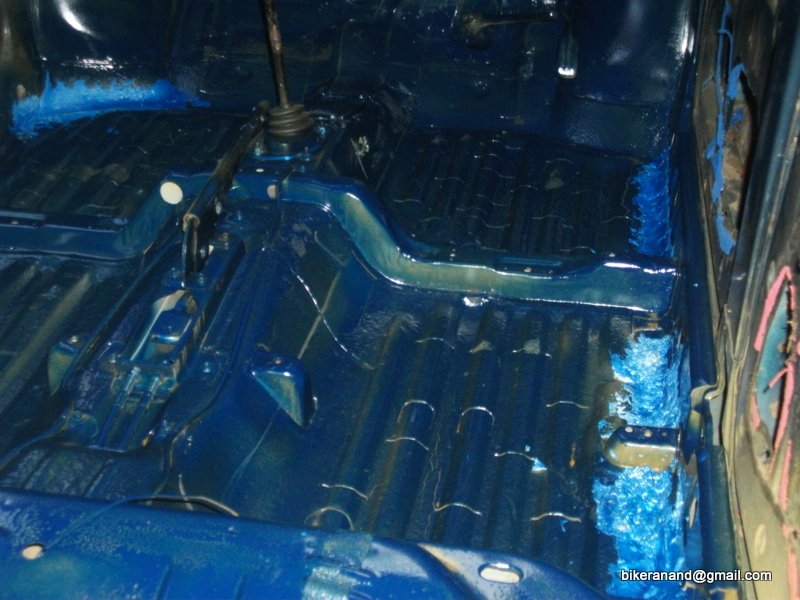
Cabin floor painting done

Allowed the Primer to settled own & dry to some extent. Before that wiped off excess primer in areas where I oversprayed.

Started from a corner & it went on till I ran out of paint. 200ML is enough for 1 good coat for whole floor. May be because I sprayed a bit more on the footwell areas.

1 Paint.jpg

2 paint.jpg

3 paint.jpg

4 paint.JPG

5 paint.JPG

Footwell area got two coats with a gap of few mins
6 footwell good.JPG

7 wheel well.JPG

8 wheel well.JPG

Some more pictures
9 some more.JPG

10.JPG

11.JPG

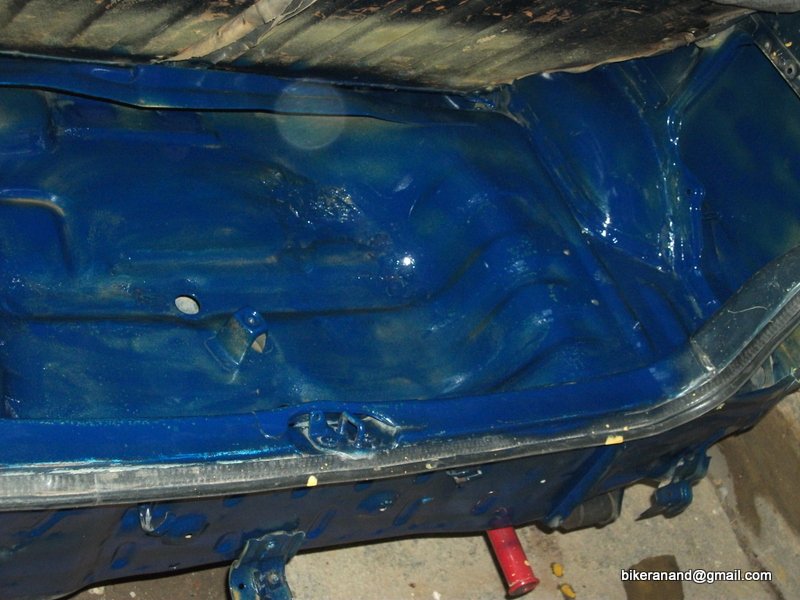
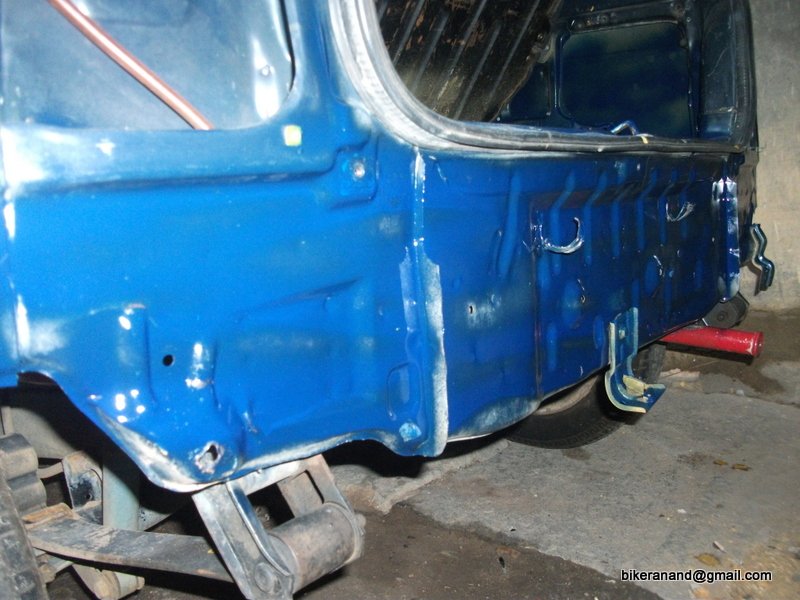
Painted the gaps (behind tail lamps too - only a mild coat)
12 wheel well + bumper.JPG

A single spray just behind the bumper
13 benind bumper.JPG

I have missed a couple of areas while painting just like this one. It was already 6pm & visibility was a bit low, so missed out quite a few places, even on the floor (where front seats fit)
14 wheel well missed spot.JPG

All done, cleaned the gun with Thinner & will have to return it tomorrow morning.
15 Packed up + clean gun.JPG

My friend badly in need of a break just like me [;)]
16 friend.JPG

Spent more than 6hrs in all this, apart from wiping parts with thinner etc. In between powercut, etc etc.

Some points I learnt during this painting course
  1. Using too much of hardener in paint/ filler is pretty bad, result is ugly
  2. Know your paint gun well, use all available options to get the best spraying action like wide / narrow
  3. Kerosene cannot substitute Thinner in all places, so have atleast half litre thinner
  4. Thinner comes in two types - High Quality & ordinary
  5. High quality is the one used to dilute the paint
  6. Ordinary is used to wipe off dust from surface to be painted
  7. Choose Closed areas with good sunlight (no tube lights can substitue for that)
  8. Be prepared, the colour in your mind may not be the colour that gets sprayed
  9. Let the compressor run for atleast 30 seconds before you start spraying
  10. Do not trust the pressure indicator on the compressor, they dont work most of the times

Varun: Thanks for the firing order information.

Jarpickle: I had to paint the car outside my home, no indoor parking space at my home. So no matter how much I wipe the floor etc there is some amount of dust below the final paint that is now applied. Painting indoors is the only solution for this.

I will post the Videos tomorrow, where I have recorded some of my work.

Good night everybody.
 
Joined
Jul 5, 2012
Messages
149
Likes
7
Location
Lucknow
Great progress ss80 the dash looks very nice, i am sure it will turn out real nice when completed.
In one of the pics you mentioned the water stagnating around the strut area. I think this is a common problem with 800s, even mine has the same problem.
Anyways FYI the old filler you mentioned around that area isn't a filler its a SEAM SEALER (a rubberized seam joint sealing compound to protect corrosion)
Overall all a very nice progress, looking forward to more updates soon.
 
Thread Starter #175
Joined
Dec 13, 2011
Messages
1,714
Likes
1,083
Location
Bangalore
Thanks a lot Samsag12. While I was removing the old Seam Sealer (which I thought was a body filler :stupid:) it was pretty hard, very solid unlike the body filler that feels like rubbery after sometime. Is it ok to leave the body filler there? Is it manually possible to put the Seam Sealer? Sorry troubling you with more questions
 
Joined
May 1, 2011
Messages
3,594
Likes
761
Location
Bangalore
Great. Thanks for the update. Dash board looks good. It would have been better if the color would be little more darker.

I guess the floor requires one more coat of paint. Also don't forget to paint the seat (at the back).

Try painting the A,B,C pillars in beige color it would look good.

Finally, the job done is great. BTW when is the project going to finish ?
 
Joined
Jul 5, 2012
Messages
149
Likes
7
Location
Lucknow
Thanks a lot Samsag12. While I was removing the old Seam Sealer (which I thought was a body filler :stupid:) it was pretty hard, very solid unlike the body filler that feels like rubbery after sometime. Is it ok to leave the body filler there? Is it manually possible to put the Seam Sealer? Sorry troubling you with more questions
Clearing doubts is never a trouble, my friend you can trouble me anytime [:)]

Regarding the use of Seam sealer, its actually a formula specially made to prevent corrosion at seam and spot weld joints. Its readily available at most Automotive paint shops by the name 3m Seam sealer, costs somewhere around Rs.800. It comes with a nozzle which helps in laying the solution over the welded joints.Bondo body filler can't substitute this product & my personal opinion is its a great product, really helps in the long term.
Using it is purely up to you, just keep in mind it has a sort of shelf life after its opened and can go dry. I am not 100% sure about this though.
 
Thread Starter #180
Joined
Dec 13, 2011
Messages
1,714
Likes
1,083
Location
Bangalore
I Wonder, you have dismantled all the parts, but why not the rear seat?
Hmmmm I am unable to unscrew the six screws which are holding it to the floor. In an attempt to unscrew it I have spoilt a couple of screw drivers already. May be a cordless screw driver can remove it, not sure though

Clearing doubts is never a trouble, my friend you can trouble me anytime [:)]

Regarding the use of Seam sealer, its actually a formula specially made to
Thanks again, will keep a note of this product & will use in later paint jobs.

Waiting for the results [;)]
Me too:stupid: I wish I could fix everything back within a fortnight from now. Not sure though.

Great. Thanks for the update. Dash board looks good. It would have been better if the color would be little more darker.

I guess the floor requires one more coat of paint. Also don't forget to paint the seat (at the back).

Try painting the A,B,C pillars in beige color it would look good.

Finally, the job done is great. BTW when is the project going to finish ?
I am thinking of changing the rear seat backrest with the fixed one (single piece backrest) as this one tends to tear/ crack the cross member on the floor. Most of the time my car is driven with 2people or five people (including me ofcourse) The person sitting in the middle puts a lot of pressure on this thin crossmember which gives away after sometime, sqeaking noise is also more thanks to this. Mine is already damaged, yet to get it welded. Also I need some good headrest for the rear seats, simple welding will be done (fixed permanently - no up & down movement)so that people in backseat too will feel comfortable.

Any suggestion/ picture on which cars rear headrest to use?

I wish I could fix everything back within a fortnight from now. Not sure though.
 
Status
Not open for further replies.
Top Bottom