Thread Starter
#166
Hi,
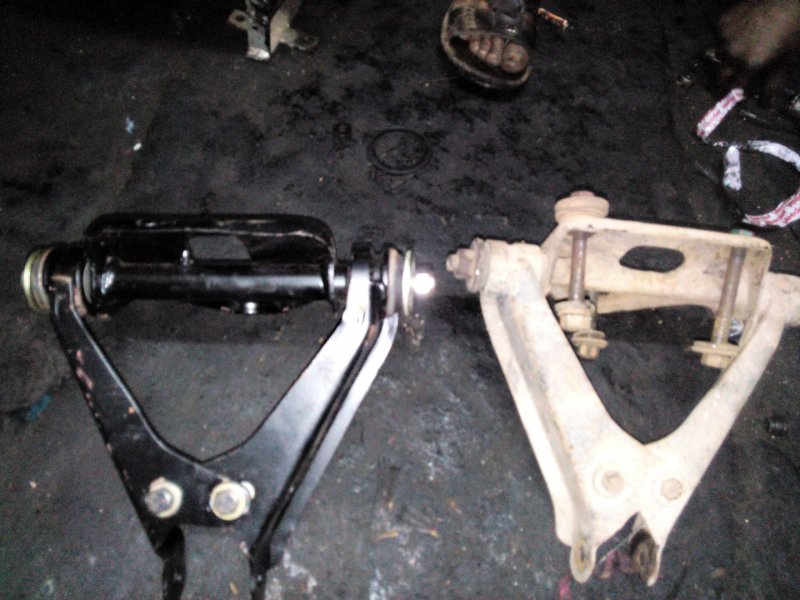
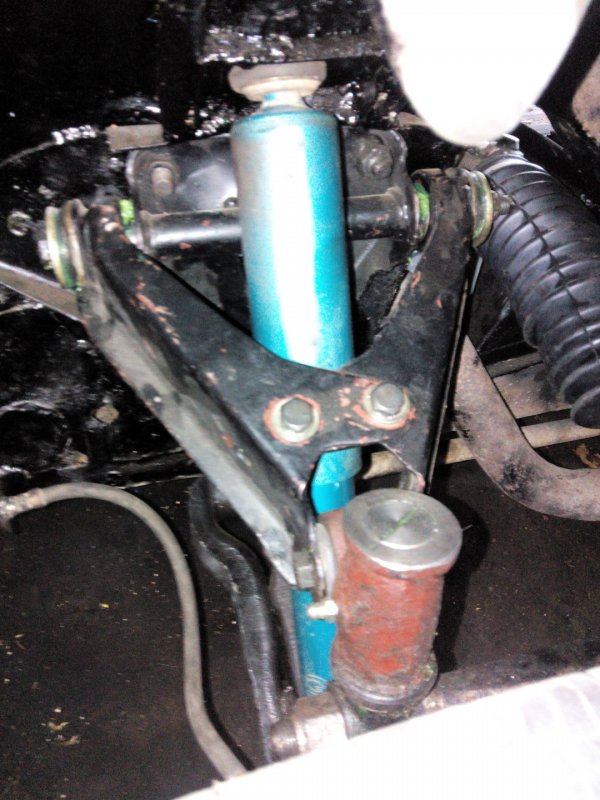
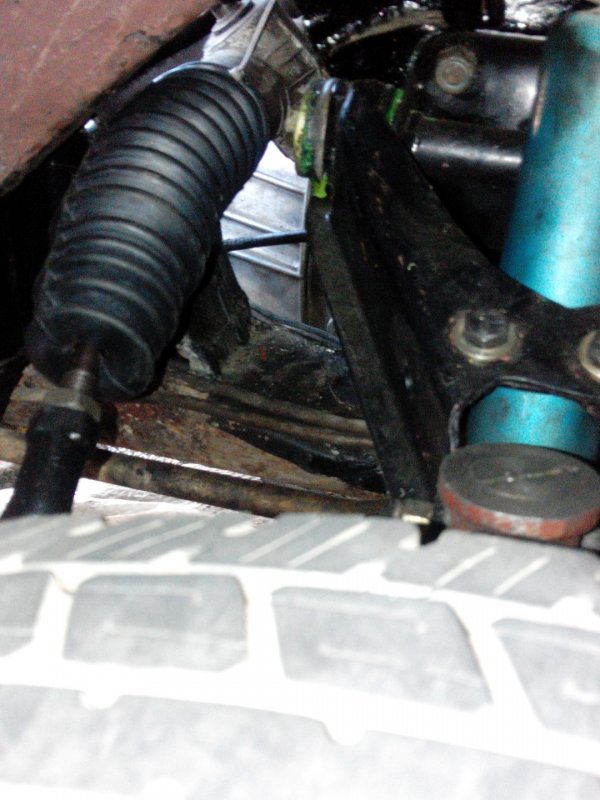
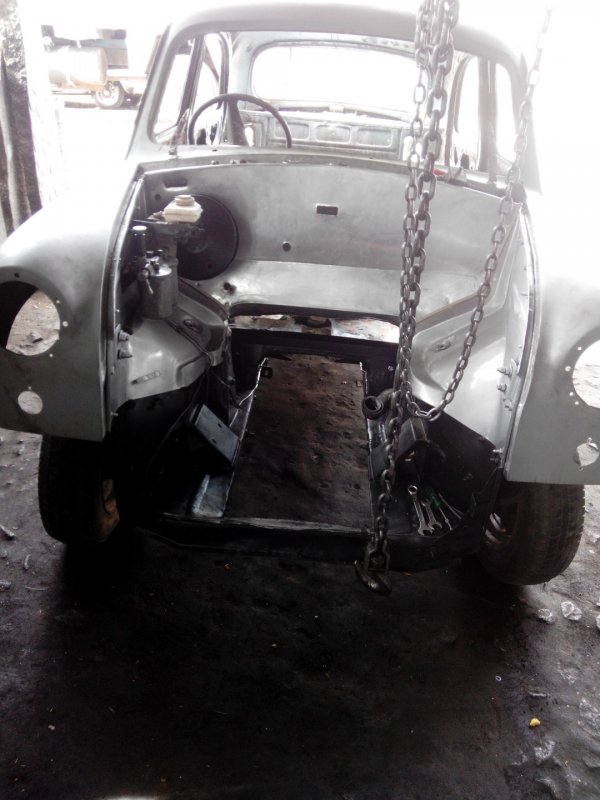
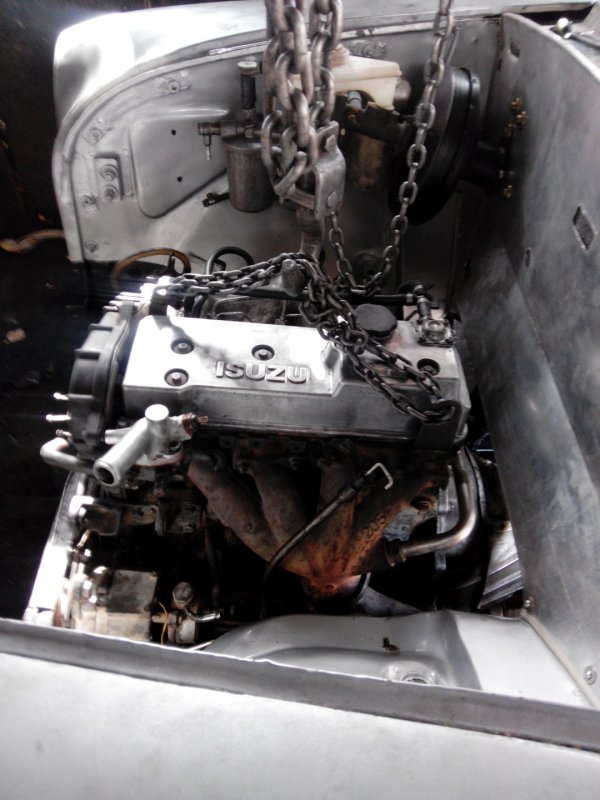
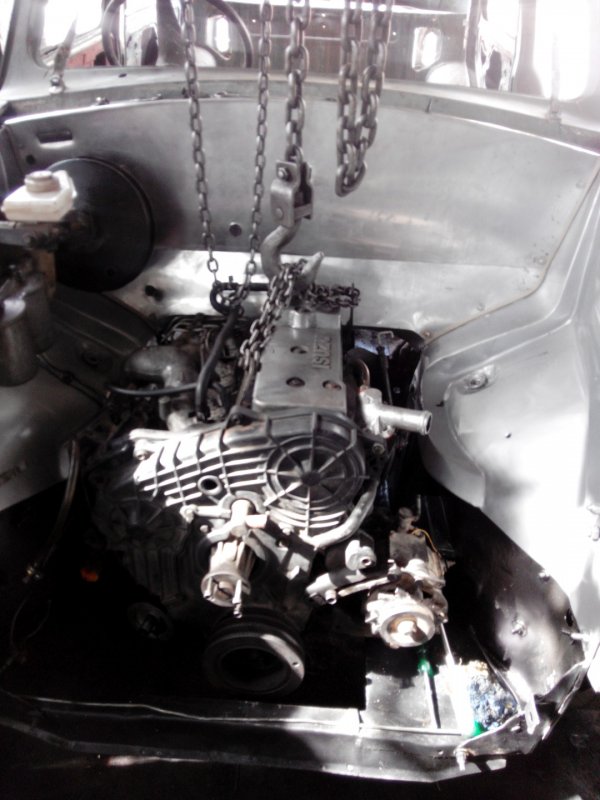
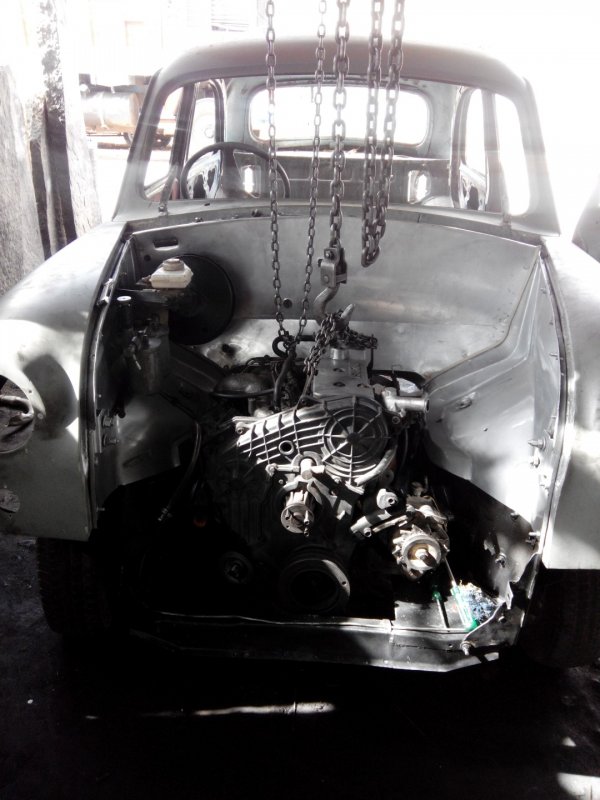
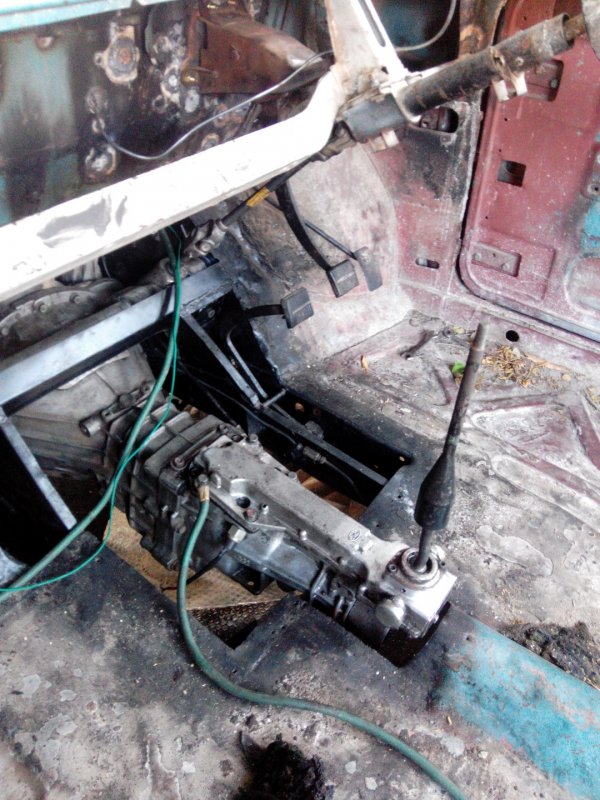
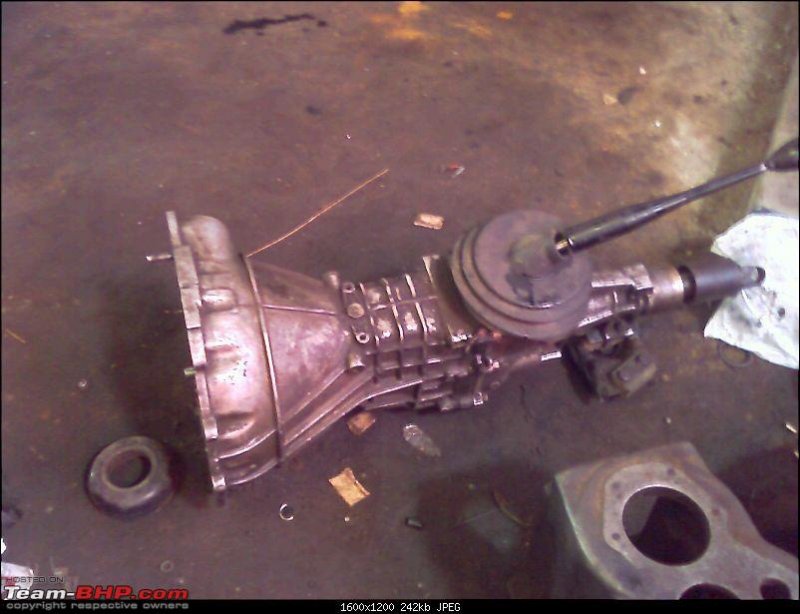
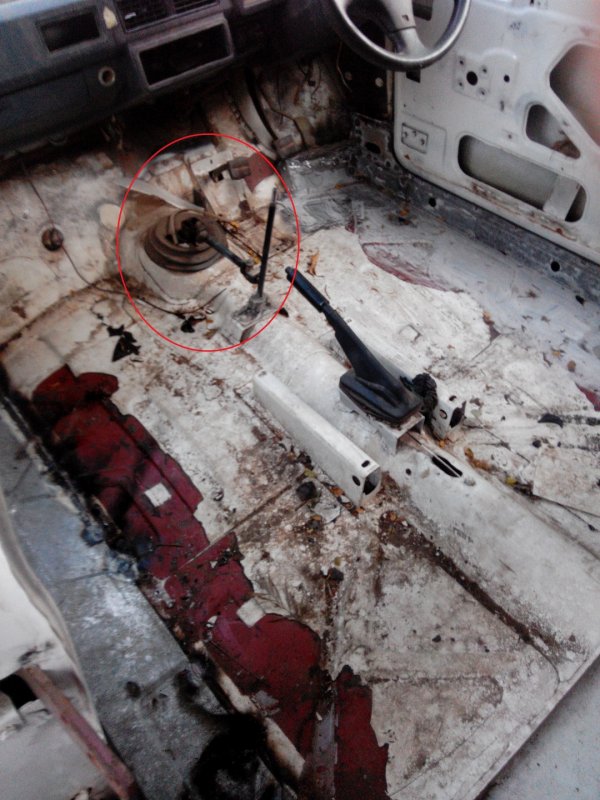
Whether Timing belt too replaced. If not try to do that at this stage which is very easier.
Whether Timing belt too replaced. If not try to do that at this stage which is very easier.
![[clap]](https://www.theautomotiveindia.com/forums/images/smilies/Clap.gif "Clap [clap]")
![[cheers]](https://www.theautomotiveindia.com/forums/images/smilies/Cheers.gif "Cheers [cheers]")
![[:)]](https://www.theautomotiveindia.com/forums/images/smilies/Smile.gif "Smile [:)]")