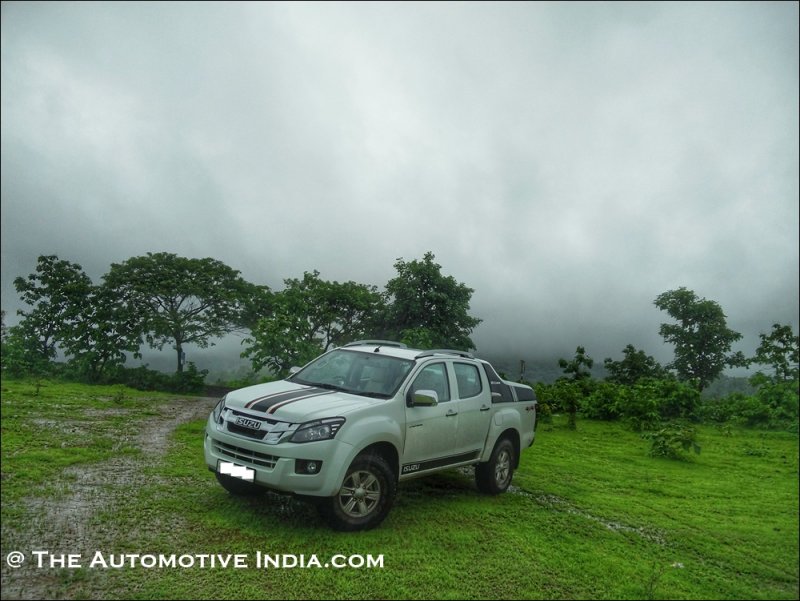
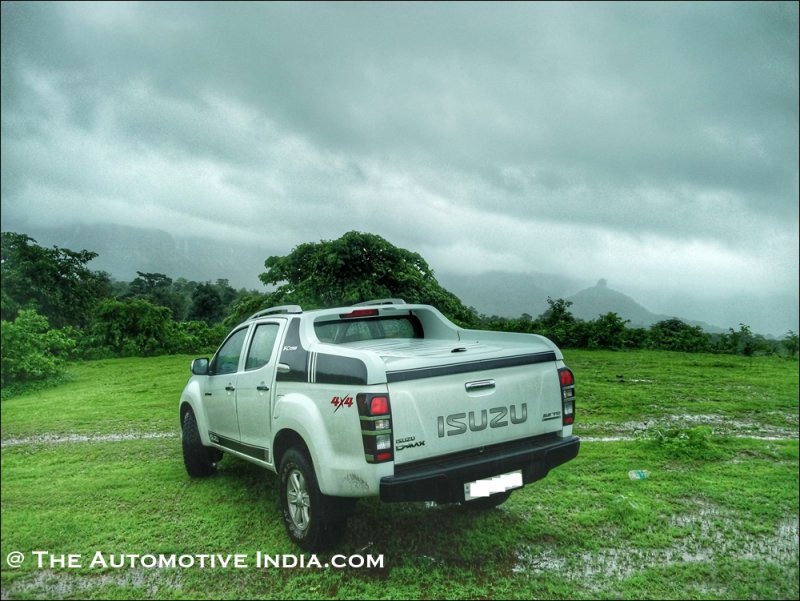
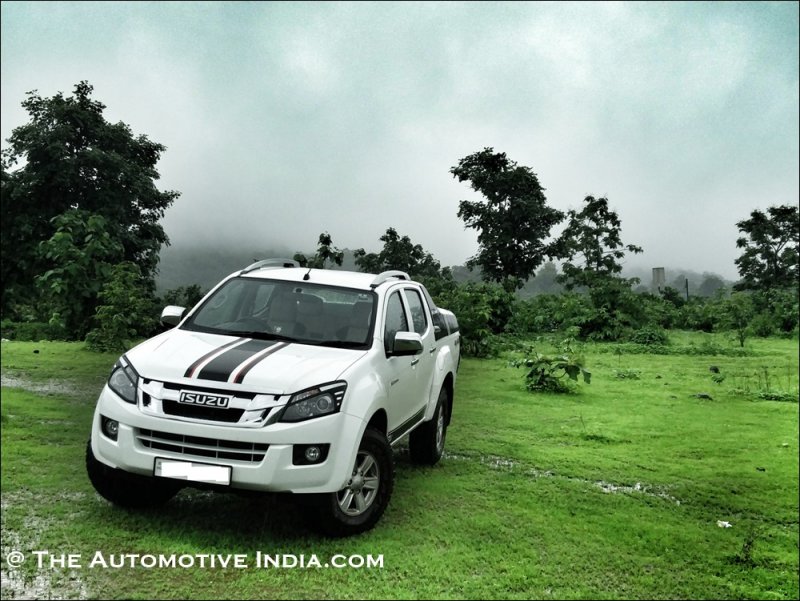
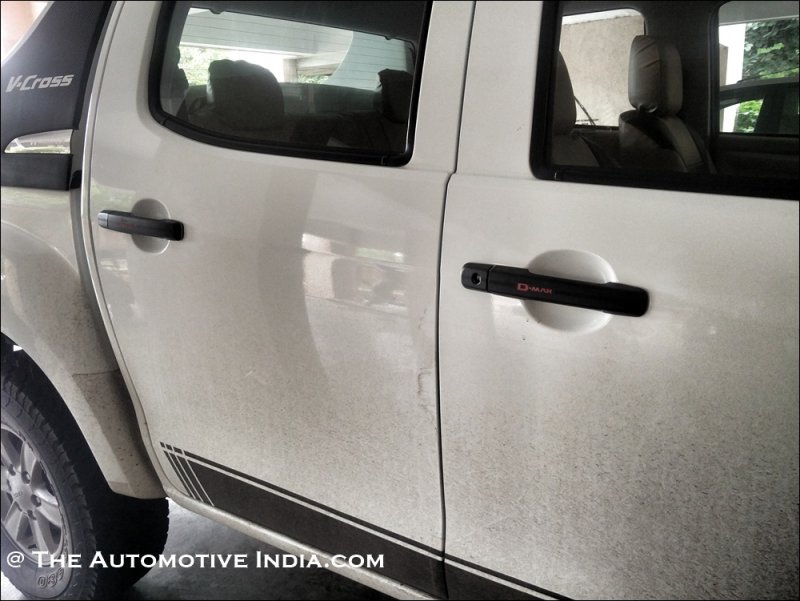
Isuzu D-Max V-Cross Ownership Review: Remapped 165BHP [35K Kms Crossed]


Thread Starter #76
Joined
Dec 1, 2011
Messages
3,155
Likes
2,036
Location
Pune
Re: Isuzu D-Max V-Cross Ownership Review: The Japanese Samurai Arrives

1st Service - 5K Kms report

The first service is a mere inspection and top up if required , I went ahead and did the following things :-

1) Suspension torquing
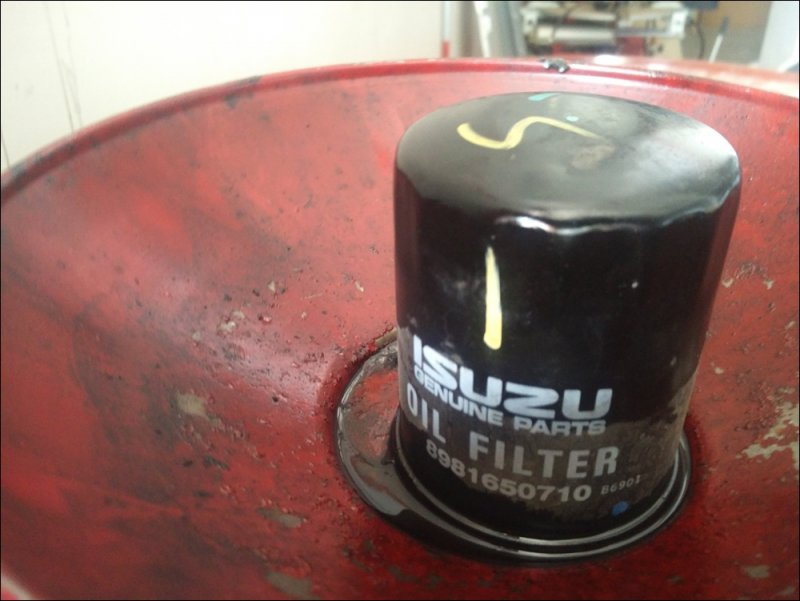
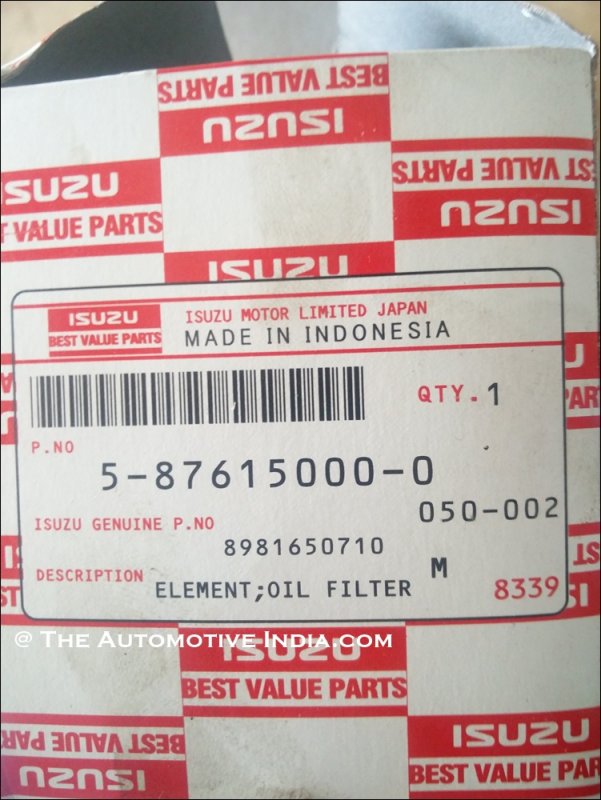
2) Oil Change(stock is mineral) and Oil Filter change - made them change this as i prefer an early oil change in a new vehicle irrespective of manufacturer recommendation , Isuzu recommends change every 20k, however i will change every 10k henceforth
3) Brake pad inspection and clean up
4) General inspection and clean up

Total cost around 5k.

Some pictures from the service :-


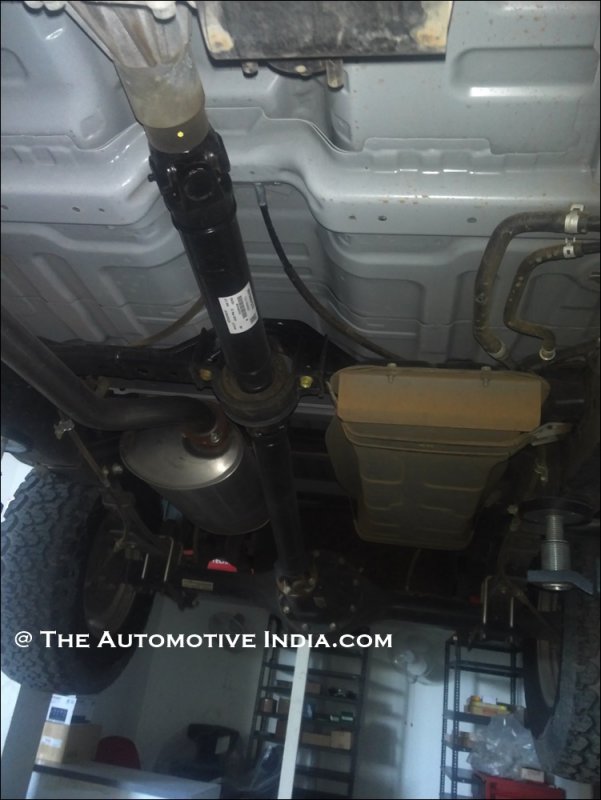
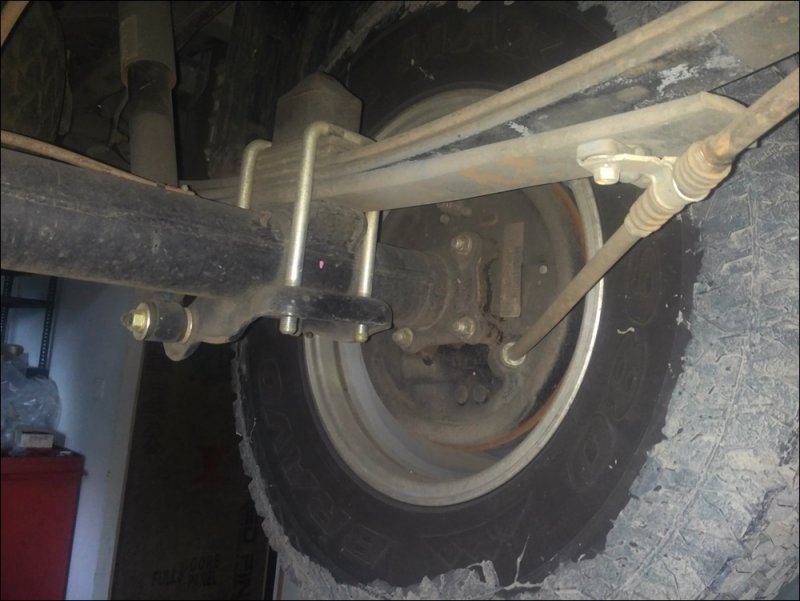
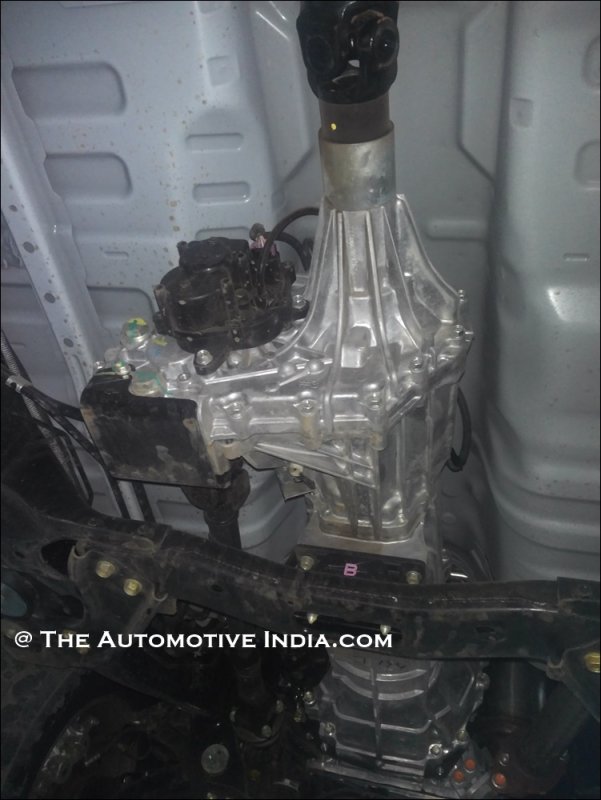
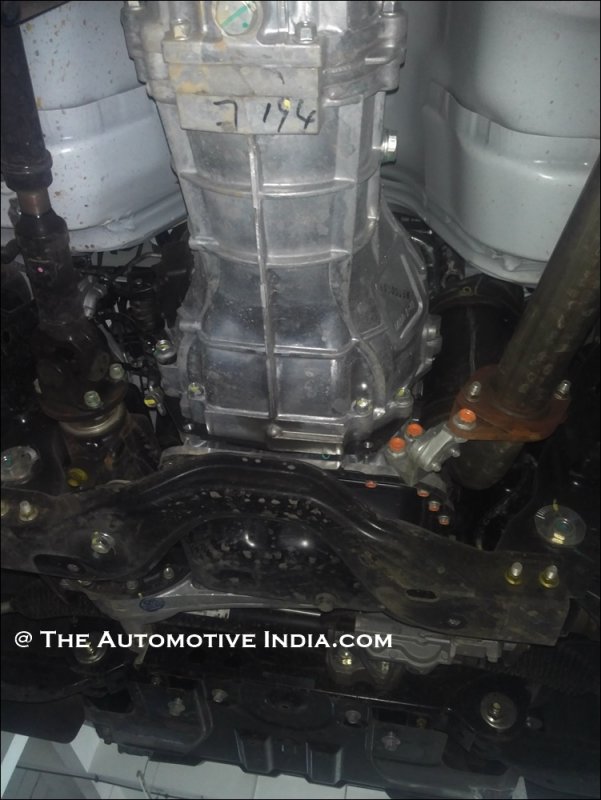
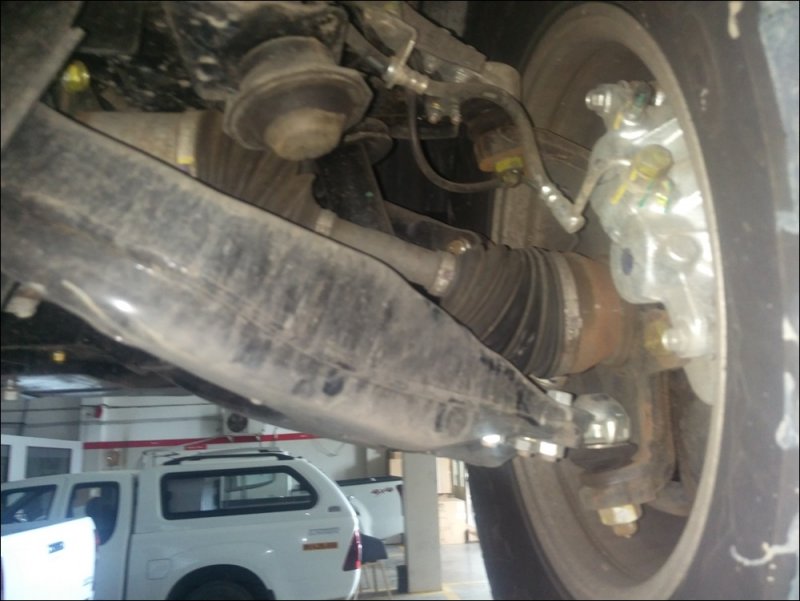
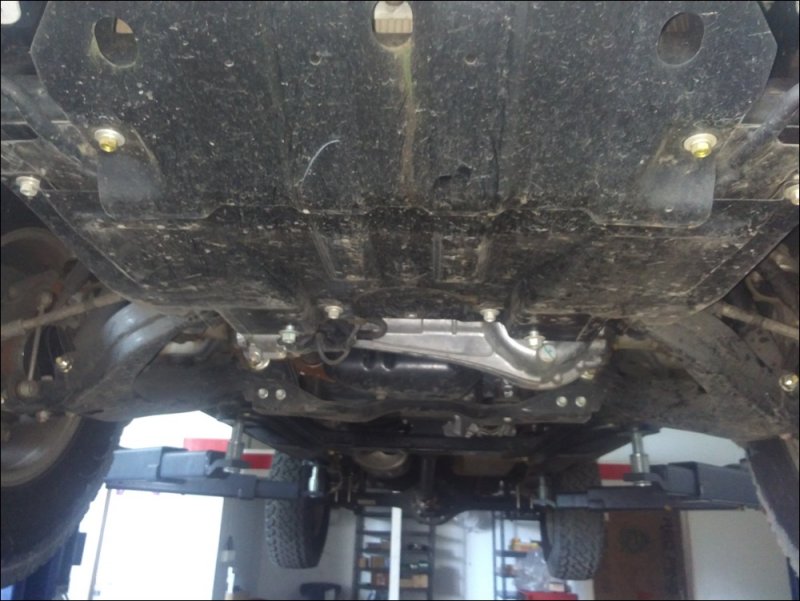
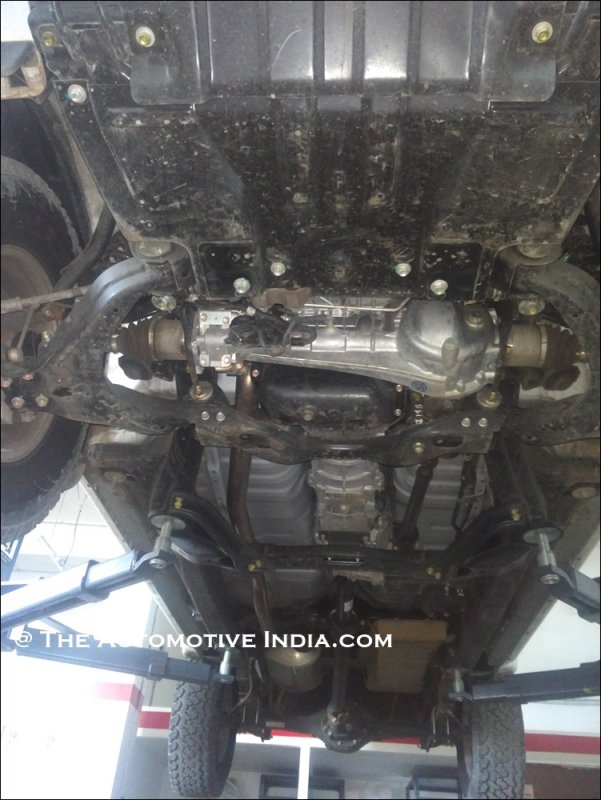
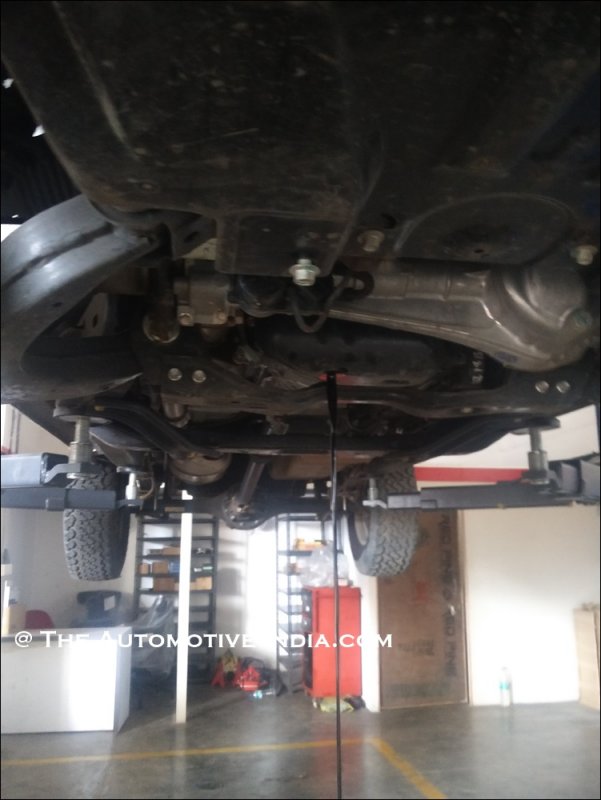
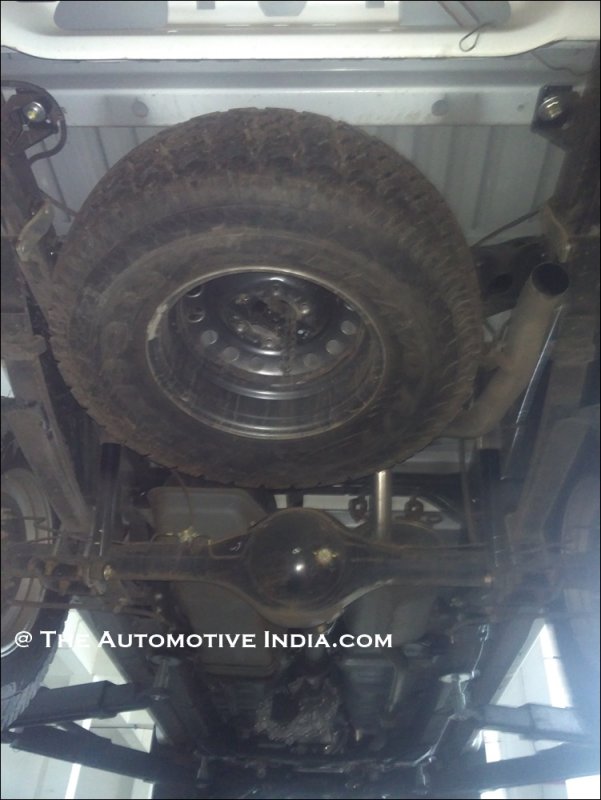
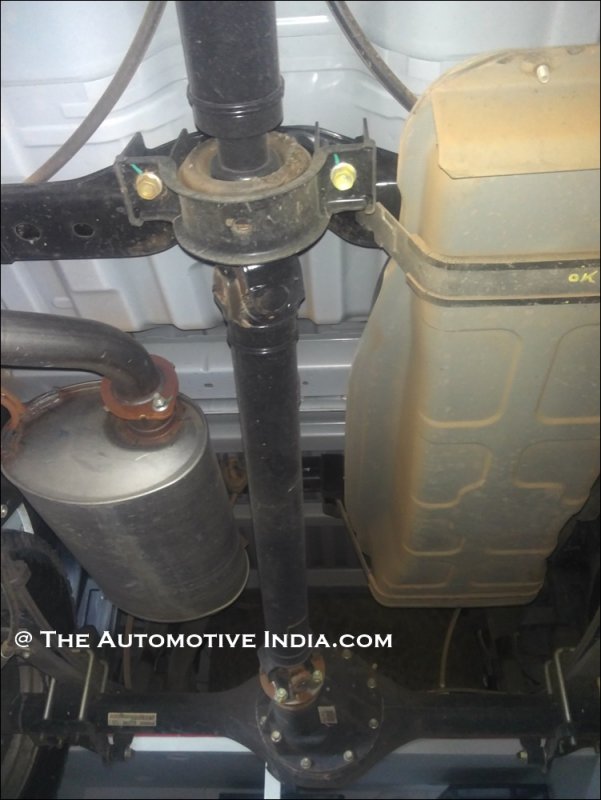
Had the pleasure of inspecting the under-body in detail - always enjoyed this part!
Surprisingly clean under-body despite the rains - pleasant surprise for me.
IMG_20170619_140347.jpg

IMG_20170619_140417.jpg

IMG_20170619_140505.jpg

IMG_20170619_140618.jpg

IMG_20170619_140634.jpg

IMG_20170619_140740.jpg

IMG_20170619_140746.jpg

IMG_20170619_140828.jpg

IMG_20170619_140835.jpg

IMG_20170619_141658.jpg

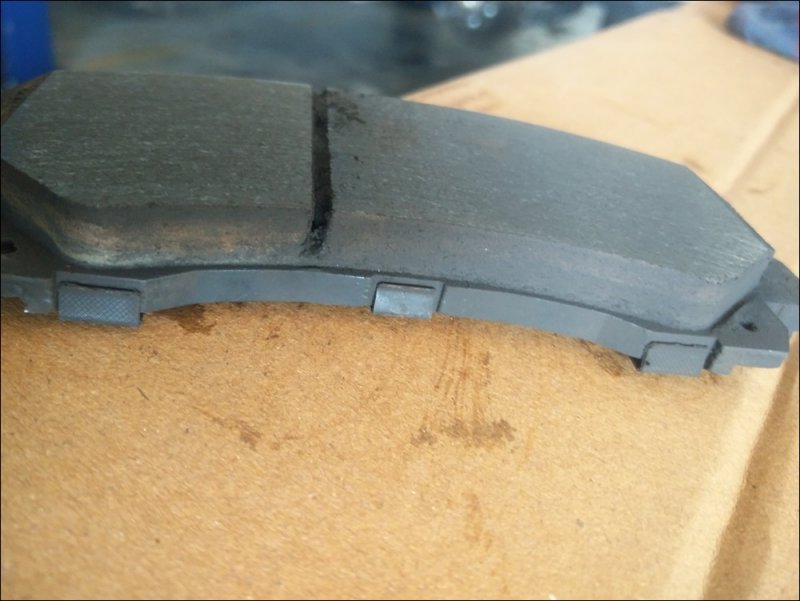
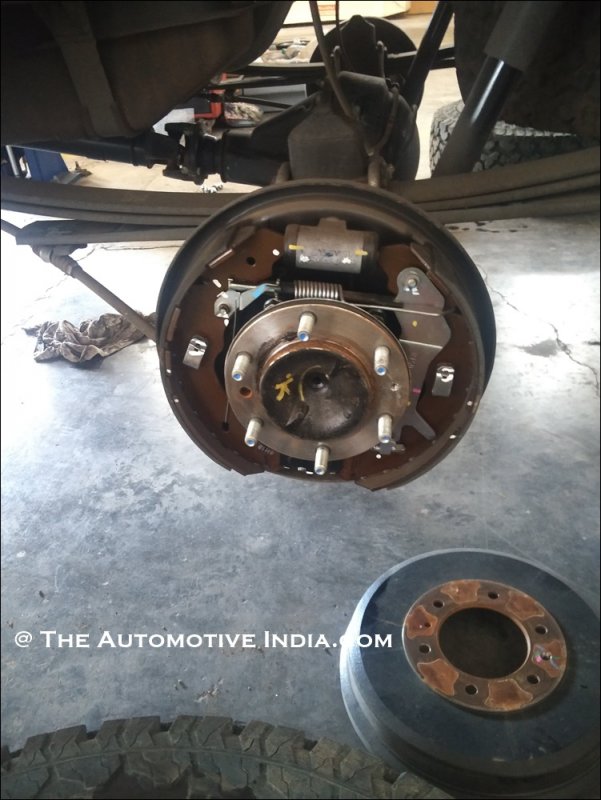
Brake pads and the Rear brake drum - Isuzu are gaining some notoriety with brake pads vanishing fast, so much so they had to drop the price of brakes by 40% or so due to customer complaints. I will keep a close eye on wear every service.
IMG_20170619_151951.jpg

IMG_20170619_152029.jpg

Old oil filter

IMG_20170619_154300.jpg

IMG_20170619_154452.jpg

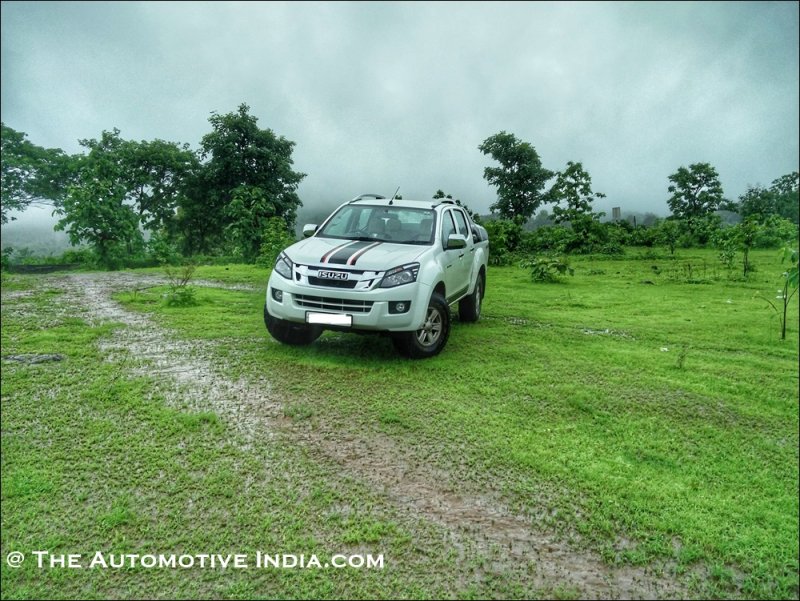
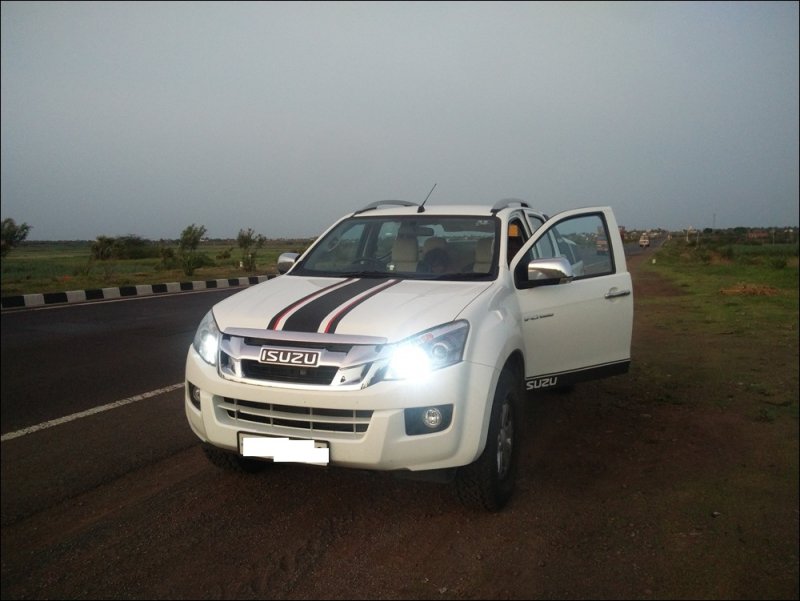
Made a quick 1300 kms trip after the service and isuzu did extremely well - absolute attention magnet which becomes a problem at times.
IMG_20170621_192039.jpg

The vehicle has crossed 6k kms (Actual - odo will be lesser due the bigger tyres) on the odo so far and is butter smooth! Isuzu engines are something else when it comes to refinement! FE tankful readings have been consistent in the 12.1 to 13.5 range so far.

 
Last edited:
Joined
Jul 22, 2013
Messages
1,005
Likes
815
Location
Trivandrum
Thread Starter #79
Joined
Dec 1, 2011
Messages
3,155
Likes
2,036
Location
Pune
Re: Isuzu D-Max V-Cross Ownership Review: The Japanese Samurai Arrives[6K Kms Crossed

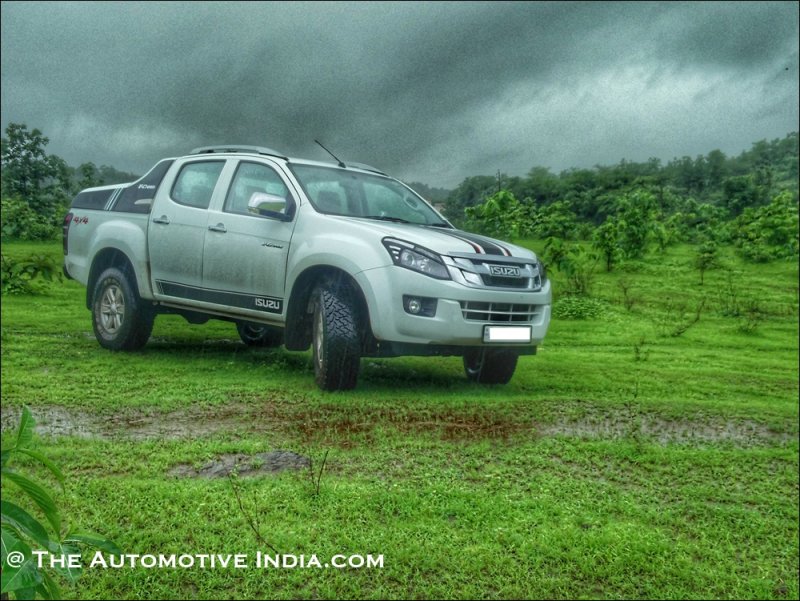
^^ Ha Ha, Indeed Vishnu leaving aside the Rollsroyce and Bentley , its probably the longest amidst all cars/SUVs sold in India. Longer than the A8, XJ, Phaeton, S Class(not the pullman), 7 Series.
 

bhvm

Honoured Member
Joined
Oct 15, 2011
Messages
5,289
Likes
4,818
Location
Some Village
Re: Isuzu D-Max V-Cross Ownership Review: The Japanese Samurai Arrives[6K Kms Crossed

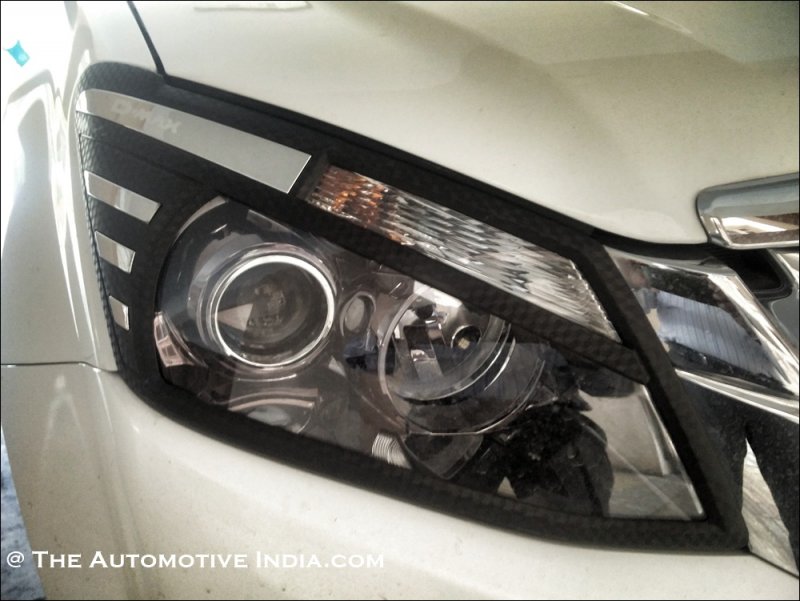
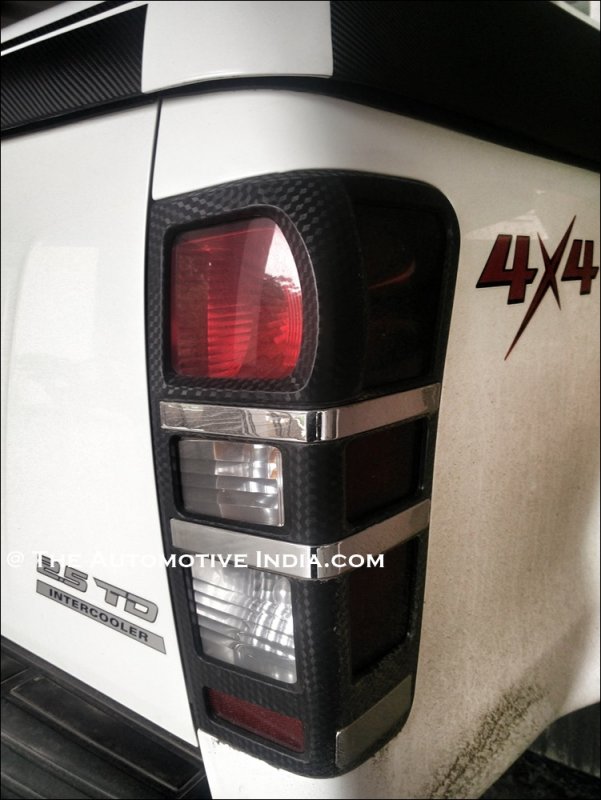
I'm seeing some Black Detailing "Kaajal lagaya kya?" around the eyes of the beast.
What is that?
 
Joined
Sep 12, 2009
Messages
4,069
Likes
308
Location
Pondicherry
Re: Isuzu D-Max V-Cross Ownership Review: The Japanese Samurai Arrives[6K Kms Crossed

Nice pic . the car is absolutely stunning.

What was actually done in 5 k service for suspension torquing.
Because my storme and your is similar model of suspension technology at front.

The arms bolts were checked in my service . Did you mean them?
 
Thread Starter #82
Joined
Dec 1, 2011
Messages
3,155
Likes
2,036
Location
Pune
Re: Isuzu D-Max V-Cross Ownership Review: The Japanese Samurai Arrives[6K Kms Crossed

I'm seeing some Black Detailing "Kaajal lagaya kya?" around the eyes of the beast.
What is that?
You right its kaajal, maskara and a some tattoos - ha ha, its some carbon fibre look alike decals ,front and rear light and also undoing the chrome on the door handles.


IMG_20170719_111037-01.jpeg

IMG_20170719_111106-01.jpeg

IMG_20170719_111132-01.jpeg


ilango[speed thirst];543656 said:
Nice pic . the car is absolutely stunning.

What was actually done in 5 k service for suspension torquing.
Because my storme and your is similar model of suspension technology at front.

The arms bolts were checked in my service . Did you mean them?
Thank you so much sir. Yes i meant all underbody bolts including arms, wishbone, chassis members and also since the rear is leaf greasing the leaf as well. Its a good practice to keep these members at the factory recommended torque.
 
Joined
Aug 6, 2011
Messages
6,206
Likes
4,220
Location
Meerut, U. P.
Re: Isuzu D-Max V-Cross Ownership Review: The Japanese Samurai Arrives[6K Kms Crossed

Only the blackening of alloy wheels and front grille remains, and the problem of being an attention magnet is gonna increase by 2 folds.
 
Joined
Nov 28, 2015
Messages
426
Likes
811
Location
Roorkee
Re: Isuzu D-Max V-Cross Ownership Review: The Japanese Samurai Arrives[6K Kms Crossed

In addition to above, I'd add carbon fiber vinyl on the ORVM's to the list
 
Thread Starter #85
Joined
Dec 1, 2011
Messages
3,155
Likes
2,036
Location
Pune
Re: Isuzu D-Max V-Cross Ownership Review: The Japanese Samurai Arrives[7K Kms Crossed

^^ yes on the list of to do - vitamin m deficiency diagnosed for most vcross buyers !
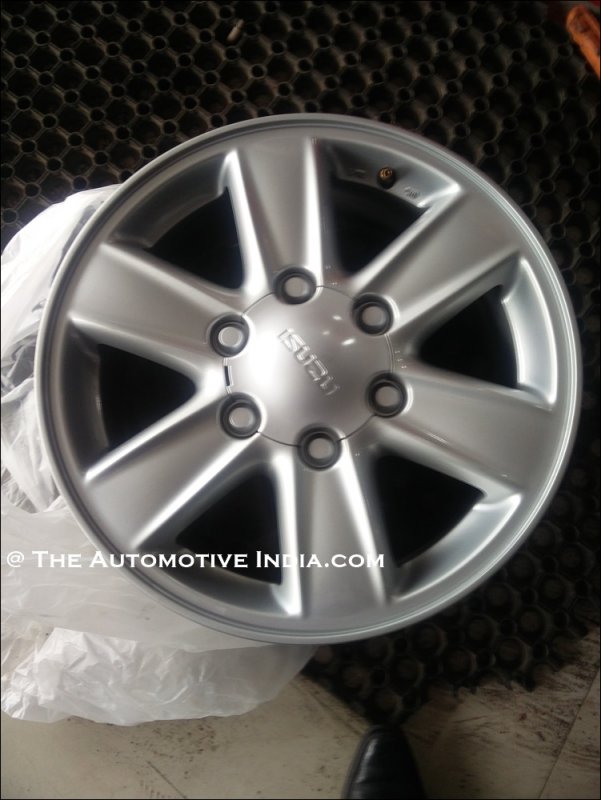
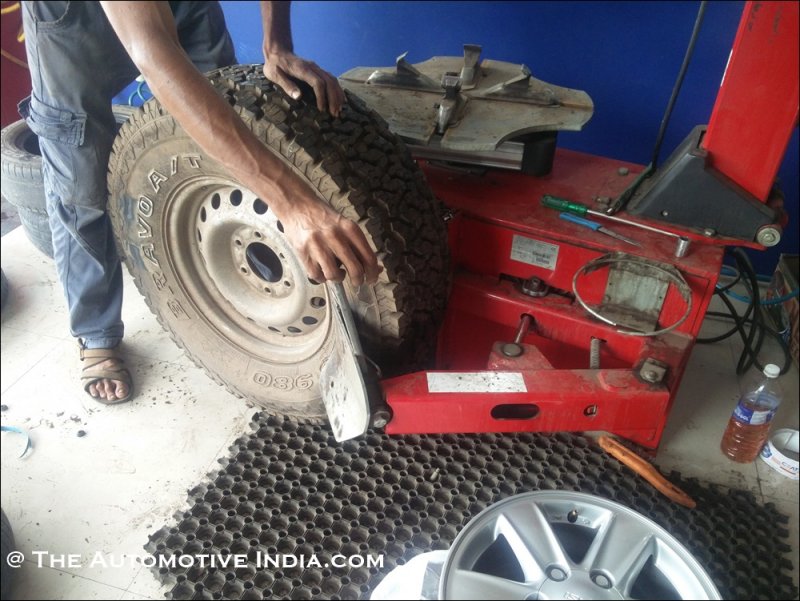
Btw the steel spare wheel kept irking me for a while, got a decent deal and had it replaced. Now all 5 are factory alloys. Thanks to Manu paaji from the isuzu owners group for promply sending me a spare alloy!


IMG_20170718_174022.jpg

IMG_20170718_174057.jpg
 
Thread Starter #86
Joined
Dec 1, 2011
Messages
3,155
Likes
2,036
Location
Pune
Re: Isuzu D-Max V-Cross Ownership Review: The Japanese Samurai Arrives[7K Kms Crossed

On the verge of a major breakthrough, i have been breaking my head for a Cruise Control solution on the Vcross for over 3 months now. Finally got the job done , however testing is still pending and will be completed shortly. Full details will be posted once testing is complete.

Some features :-

1) Cruise Control - Standard features
2) Throttle Controller - With 5 modes from Economy, Stock to Sport 1, Sport 2, Sport 3.
3) Fatigue alert - nothing fancy just a coffee sign after a period of time.
4) Configurable speed limiter

Some initial pictures :-


IMG_20170802_171848.jpg

IMG_20170802_221345.jpg

IMG_20170802_222711.jpg

IMG_20170803_102047.jpg

 
Last edited:
Thread Starter #87
Joined
Dec 1, 2011
Messages
3,155
Likes
2,036
Location
Pune
Isuzu D-Max V-Cross Cruise Control

Cruise Control Installation on the Isuzu Dmax Vcross (India)

Cruise Control is really a must have feature for me, since i like to have a relaxed long drive and i do frequent expressway runs - i started researching cruise control kits from the day i bought the Vcross and unfortunately all the universal kits were stalk based and none of them were customised to the India Vcross, the closest match we have is the Dmax sold in China with a 2.5 litre engine in a LHD guise. So the likelihood of finding a kit that would work well with the India model was probably the ones from China.The China DMax are also a similar tune as the India one with similar instrument clusters, whereas in some other markets there is a higher tune or a different engine 1.9 or 3 litre etc.

However the India Isuzu Dmax Vcross has different connector spec for the accelerator especially compared to models abroad so this customization was necessary. I spent hours pouring through documentation and also ended up fuzzy several days.
Since I had done the cruise control installation in the PS - i was familiar with the basic principles. So finally customized a kit from OHC motors and that worked for India! Thanks to some really good friends from China in the process!

The Features available are :-

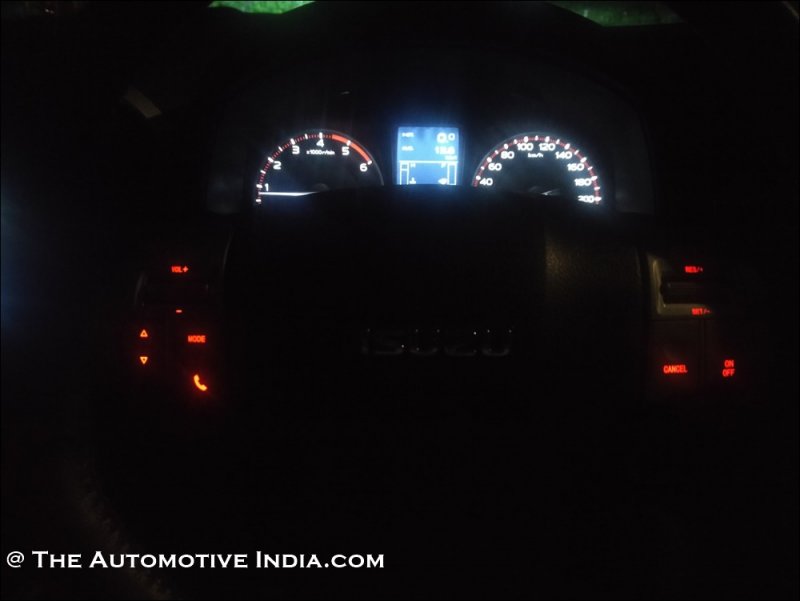
1) Cruise Control (Steering mounted same as MUX)
2) Speed Limiter
3) Throttle Controller with 5 modes (Economy, Stock, Sport1, S2, S3)
4) Fatigue Alert ( Just a coffee sign on the display which pops up after an hour)

The Cruise Control includes 3 key components

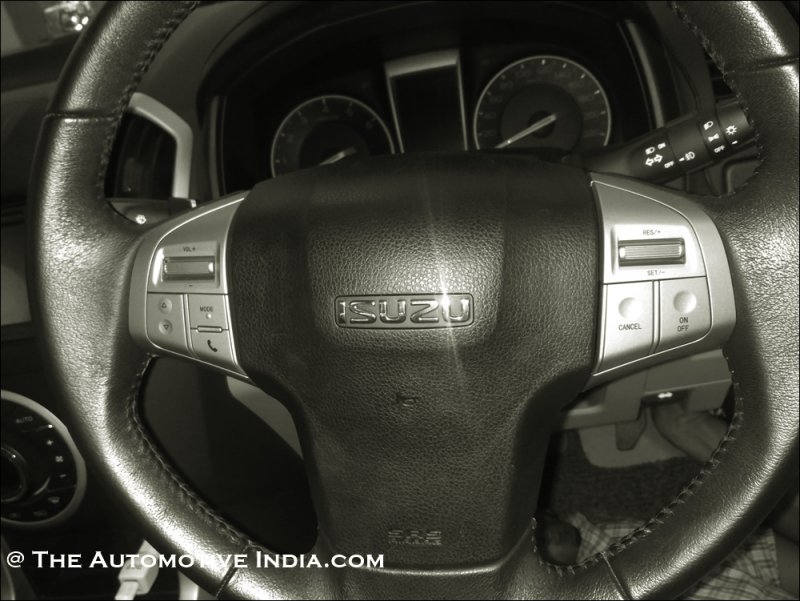
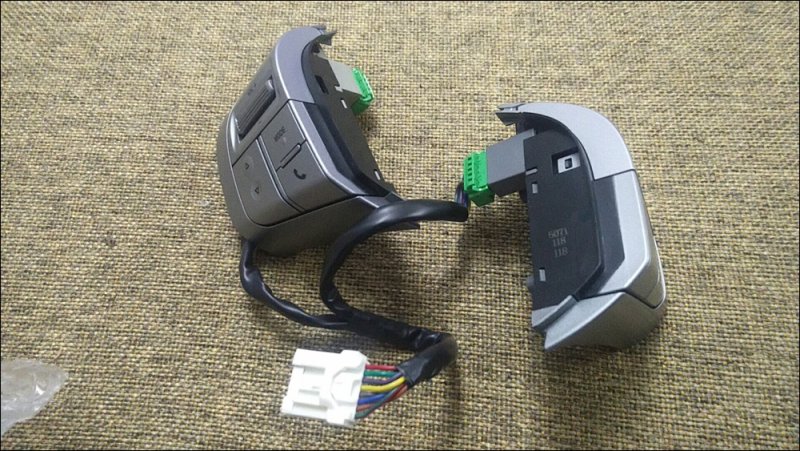
1) Steering Switch Pair (Silver color ) - This will replace the black one which provide the audio controls.

wx_camera_1496073777608.jpg

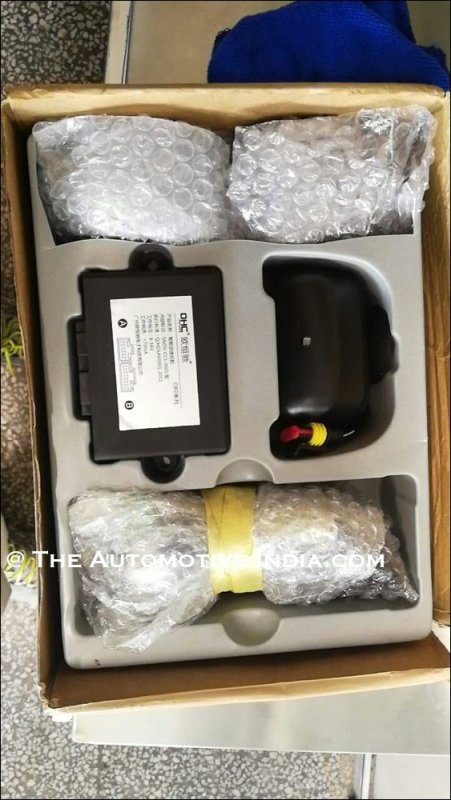
2) Cruise Master Module - Fits under the dashboard with all the plug and play wiring to the Brake, Clutch and Accelerator , also comes with wires to ECU and a lower steering connector.

mmexport1498015841863.jpg

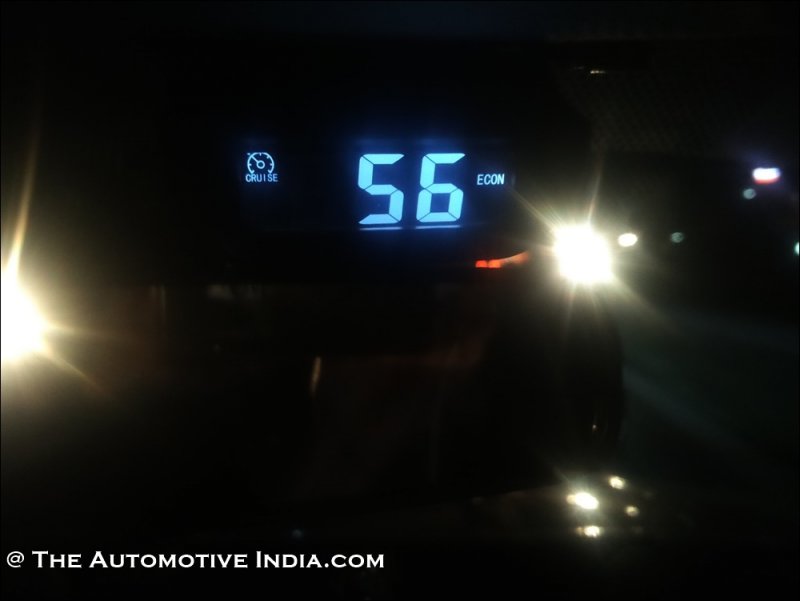
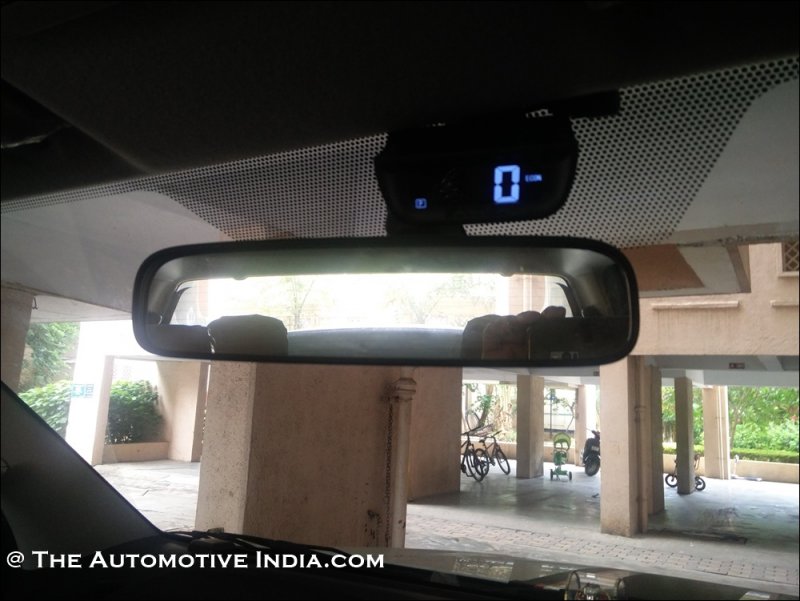
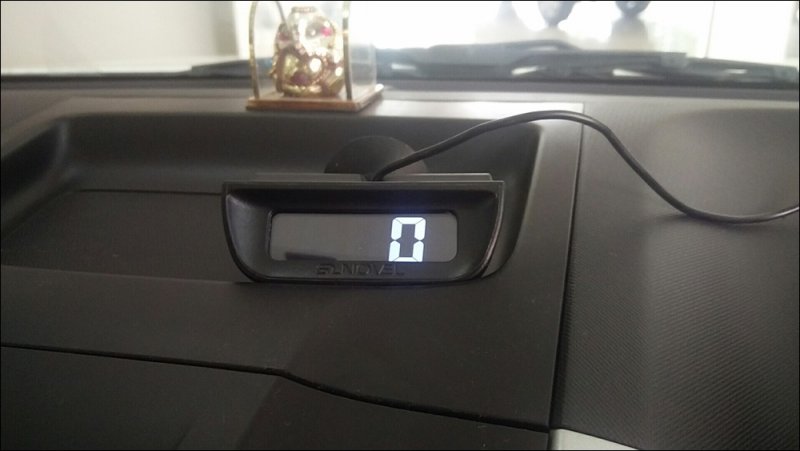
3) Display component - Shows the engagement/disengagement of Cruise Control and displays speed and throttle controller modes.

wx_camera_1501672823234.jpg

Installation took me around 2 hrs, for an experienced hand this should be about an hour and a half or so.

The Steps are documented as below, please take some time and go through the details, it is easier than how it reads :-

As a precaution i disconnected the battery.
 
Last edited:
Thread Starter #88
Joined
Dec 1, 2011
Messages
3,155
Likes
2,036
Location
Pune
Re: Isuzu D-Max V-Cross Cruise Control

Installation of Cruise Control switch on Steering


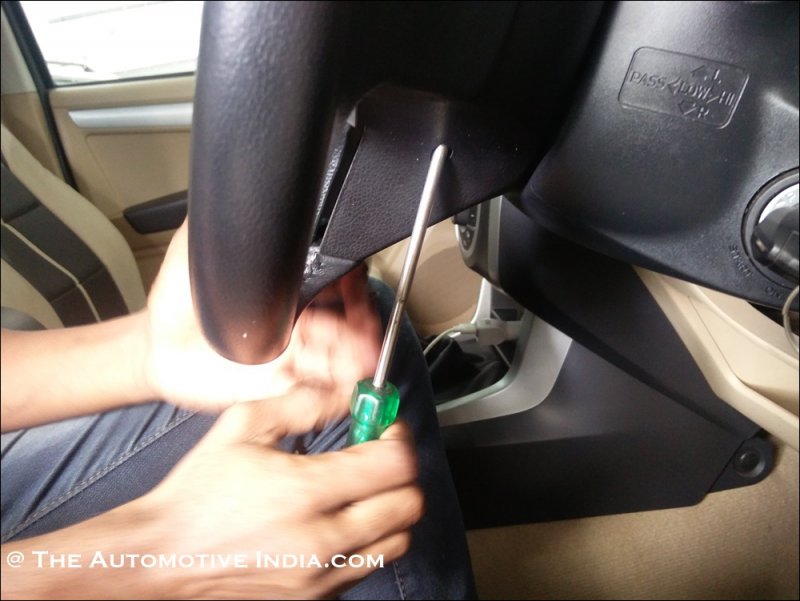
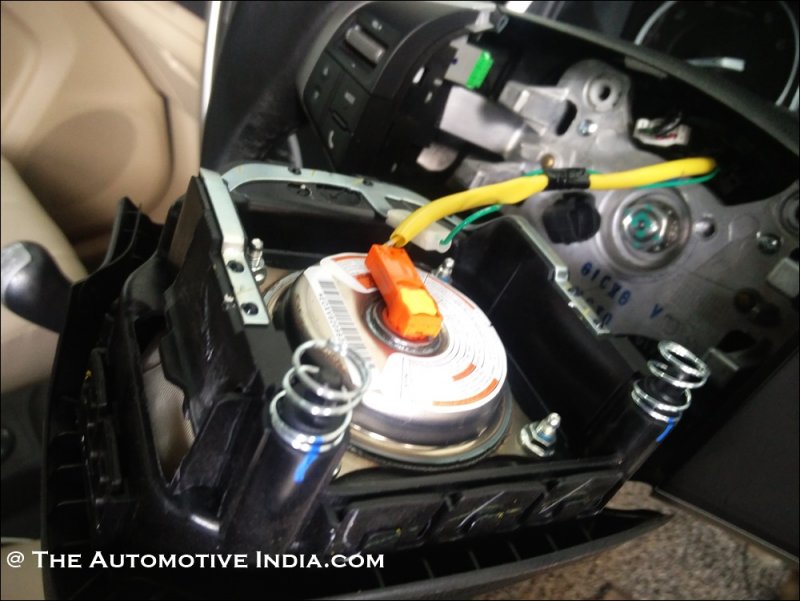
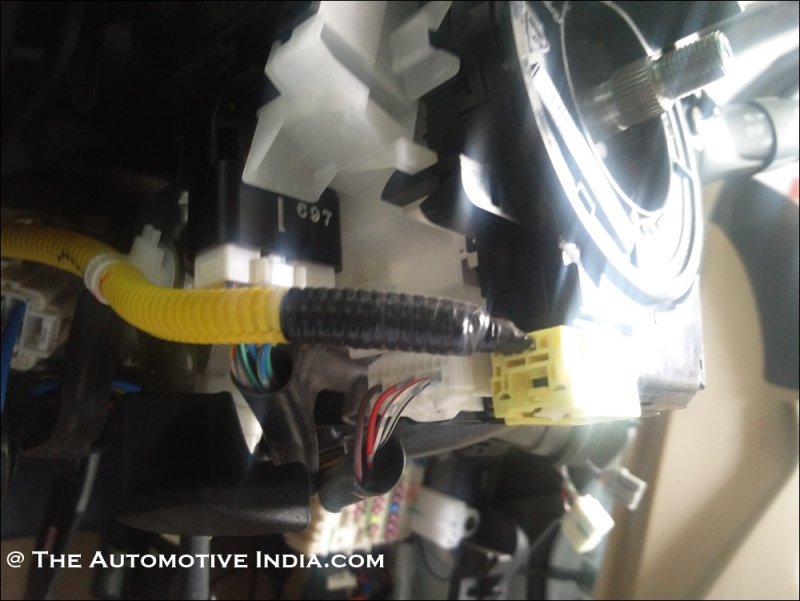
Remove the airbag component from the steering by putting in the screw driver and pushing through the two holes provided on either side

IMG_20170802_140439.jpg

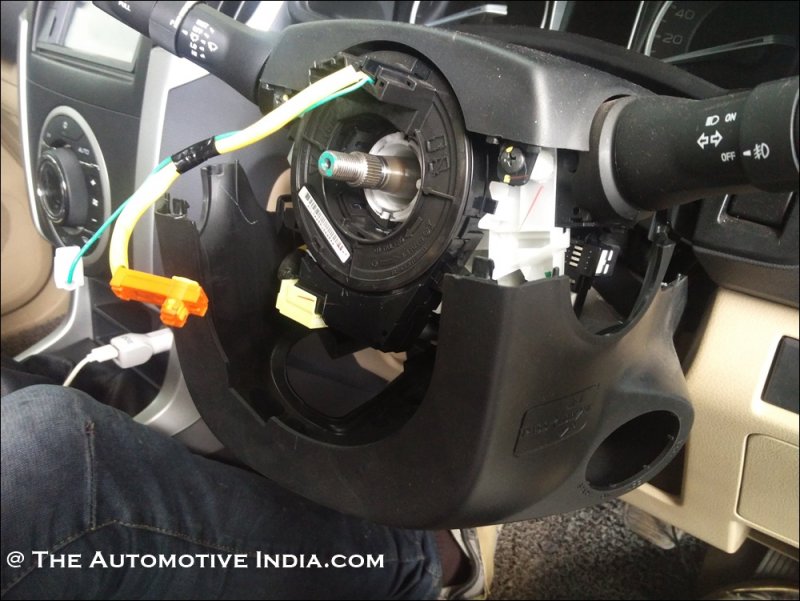
Remove the airbag connectors carefully and also the wire from the audio switch (left side of steering wheel)

IMG_20170802_140631.jpg

Remove the lower black cover underneath the steering, be careful and slow with this one as the plastic piece is delicate and the tends to break the clip

IMG_20170802_141159.jpg

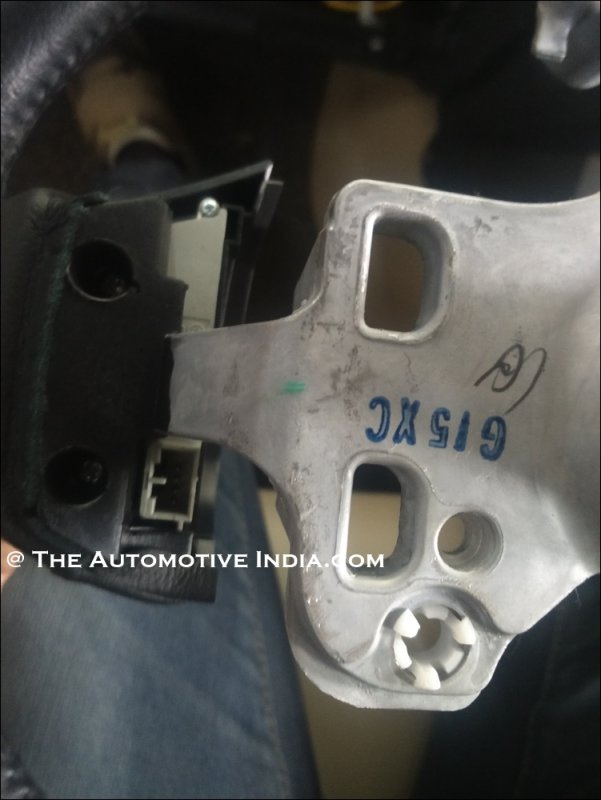
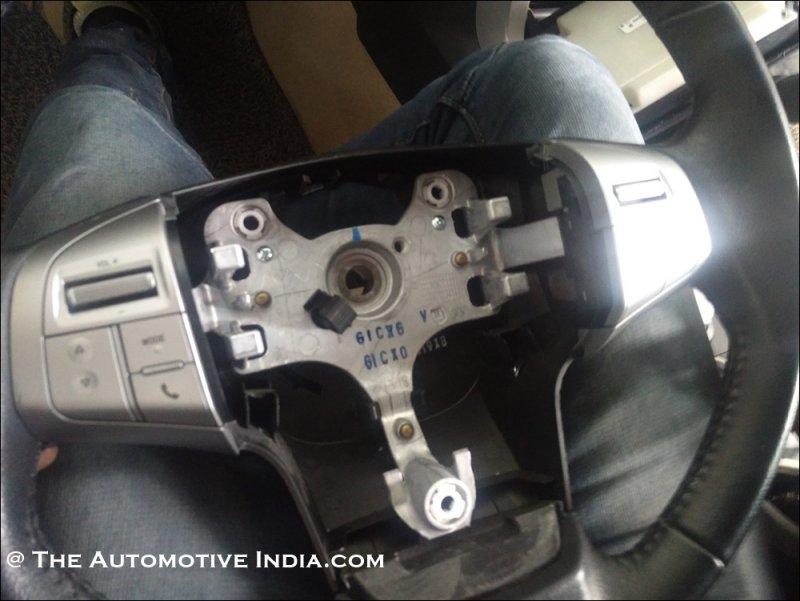
Then remove the centre nut which holds the steering wheel (note down position of steering wheel if needed using a marker) . Once the steering is off , remove the the left side audio switch and the dummy holder on right side by removing the two screws each from back side

IMG_20170802_145403.jpg

Screw the the two silver switches from the kit here , audio switch on left side and the cruise one on the right side. Dont assemble it back just yet.

IMG_20170802_145324.jpg

 
Last edited:
Thread Starter #89
Joined
Dec 1, 2011
Messages
3,155
Likes
2,036
Location
Pune
Re: Isuzu D-Max V-Cross Cruise Control

Part 1 - Installing the Cruise master module

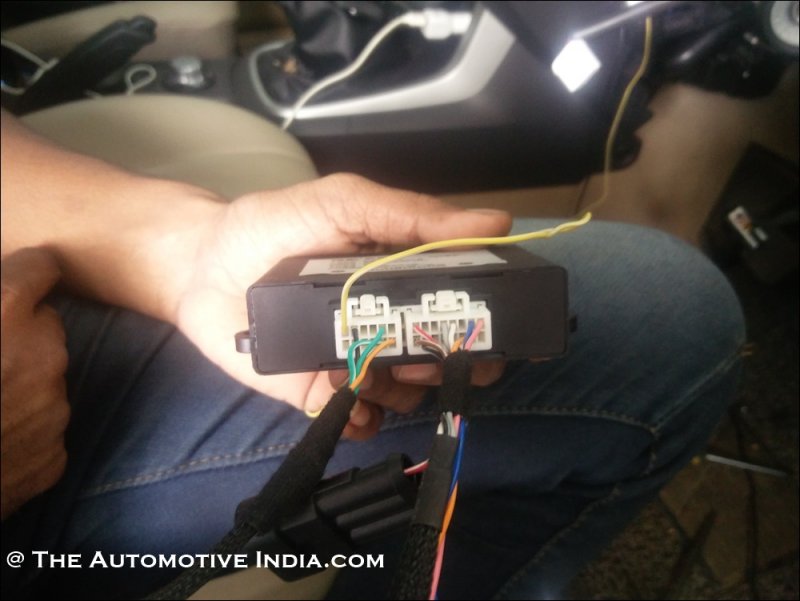
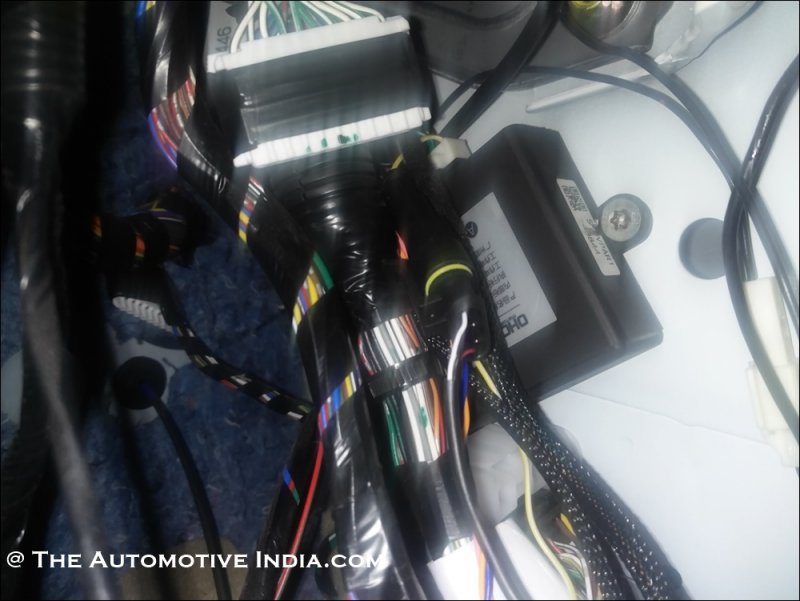
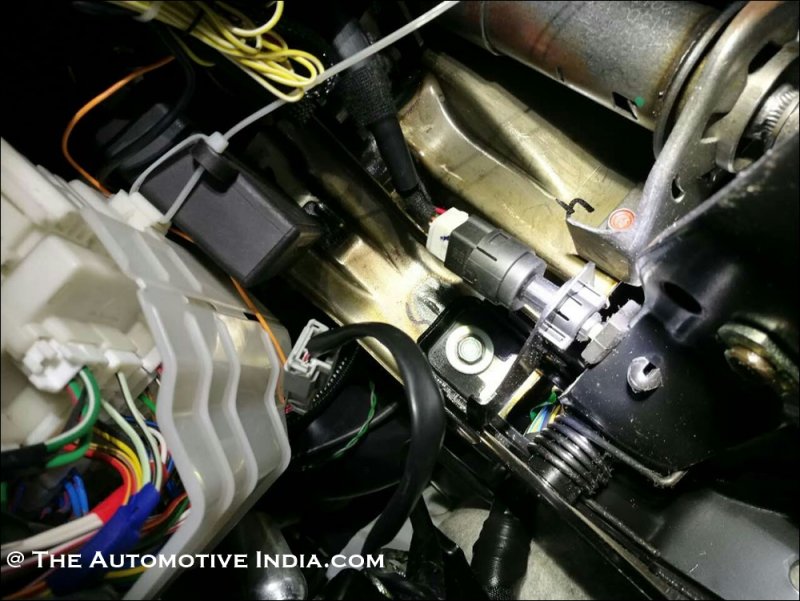
This is the black box which regulates signals without interfering or piggybacking the ECU (except for a read only speed sensor line). This needs to be installed in the pedal area on the right side.

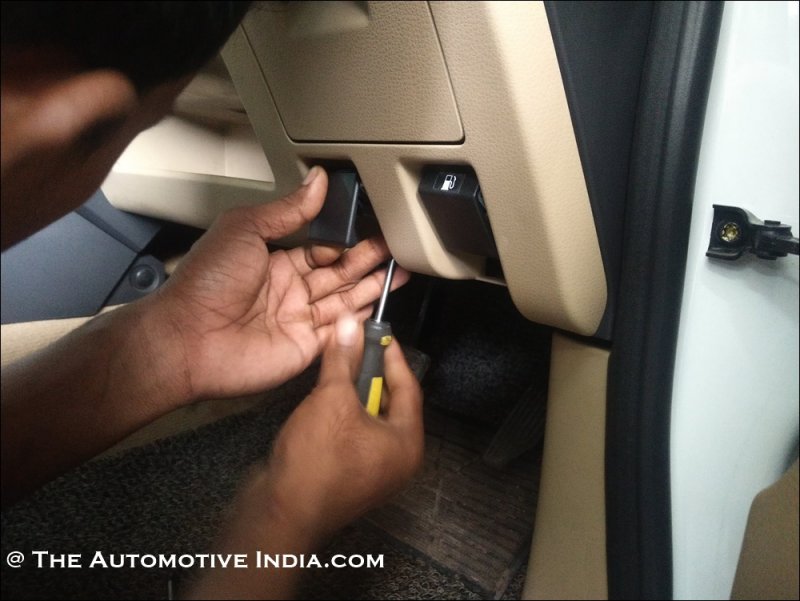
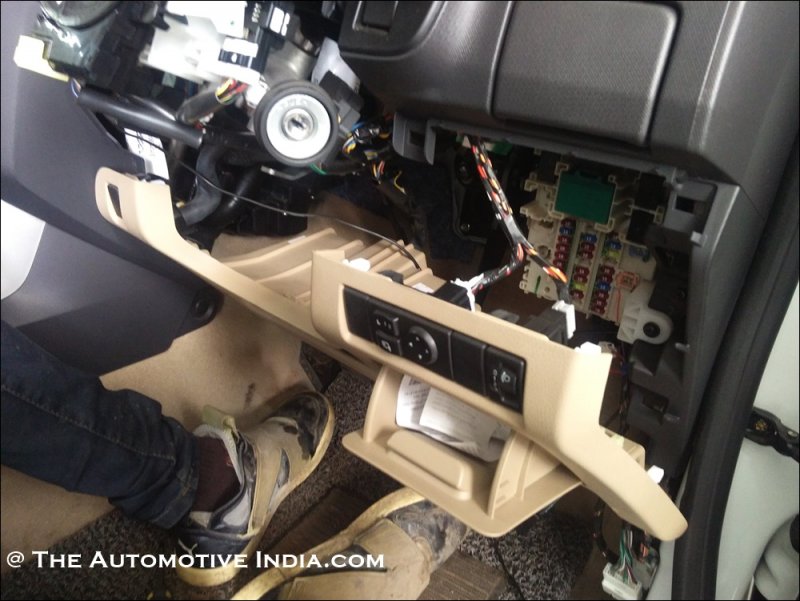
To get to installing this, remove the beige plastic cover underneath the dash , by first removing the 2 pulley which control the fuel flap and bonnet. here are a few couplers to the switches within this, removing them is very easy.


IMG_20170802_140057.jpg

IMG_20170802_141346.jpg

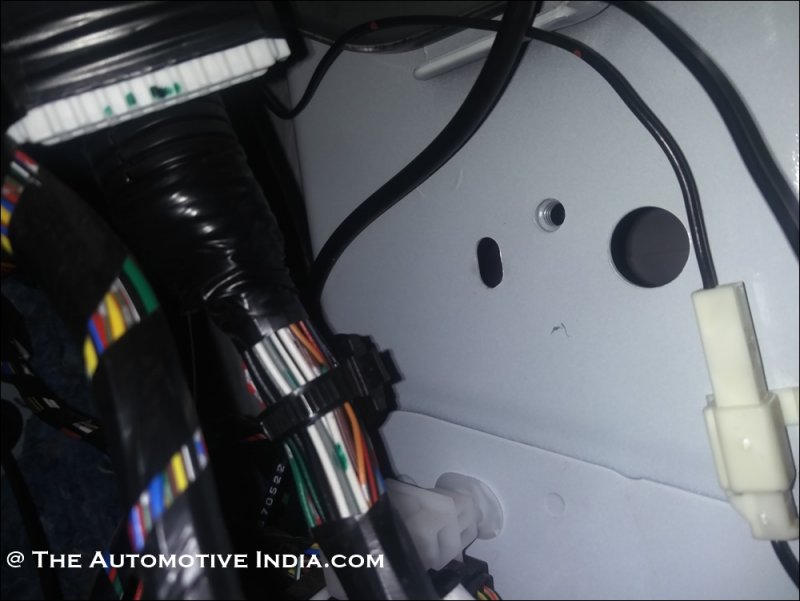
There is one screw slot available which can be used to screw the module, additionally i put in some 3M tapes on the back just to be safe.

IMG_20170802_151620.jpg

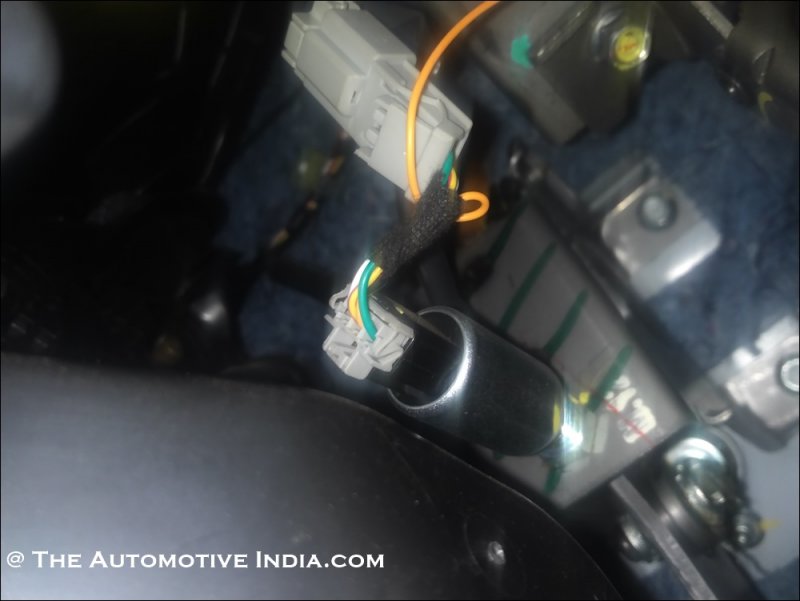
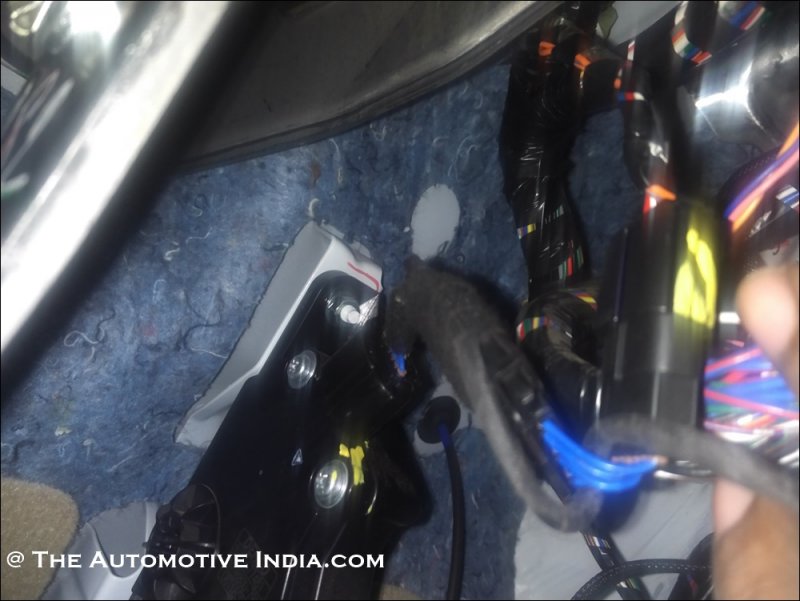
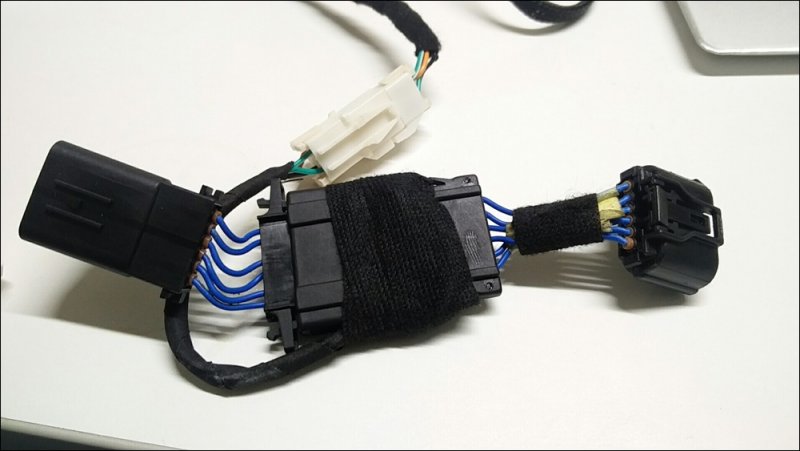
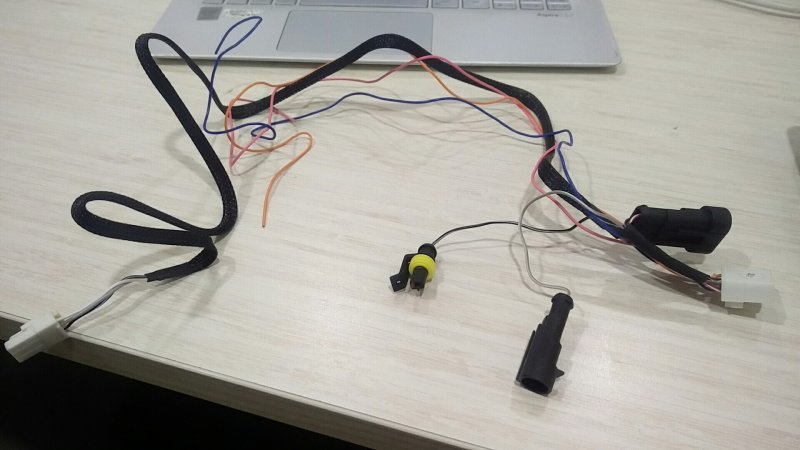
Several wires are provided as part of the kit, namely brake connector, clutch connector and accelerator connector - you cant get them wrong as they are plug and play and will only fit where they are supposed to fit, i.e brake switch, clutch switch and accelerator pedal. The black cruise master box will have 2 connectors in turn going in it.

IMG_20170802_150609.jpg

IMG_20170802_152601.jpg

For reference purposes here are the marked wires and the respective connectors

IMG_20170802_153757.jpg

IMG_20170802_153846.jpg

mmexport1501502307825.jpg

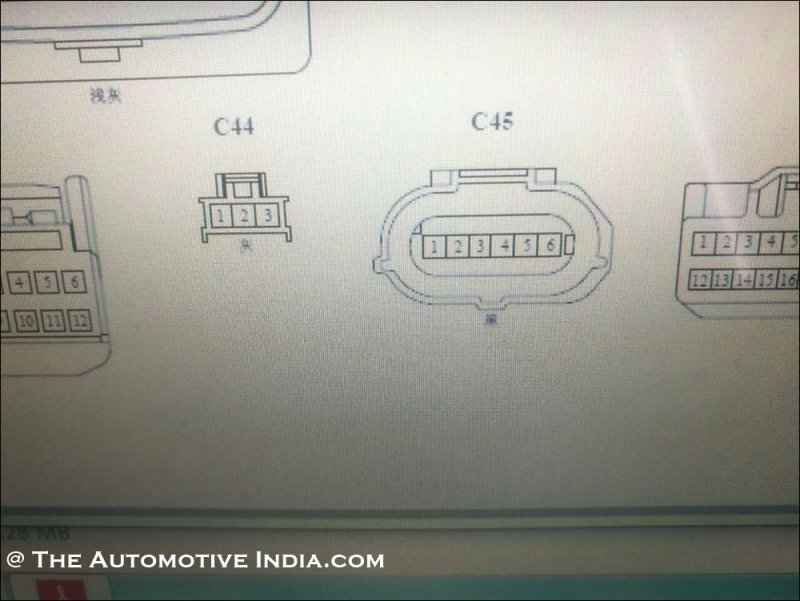
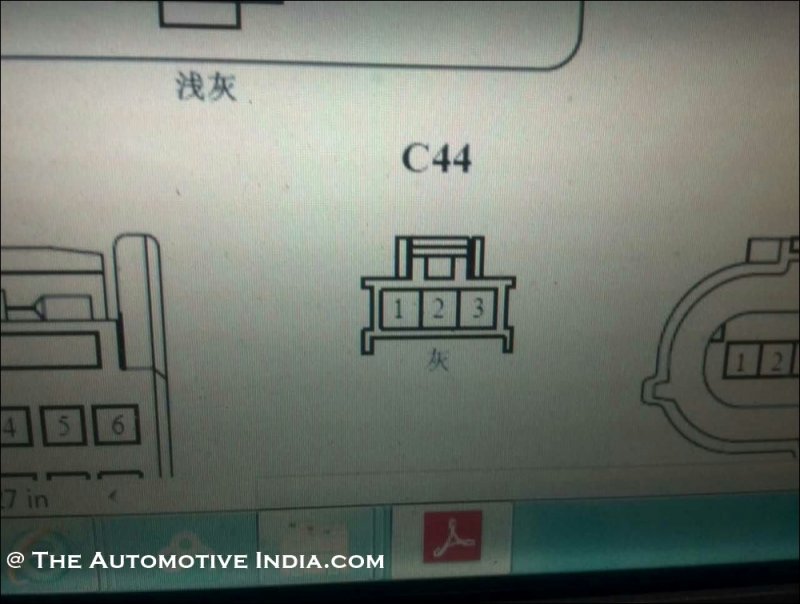
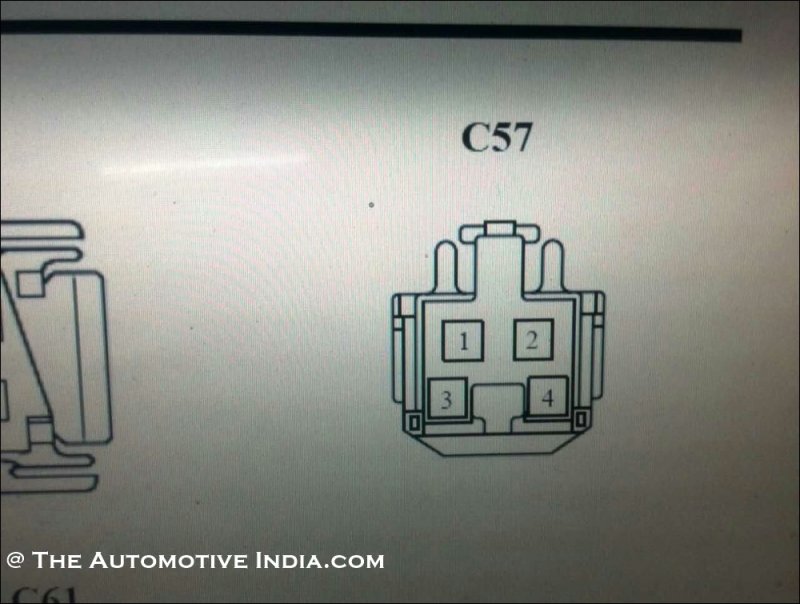
Connectors shape for reference , all connectors are unique and will only fit where they are supposed to fit making a 3 way arrangement

C45 is accelerator connector in india dmax

mmexport1501502260890.jpg

C44 is Clutch

mmexport1501502254991.jpg

C57 is brake

mmexport1501502256469.jpg

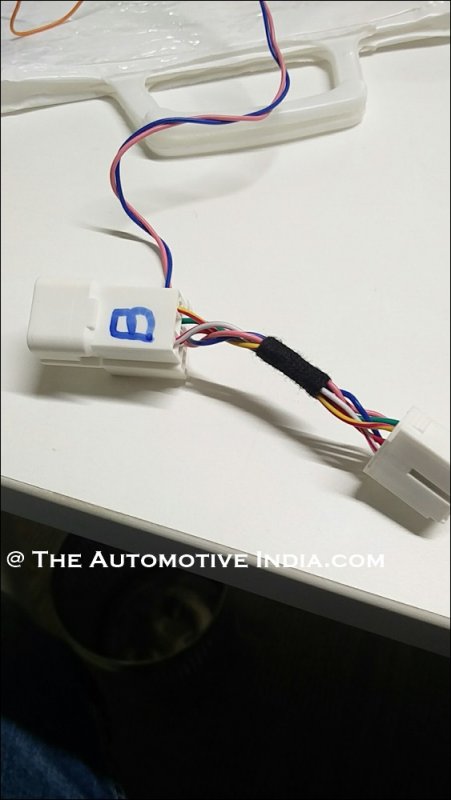
Also attaching an image of the actual wires, these will go in respectively with 3 connectors already present namely accelerator, brake and clutch making a three way arrangement for the cruise master to also interact them. This is because engaging brake, clutch should disengage the cruise control.

wx_camera_1501225581517.jpg

wx_camera_1501225621309.jpg

wx_camera_1501225646440.jpg

While the wiring in pictures might make it look complicated, its fairly simple as there is no way you can fit a connector wrong, it will only go where it is meant to go, there are strap ons provided in the kit to tie up the wires and make it look as good as OEM fitting.

mmexport1501502549314.jpg

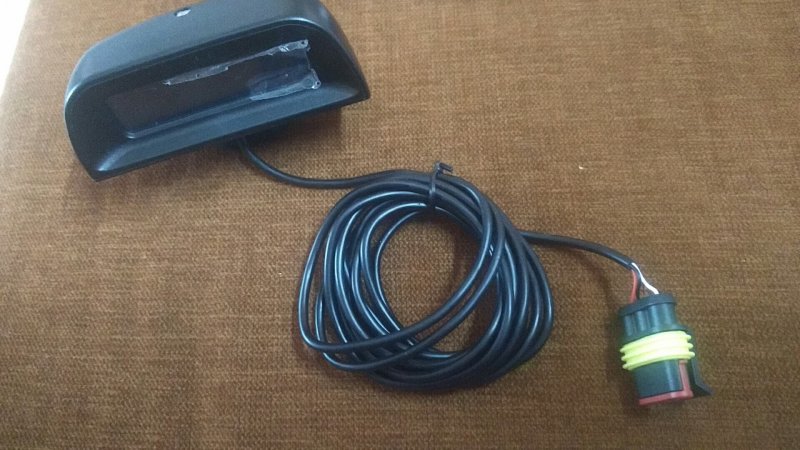
There is a small cruise display provided, which shows the basic information of engagement/disengagement and speed , this again comes with standard connectors which you cant get wrong , plug and play. You can initially just place in this on top of the dashboard but eventually you can route it through the pillar and keep it near the internal rear view mirror

wx_camera_1495961251846.jpg

wx_camera_1496130540223.jpg

 
Last edited:
Thread Starter #90
Joined
Dec 1, 2011
Messages
3,155
Likes
2,036
Location
Pune
Re: Isuzu D-Max V-Cross Cruise Control

Part 2 of Cruise Control Module Fit :-

While of the above is plug and play , the following requires some wiring skill, typically a audio installer will be able to do this in a few mins. Please note this does not require any soldering machine or an electronics degree. Its simple if you follow the instructions to the core and be attentive :)

There are 2 further sets of wires that needs to go to Steering Connector and ECU


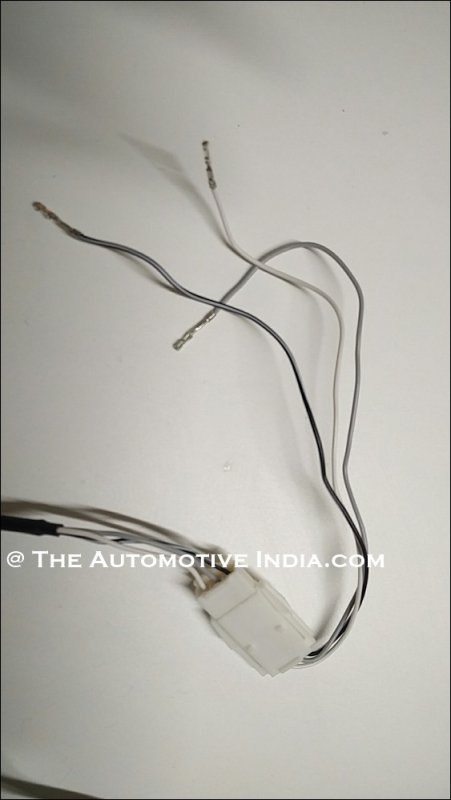
1) Steering connector (set of 3 wires)

wx_camera_1501226025765.jpg

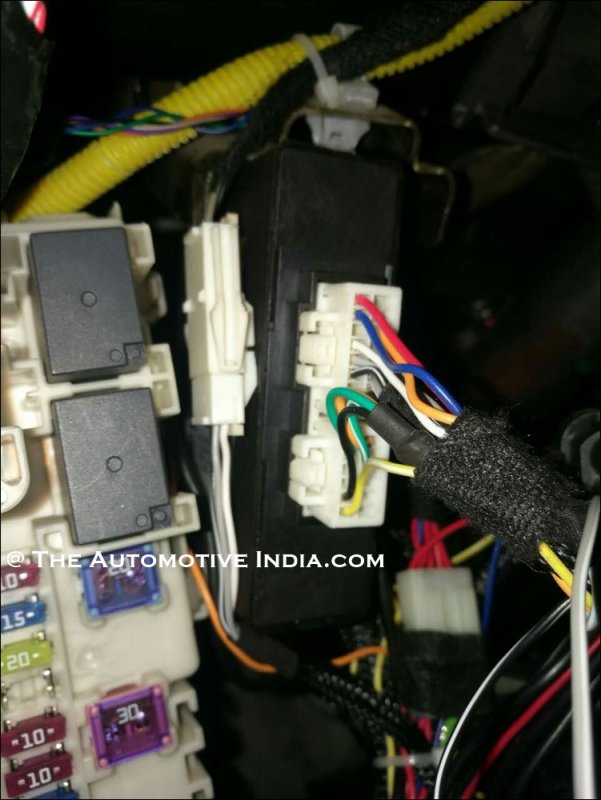
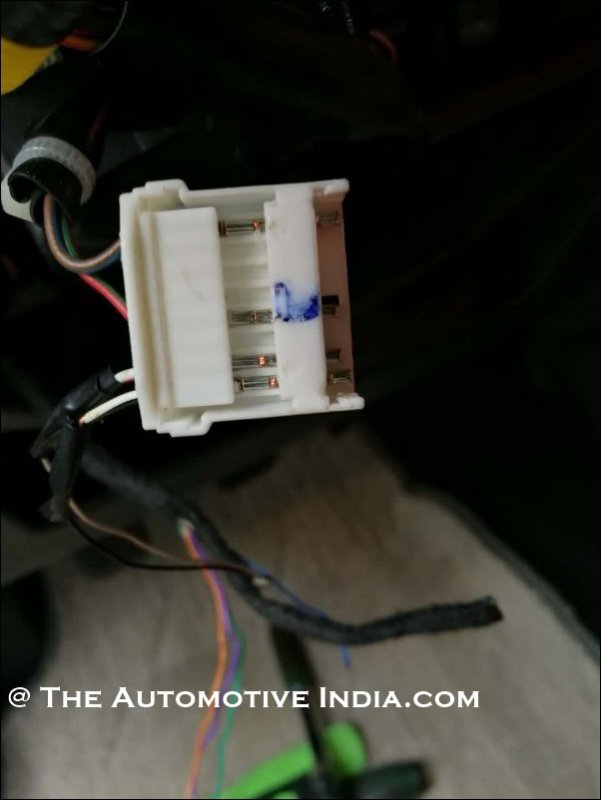
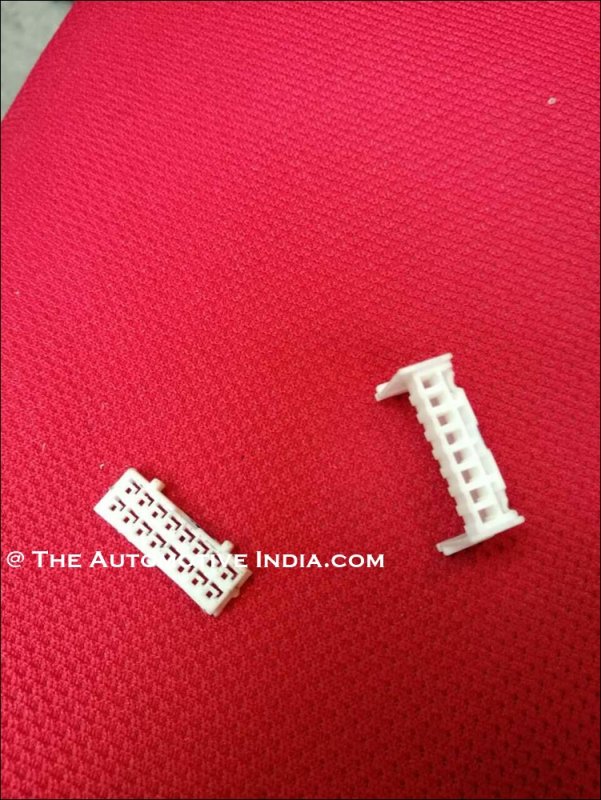
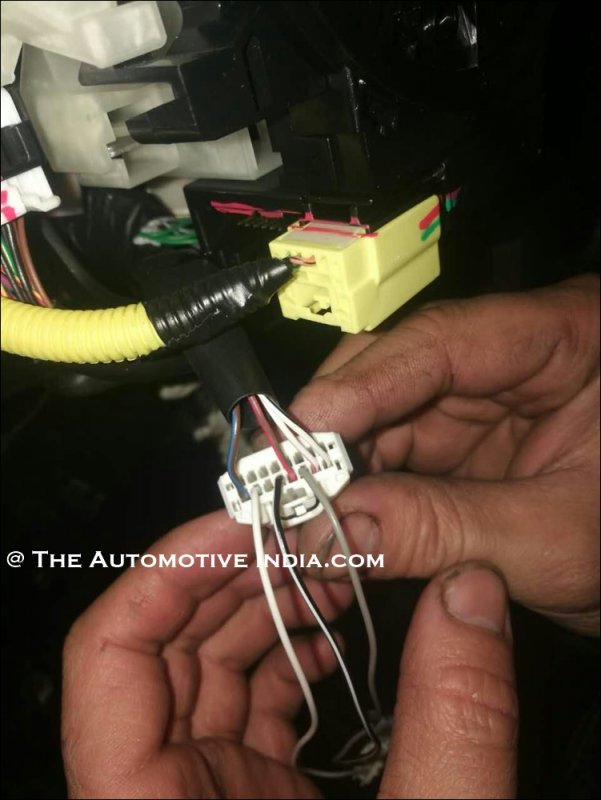
The above 3 wires need to the steering connector white coupler which is located under the bottom of the steering on the left side , you can see it once you remove the black cover underneath the steering. Remove the white connector and insert the 3 wires in the same order as the image after removing the plastic connector as in the image, use a small tester size screw driver to unassemble the coupler

IMG_20170802_142020.jpg

mmexport1501502441567.jpg

mmexport1501502434624.jpg

mmexport1501502180672.jpg

Originally the white coupler would have 4 wires and the 3 additional wires will make it seven, this is to ensure connectivity to the cruise control switches on the steering.

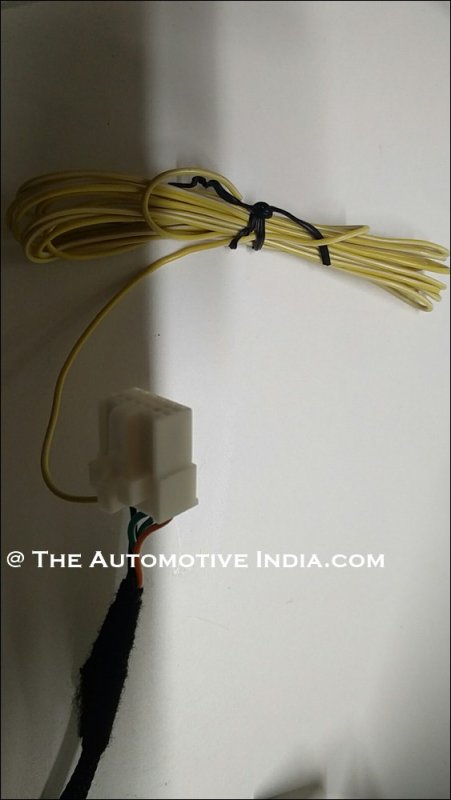
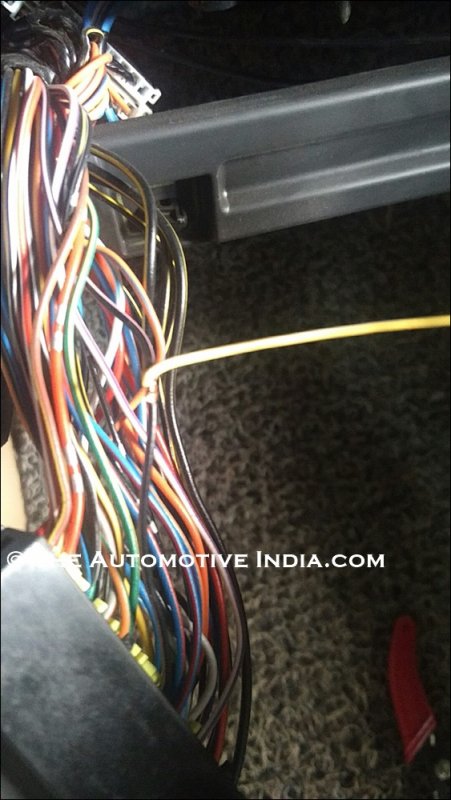
2) ECU Speed sensor line (single yellow wire)

wx_camera_1501225716313.jpg

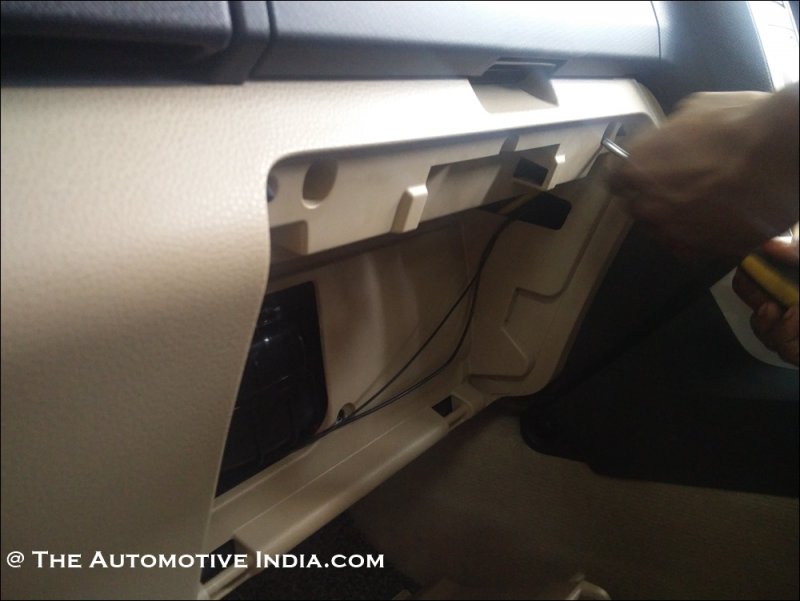
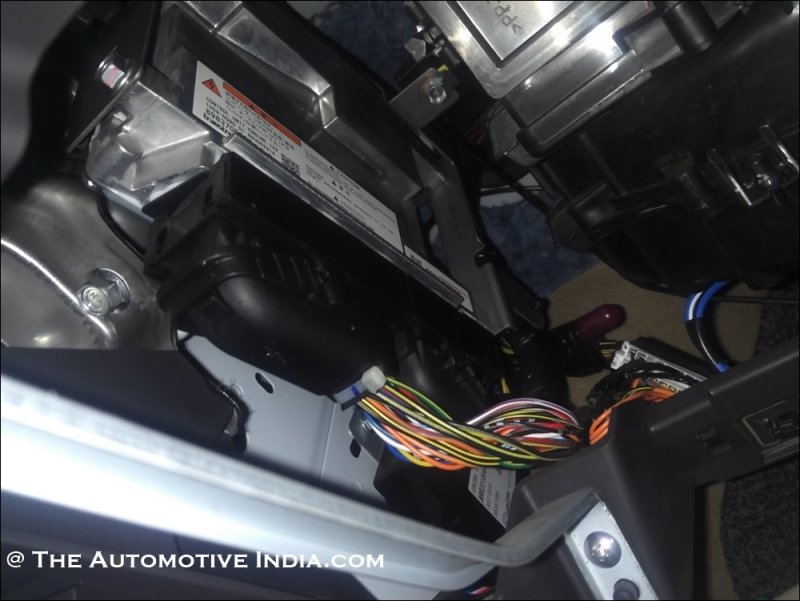
This is the last step in the process, and the only part in which two wires need to be connected (as you would do with any electric wire, simply tape it nice with a black insulating tape), this yellow wire needs to be routed fro the dashboard to the Left hand side beside the ac filter) and strapped on the ecu wire 19. This is for the display to show the speed as the existing instrument cluster doesnt have cruise indicator.

The ECU lies on the left side of the car

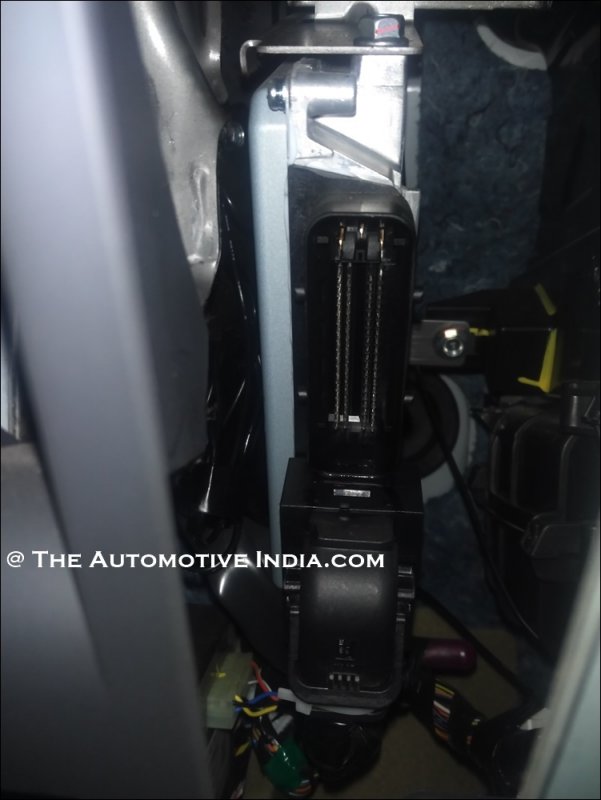
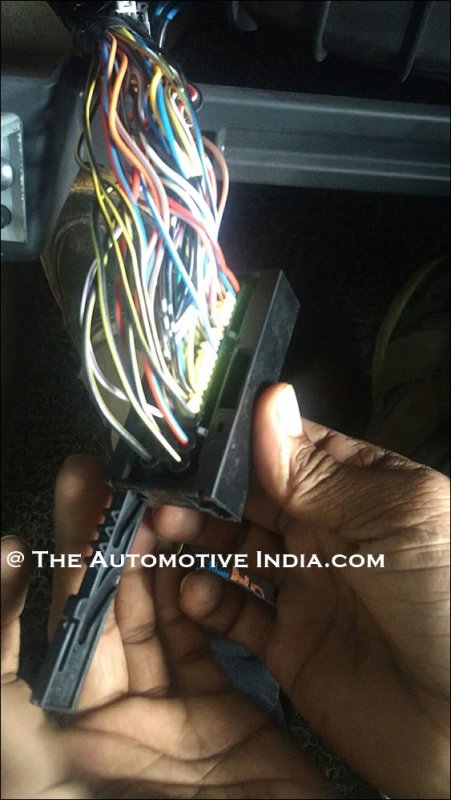
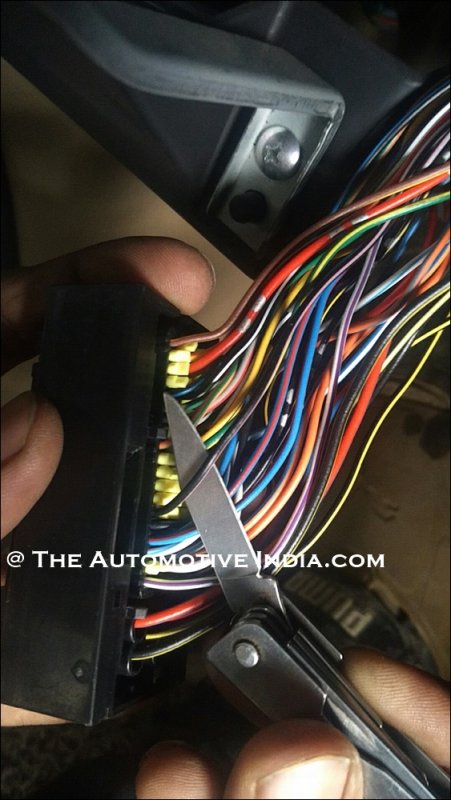
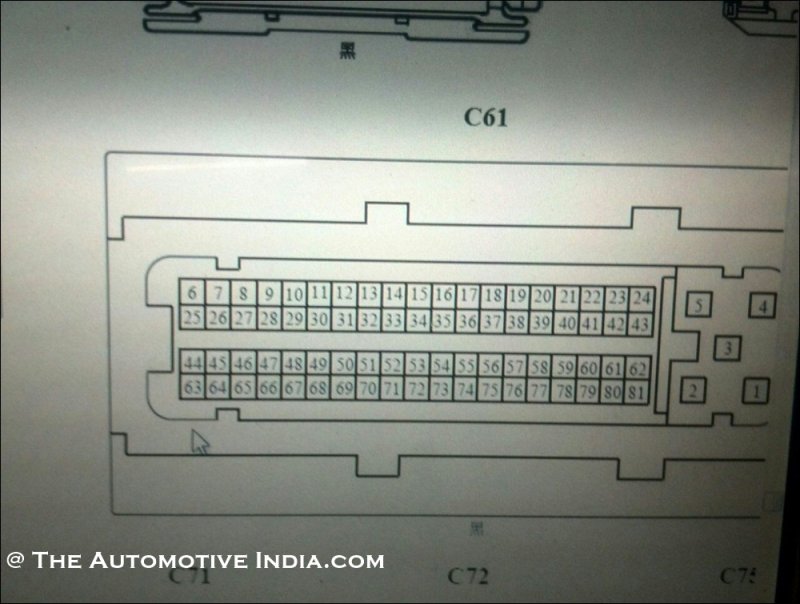
Remove the front passenger side cover and you will have access to the ECU on the left side. Remove the ECU clip on slowly , 2 plastic plates on the side will come off, and then the you can see the wires clearly on the back side. Identify ECU Pin 19 wire as per below diagram.

IMG_20170802_142842.jpg

IMG_20170802_143056.jpg

IMG_20170802_143551.jpg

wx_camera_1501664936239.jpg

wx_camera_1501665306529.jpg

Here is how ECU pin 19 need to be identified, it is fairly easy.

mmexport1501502216926.jpg

Slightly scrape the wire removing the insulation , you dont need to cut the wire, just splice it and tape the yellow wire it to it decently and finally put a insulation tape around it and put back the ECU plug in the same way. Please note removing the ECU cable is a process which you do with caution - its not a common connector, please video and remember how you remove it, that way putting it back becomes easier as well.

wx_camera_1501672048404.jpg

this is the last step of the installation, while the wires might all seem a little complicated, the task is fairly easy once you have the kit in front of you and it takes about 2 hrs or so for a full install.

 
Last edited:
Top Bottom