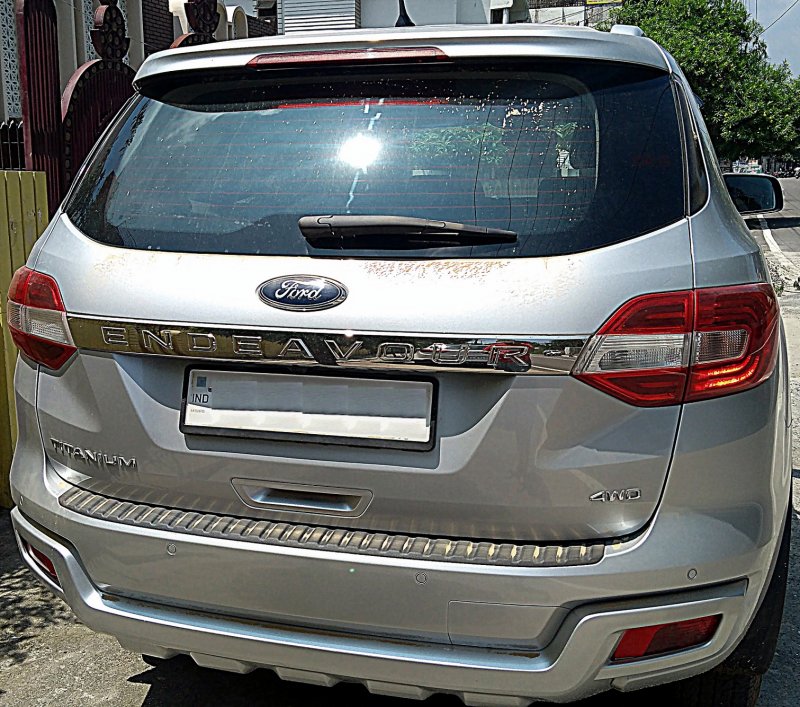
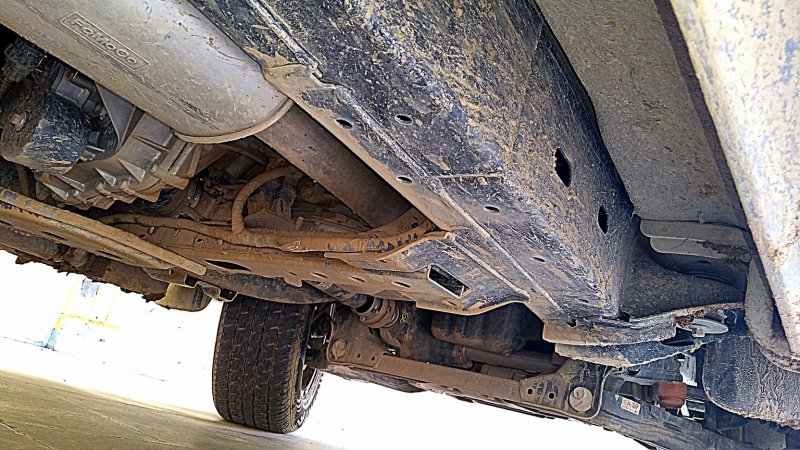
Additions 1 - GPS Tracker, Window Screens and DashCam
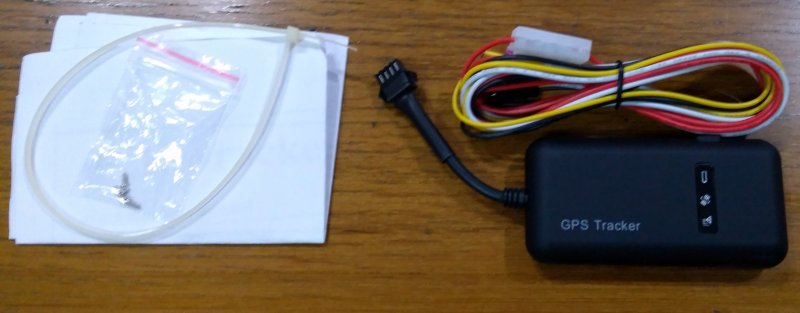
GPS Tracker: Got the GPS tracker from manufacturer whose tracker I had already used. Due to 'continuous improvements' this time got the MV1B-i model for around Rs. 2,000/-. The executives were helpful during setup and even added both the trackers to the same login. In the Endeavour, the power to some of the fuses when the key in ACC mode is still there when the key is removed turning off completely after sometime. Hence, the power was tapped fuse which work with key in Ignition ON position. For testing, I had installed it in the boot with the ignition and battery wire plugged to the 3rd row power outlet using the extra cable I had. Finally, it has been placed in the interior fusebox hidden from view.
The tracker with wiring
 Window Screens:
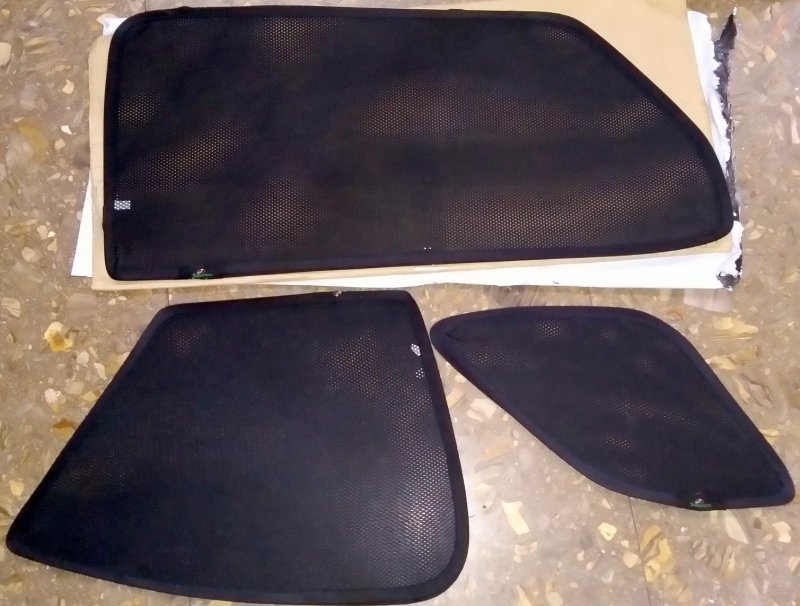
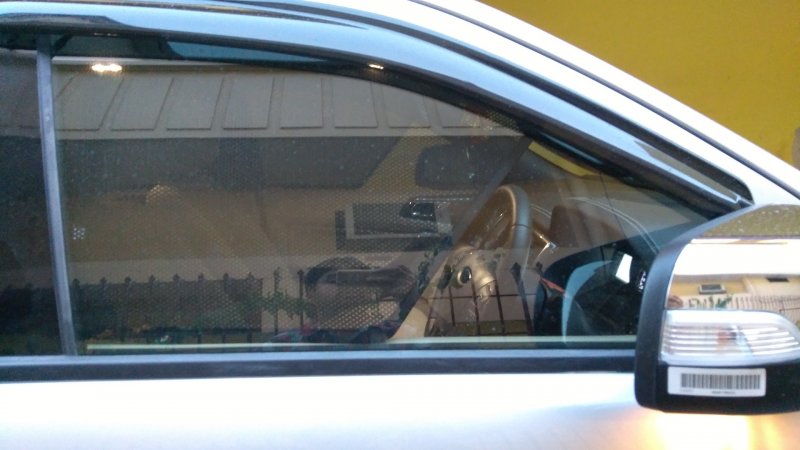
 Among the options available online, got the one with the cut for ORVM's after re-confirming from the seller about their size being suitable for the New Endeavour. For the price, they are okay but the 3rd row ones could have been better shaped and the cut a bit larger for the front windows. Surprisingly, a friend ordered them and the fit for the 3rd row was better - might be piece to piece variation.
The Screens - came in decent packaging
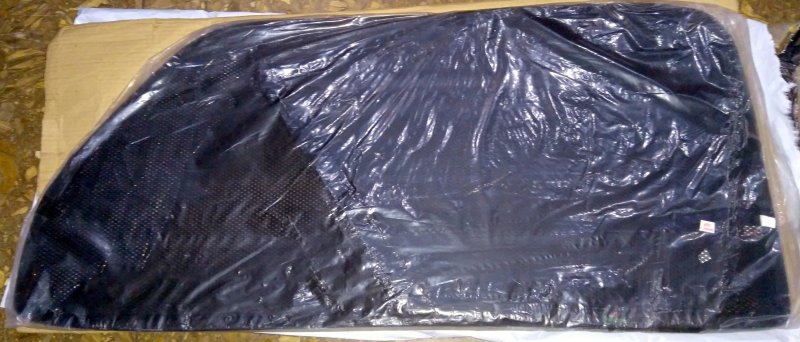
Clockwise from Top - Rear Door, 3rd row and Front Door
Actual view of Front ones installed
 DashCam:
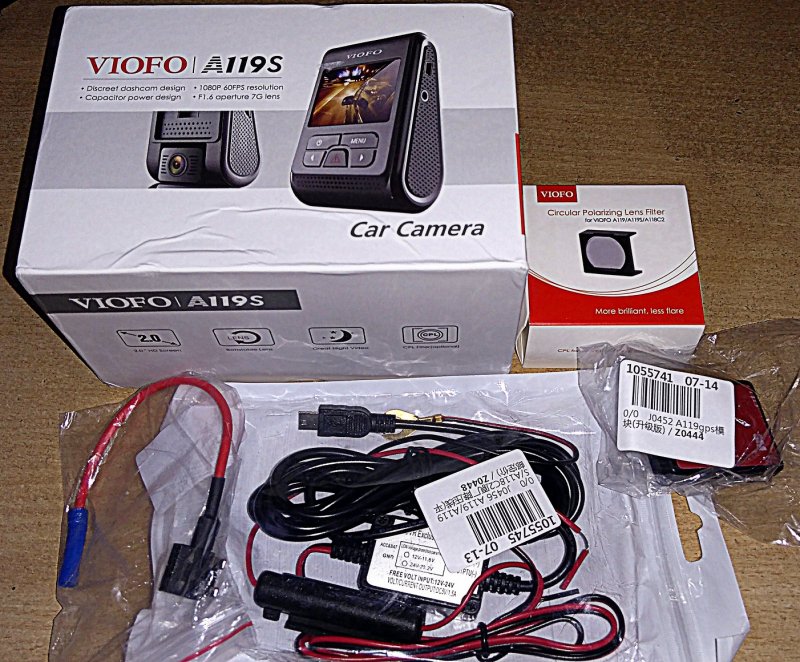
 Having used the SJ4000 WiFi, I wanted to go for the SJCAM M20. But IronRock suggested to go for Viofo. Got the A119S which has Sony sensor and very good night clarity but it sacrifices on the horizontal adjustment of the lens and the lens itself has a slightly narrower Field of View. The kit included Circular Polarization Filter to avoid capturing glares, GPS mount, Hard Wire Kit and fuse tap. I had wrongly specified the fuse tap to be Micro Fuse Tap and received the same but the Endeavour uses Micro2 fuse. A Class 10 memory card was separately purchased.
The kit
Contents of the camera box
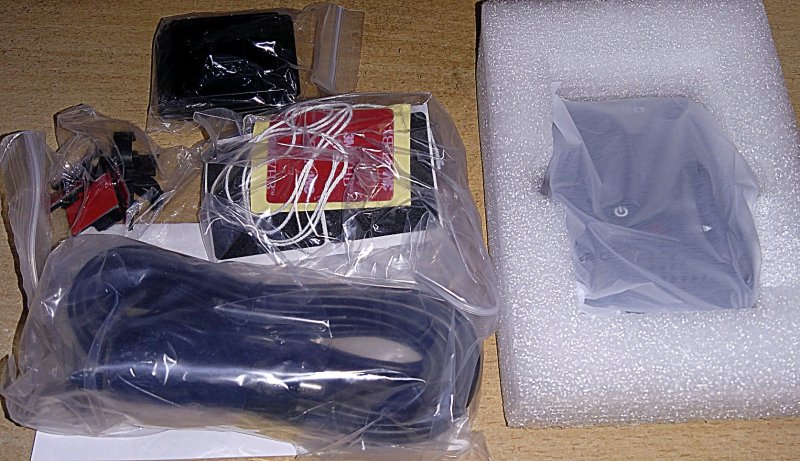
The camera prepared for use after pasting the supplied anti vibration foam

Camera with GPS module mount
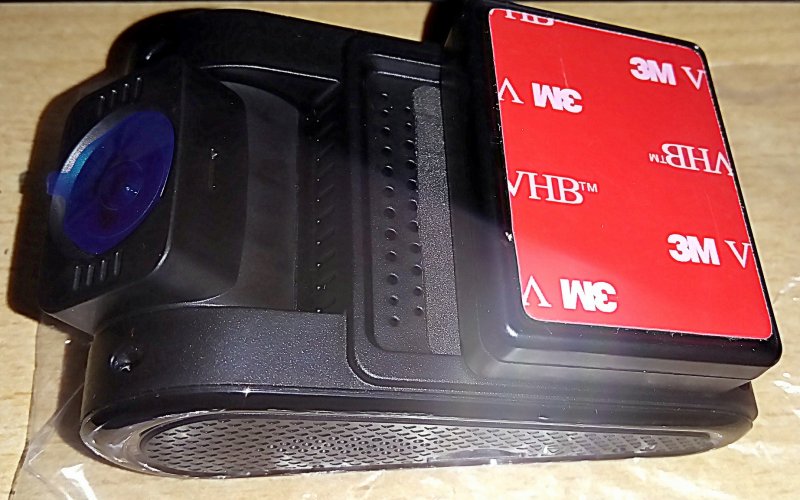
The Camera was mounted offset to passenger side due to the sensor in the center under the IRVM. It is perfectly concealed from driver's view as it comes behind the IRVM. The hardwire kit is connected to the supply tapped for GPS and now it automatically turns ON & OFF with ignition.
Actual placement of Camera
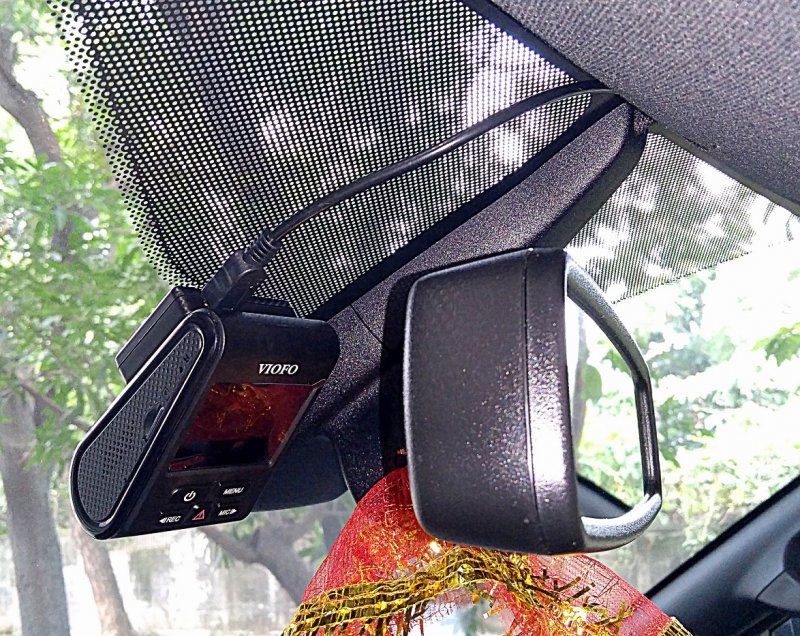
Wiring concealed in roof and pillar beading

The lack of battery is both good and bad - good as there is problem due to heat and bad that it cannot have the parking mode enabled without the hardwire kit being connected permanently to battery. This might cause the battery to drain and unnecessary recordings as it turn-on and off based on detected motion and shock.
![Big Smile [:D] [:D]](https://www.theautomotiveindia.com/forums/images/smilies/Big%20Smile.gif)
![Thumbs Up [thumbsup] [thumbsup]](https://www.theautomotiveindia.com/forums/images/smilies/Thumbs%20Up.png)
![Cry [cry] [cry]](https://www.theautomotiveindia.com/forums/images/smilies/Cry.gif)
![Big Smile [:D] [:D]](https://www.theautomotiveindia.com/forums/images/smilies/Big%20Smile.gif)
![Thumbs Up [thumbsup] [thumbsup]](https://www.theautomotiveindia.com/forums/images/smilies/Thumbs%20Up.png)

![Smile [:)] [:)]](https://www.theautomotiveindia.com/forums/images/smilies/Smile.gif)
![Smile [:)] [:)]](https://www.theautomotiveindia.com/forums/images/smilies/Smile.gif)






![Smile [:)] [:)]](https://www.theautomotiveindia.com/forums/images/smilies/Smile.gif)

