Thread Starter
#16
Repainting Honda Dio - Metallic Black
- Thread Starter ss80
- Start date
Why is the paint looking smudged, is it photo effect ?
Is there any procedure to be followed after applying clear coat..
Is there any procedure to be followed after applying clear coat..
Is that a completed work?
Why its not shinning well, i mean the where is the amazing reflection of a metallic paint.?
Why its not shinning well, i mean the where is the amazing reflection of a metallic paint.?
SS80, what happen with paint its look like blur..any issue..? ![Surprise [surprise] [surprise]](https://www.theautomotiveindia.com/forums/images/smilies/Surprise.gif) the paint result is not Good what gonna do now
the paint result is not Good what gonna do now
![Surprise [surprise] [surprise]](https://www.theautomotiveindia.com/forums/images/smilies/Surprise.gif) the paint result is not Good what gonna do now
the paint result is not Good what gonna do now
Thread Starter
#20
90% job completed
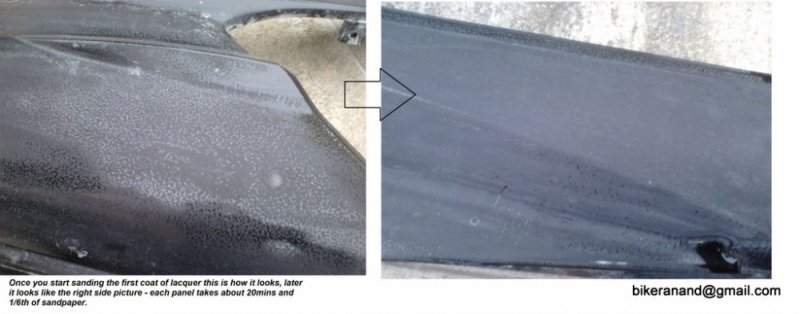
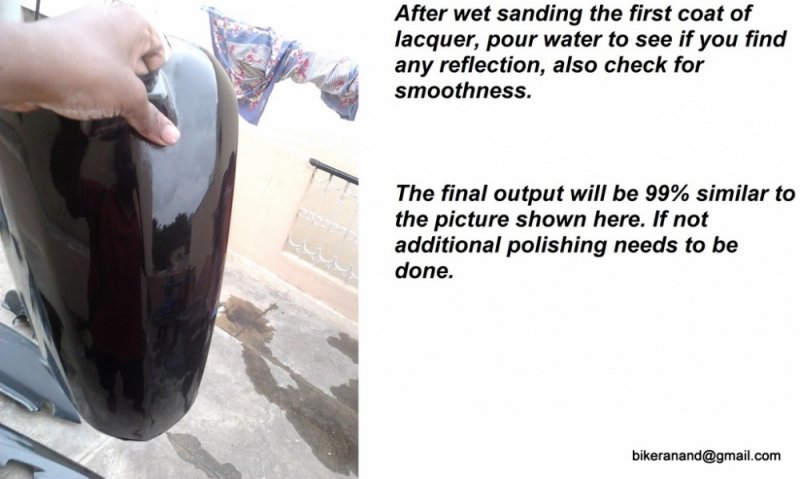
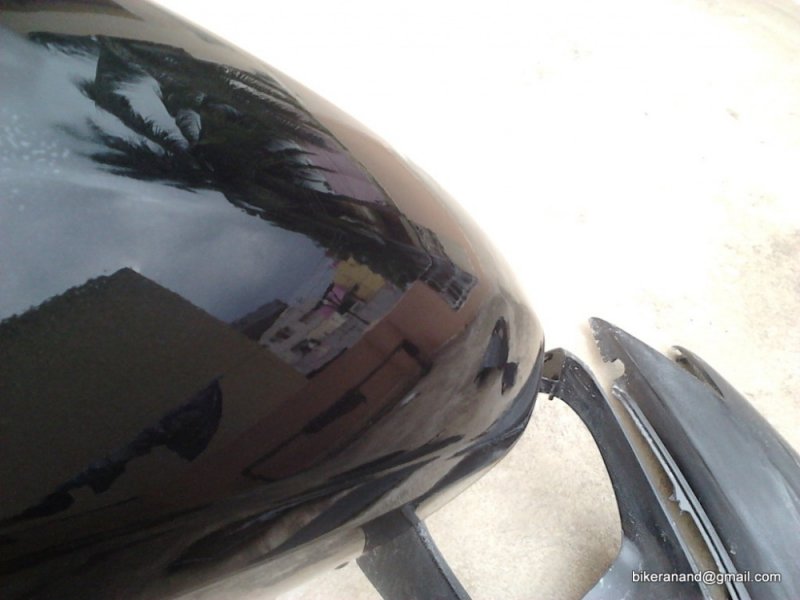
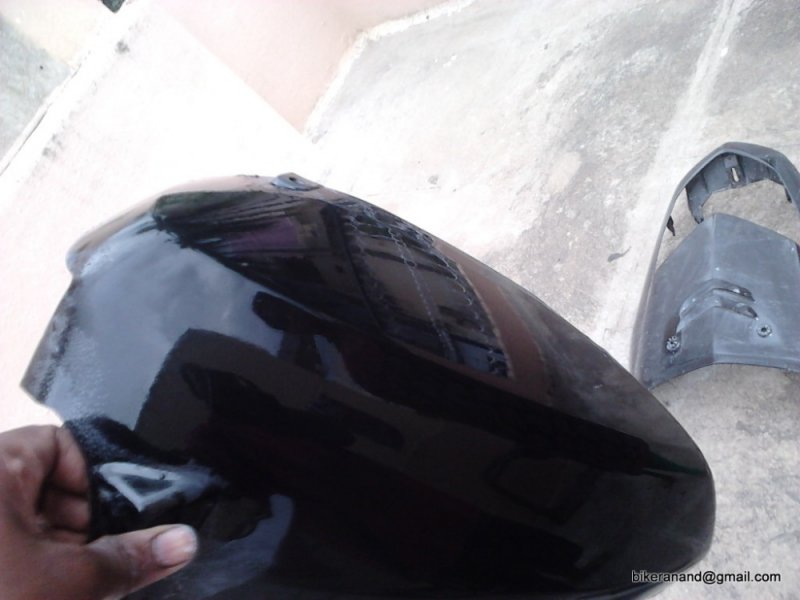
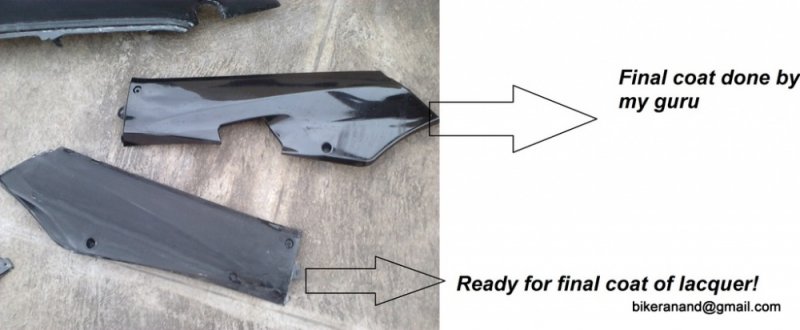
The reason why those panels are kind of rough is because, I had applied only one coat of thick lacquer (less thinner, more lacquer and hardener), now I have sanded the surface and made it almost smooth in most of the areas. Tomorrow the final lacquer will be sprayed to get that mirror finish.
The painting guru came to my home and gave a demo on how to wet sand the 1st lacquer layer and then also gun settings for final lacquer to be applied.
It is really hard to wet sand the lacquer as it takes about 15mins minimum to get the desired smoothness on a complete panel. Most of my finger prints are kind of faded already by this almost one month of sand paper usage!
SS80, what happen with paint its look like blur..any issue..? ![Surprise [surprise] [surprise]](https://www.theautomotiveindia.com/forums/images/smilies/Surprise.gif) the paint result is not Good what gonna do now
the paint result is not Good what gonna do now
![Surprise [surprise] [surprise]](https://www.theautomotiveindia.com/forums/images/smilies/Surprise.gif) the paint result is not Good what gonna do now
the paint result is not Good what gonna do now
Is that a completed work?
Why its not shinning well, i mean the where is the amazing reflection of a metallic paint.?
Why its not shinning well, i mean the where is the amazing reflection of a metallic paint.?
Why is the paint looking smudged, is it photo effect ?
Is there any procedure to be followed after applying clear coat..
Is there any procedure to be followed after applying clear coat..
The painting guru came to my home and gave a demo on how to wet sand the 1st lacquer layer and then also gun settings for final lacquer to be applied.
It is really hard to wet sand the lacquer as it takes about 15mins minimum to get the desired smoothness on a complete panel. Most of my finger prints are kind of faded already by this almost one month of sand paper usage!


good work dear
is it the procedure followed for clear coat that we need to do two coats?
(after sanding another one) or only one coat is required
can u plz share ratios lacqure +thiner+hardner etc
is it the procedure followed for clear coat that we need to do two coats?
(after sanding another one) or only one coat is required
can u plz share ratios lacqure +thiner+hardner etc
Wow those are amazing results :)
Thread Starter
#23
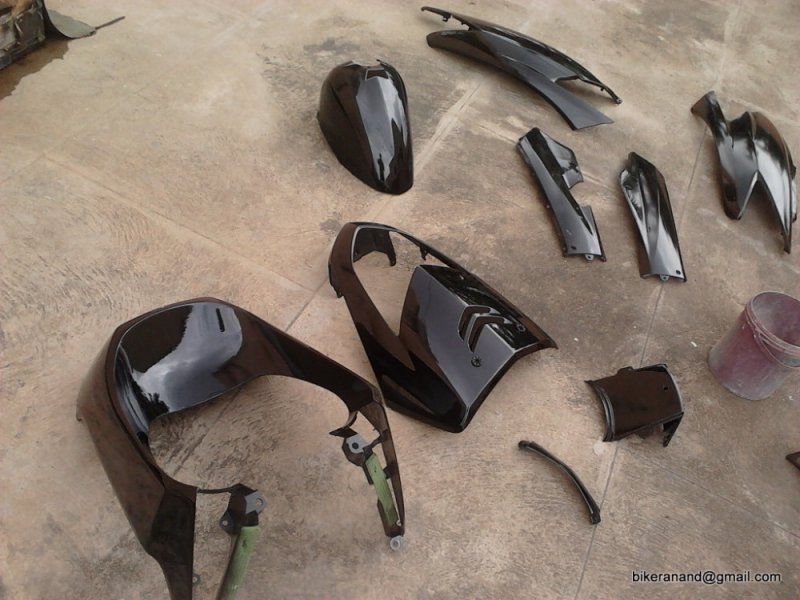
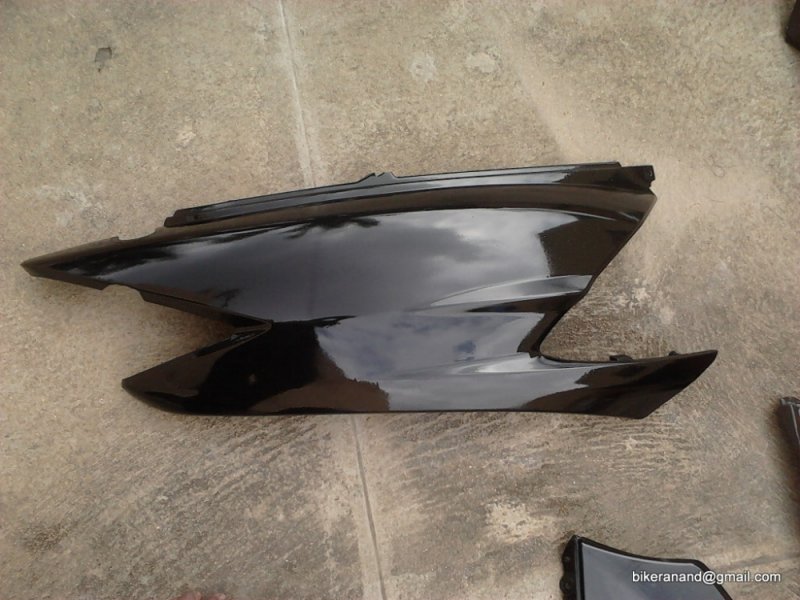
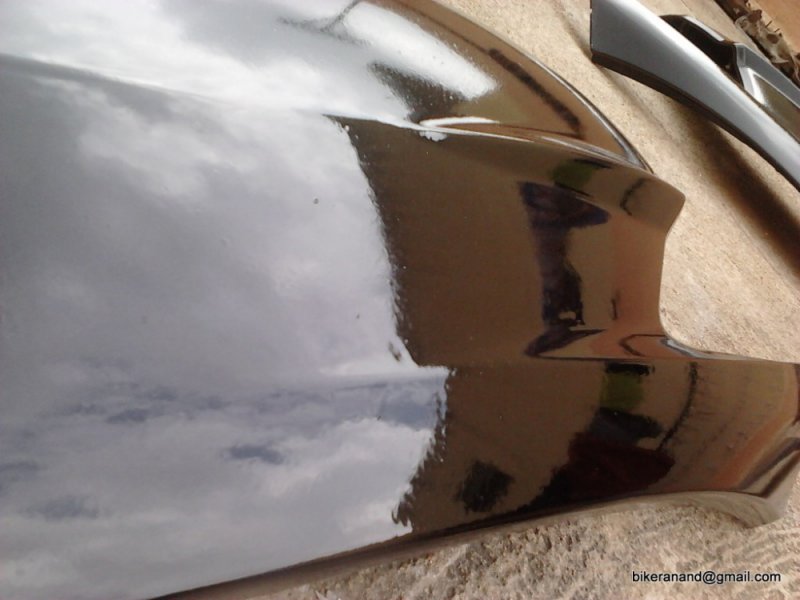
Final coat of Lacquer done
Usually only one coat of lacquer is applied then some rubbing and polishing is done. However for mirror kind of reflection it is suggested to do the second lacquer coating.
1st Lacquer coat = Thinner (1) + Lacquer (1) + Hardener (0.5)
2nd Lacquer coat = Thinner (1.3) + Lacquer (1) + Hardener (0.5)
The second coat of Lacquer needs more thinner to get a smoother finish and better coverage.
Thanks a lot.
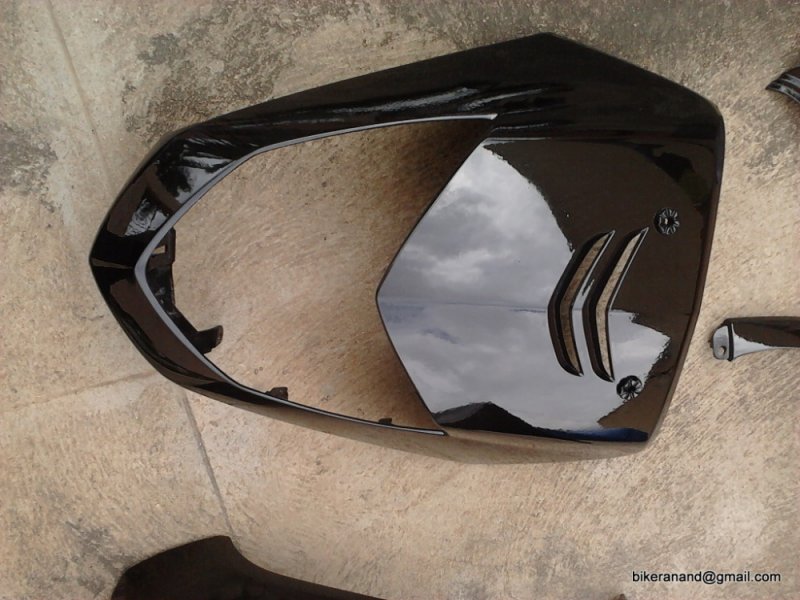
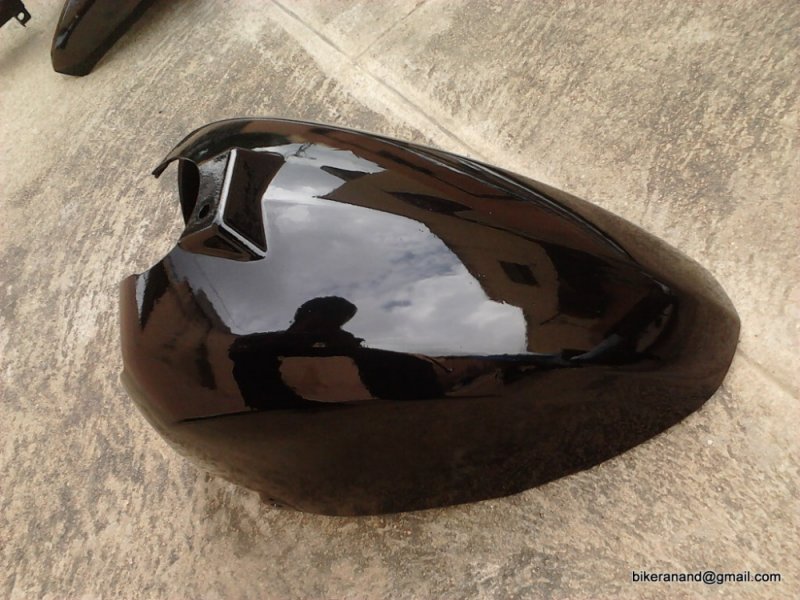
Finally managed to spray the final coat of Lacquer and here are the results. The actual item is not as good as it looks in photos. There is still some work left once this Lacquer dries. May be I will have to do rubbing and polishing once everything is fit back into the vehicle.
good work dear
is it the procedure followed for clear coat that we need to do two coats?
(after sanding another one) or only one coat is required
can u plz share ratios lacqure +thiner+hardner etc
is it the procedure followed for clear coat that we need to do two coats?
(after sanding another one) or only one coat is required
can u plz share ratios lacqure +thiner+hardner etc
1st Lacquer coat = Thinner (1) + Lacquer (1) + Hardener (0.5)
2nd Lacquer coat = Thinner (1.3) + Lacquer (1) + Hardener (0.5)
The second coat of Lacquer needs more thinner to get a smoother finish and better coverage.
Wow those are amazing results :)
Finally managed to spray the final coat of Lacquer and here are the results. The actual item is not as good as it looks in photos. There is still some work left once this Lacquer dries. May be I will have to do rubbing and polishing once everything is fit back into the vehicle.


I think you will get more reflection if you have sanded after applying the final paint coats, i mean before applying Lacquer. But still those are visible only in closer look, so no problem.
Few months back I brought a spray can and experimented on a plastic cap, I found that sanding after applying the paints gives a better finish.
Note: I didn't use a lacquer to cover it up, instead i just rubbed and waxed so it wont last as long as like with the lacquer coating.![Roll Eyes [roll] [roll]](https://www.theautomotiveindia.com/forums/images/smilies/Roll.gif)
Attaching the pic for the reference
Few months back I brought a spray can and experimented on a plastic cap, I found that sanding after applying the paints gives a better finish.
Note: I didn't use a lacquer to cover it up, instead i just rubbed and waxed so it wont last as long as like with the lacquer coating.
![Roll Eyes [roll] [roll]](https://www.theautomotiveindia.com/forums/images/smilies/Roll.gif)
Attaching the pic for the reference
Attachments
-
132.3 KB Views: 169
Last edited:
Thread Starter
#26
Thanks Girish and Kichu.
You are right in most cases we do sand the final coat of paint, but this time (surprisingly) the metallic coat was very smooth hence proceeded with direct lacquer. There are plenty of overflow (extra dripping) of Lacquer on half the panels so they will be wet sanded and finally a rubbing compound will be applied.
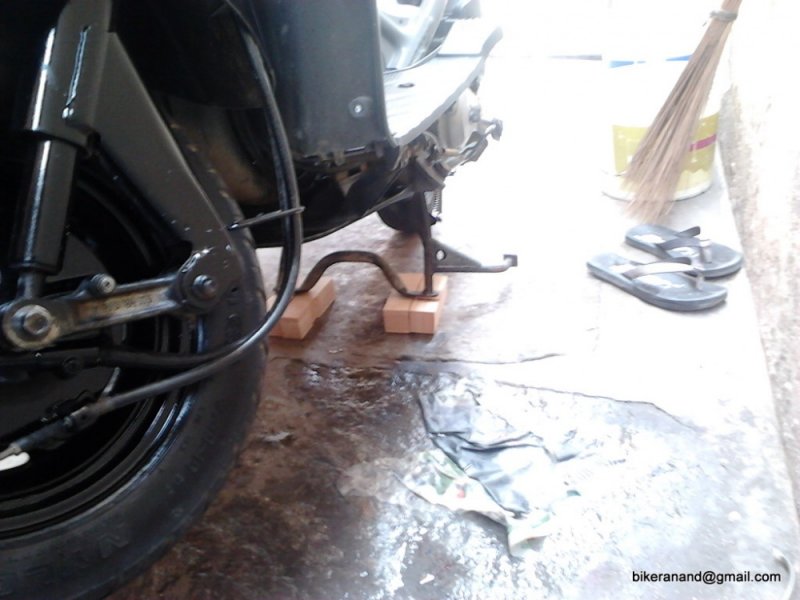
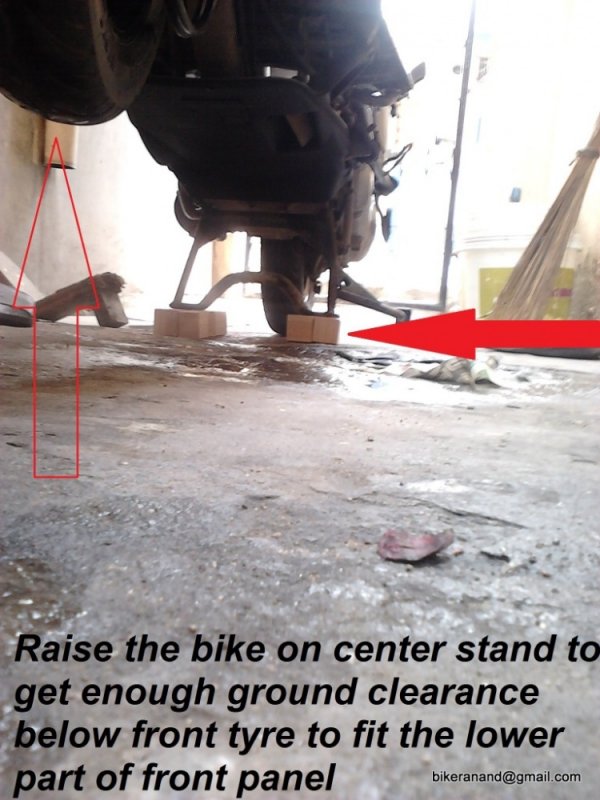
Got a green signal from the guru to fit everything back and that's what I did since afternoon. Also fixed the broken mounts using fevi quick with plastic strips on both sides of the joint.
The rear part is a big headache to assemble, I regret dismantling the rear part. Today already spent about 2 hours and got frustrated, will complete it tomorrow morning.
The new clear type indicator glasses are a direct fit on the front panel, however for the rear part you will have to break a screw mounting thing it has, I did that still some how the rear reflector has locking holes for these covers which is a bit different between the old and the new. It can be fit only if you have a dremmel or similar precision cutting tool. So the rear will continue to sport the old orange covers with normal bulbs on the inside.
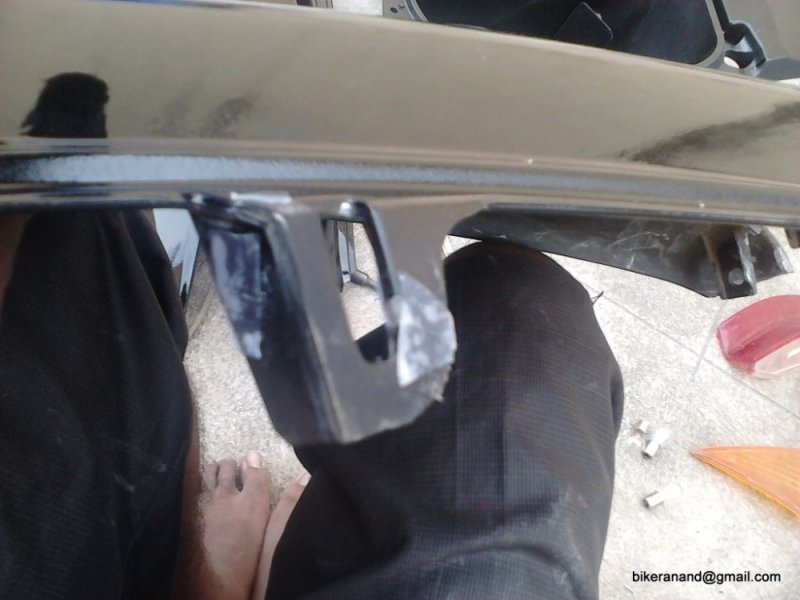
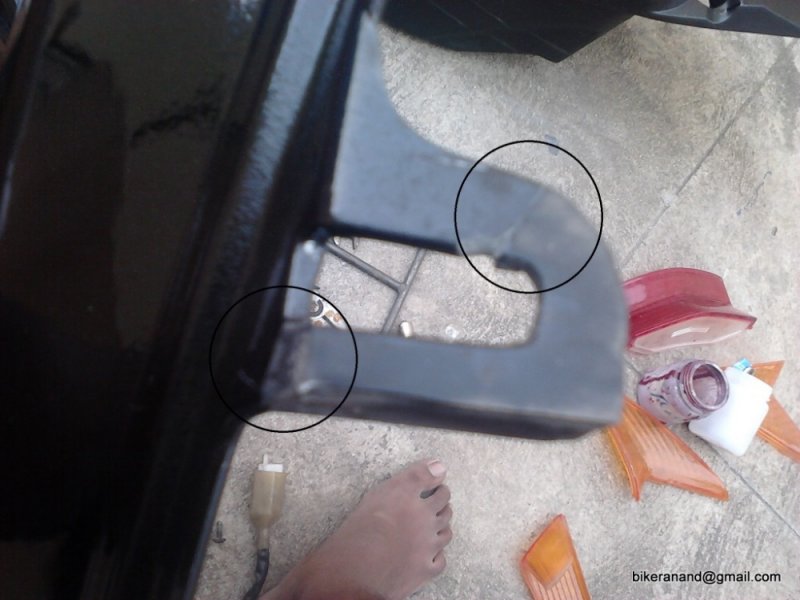
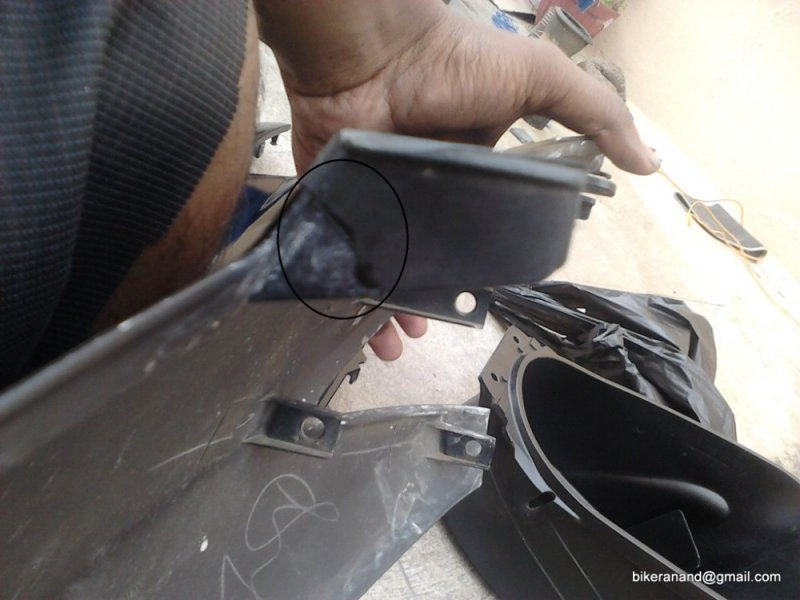
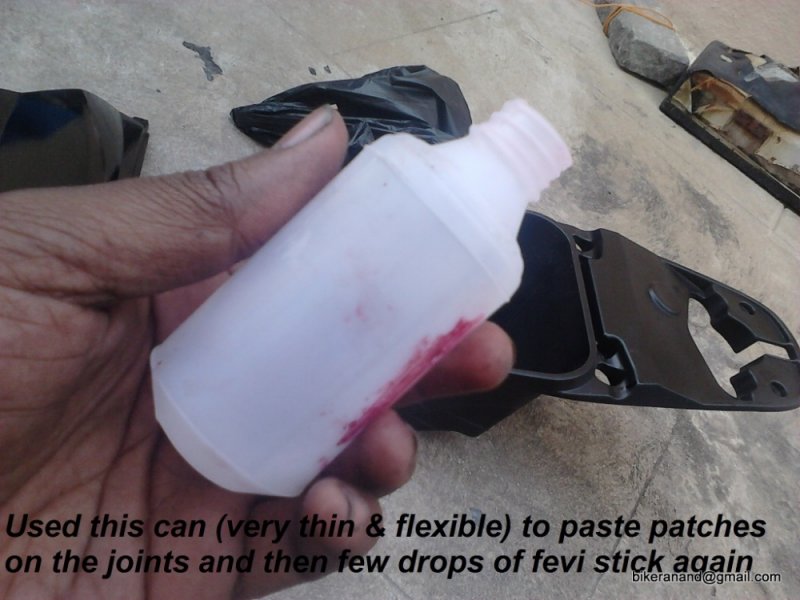
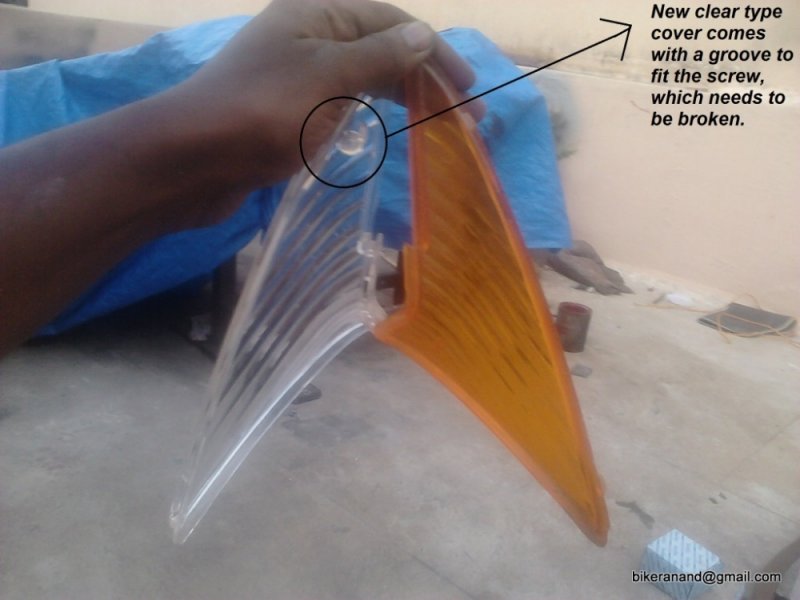
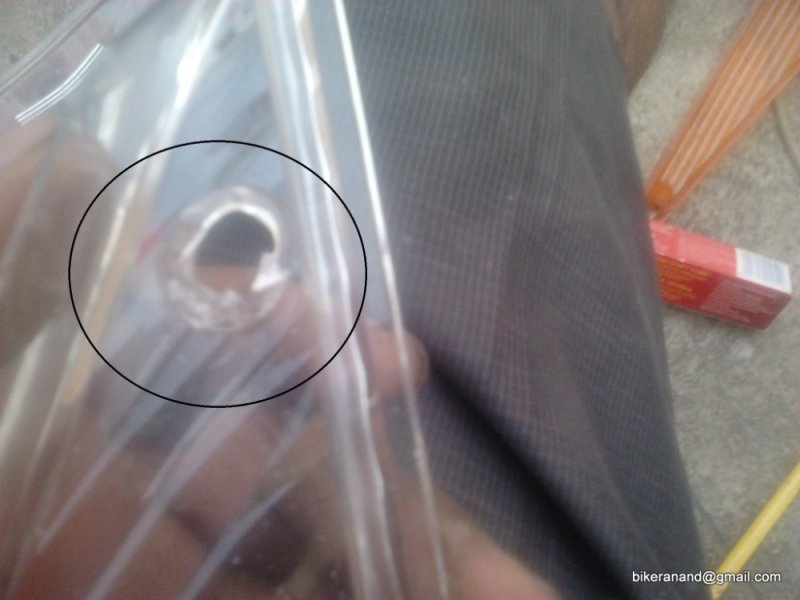
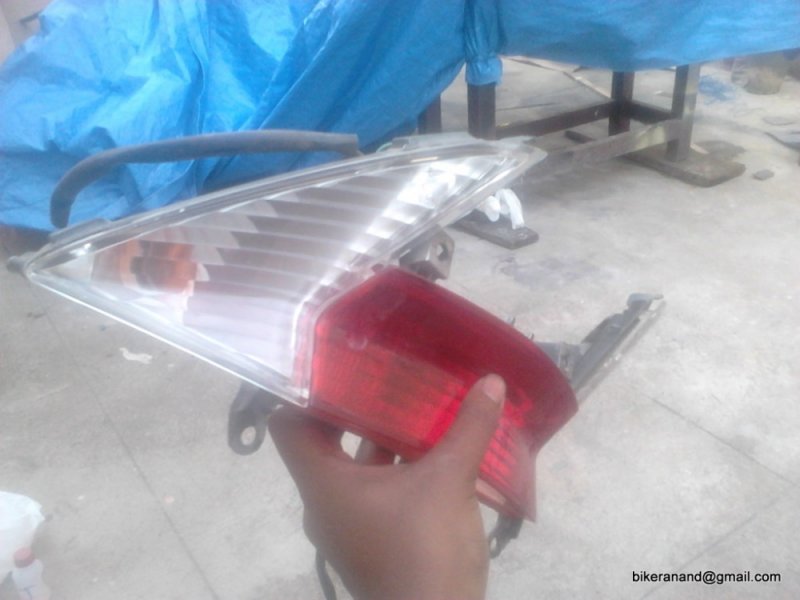
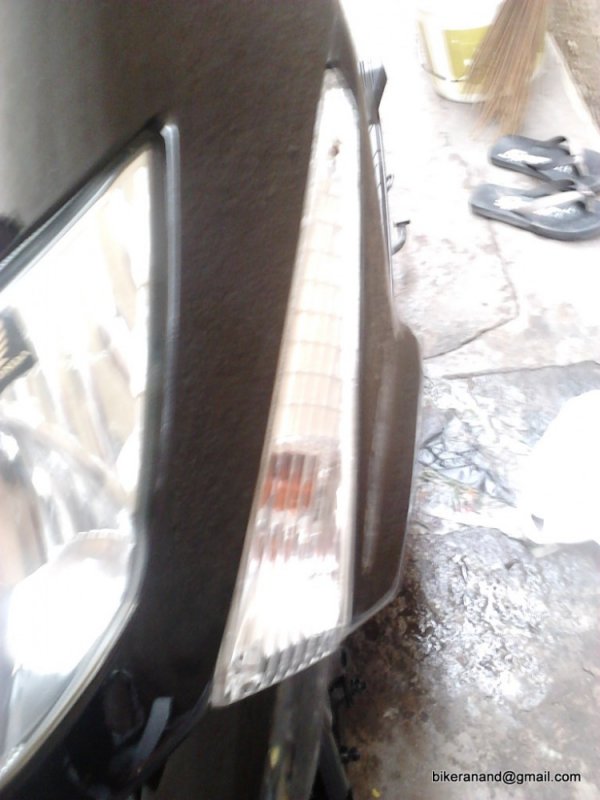
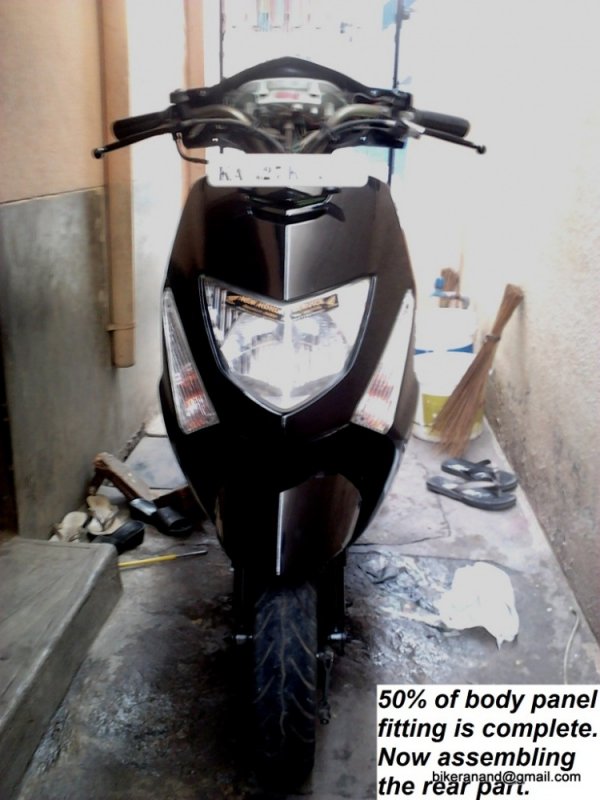


Hi Anand,
what about decals.. are you going to apply clear coat on top of the decals.
what about decals.. are you going to apply clear coat on top of the decals.
Thread Starter
#29
Shashi:
No stickering is done by me, as the owner plans to get some different custom made stickerings. I will give him some laquer so that he can apply it to the outer edges of the sticker to prevent peeling.
Gurrala:
Thanks a lot Sir! TAI members like you, help a lot to keep my spirits high.
I am using PPG brand paint, which I think is a sub brand of Asian Paints.
The update:
Struggled for about 3+ hrs trying to fit the rear part back in one piece, finally gave up and took it to a mechanic who fixed in 15mins, he has some different shaped thin body screw driver, with which job becomes easy.
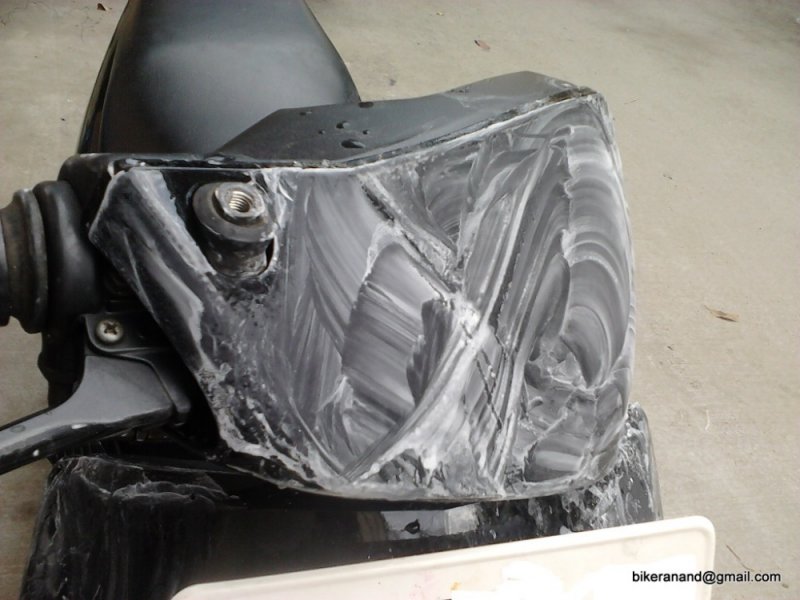
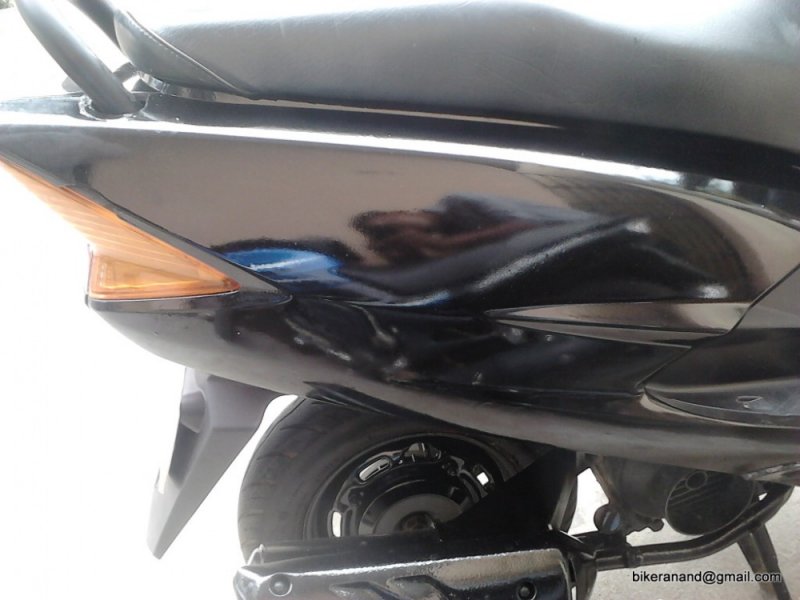
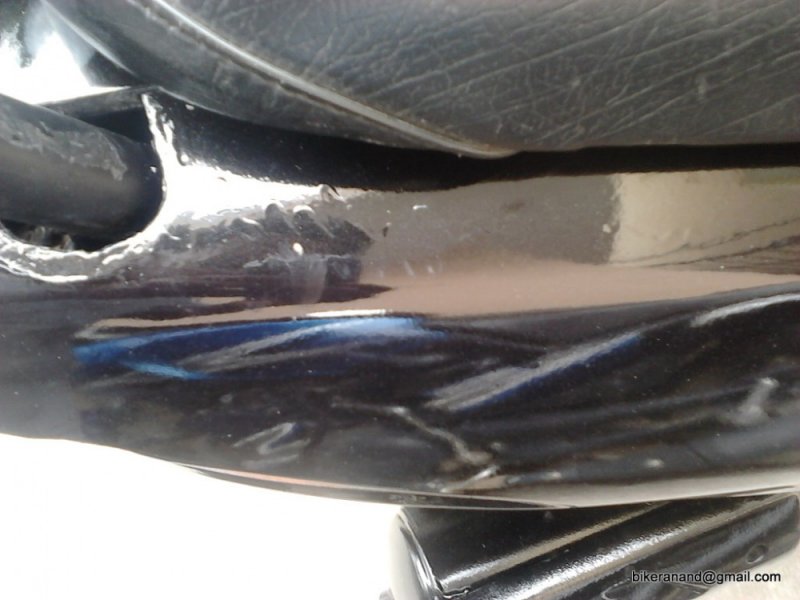
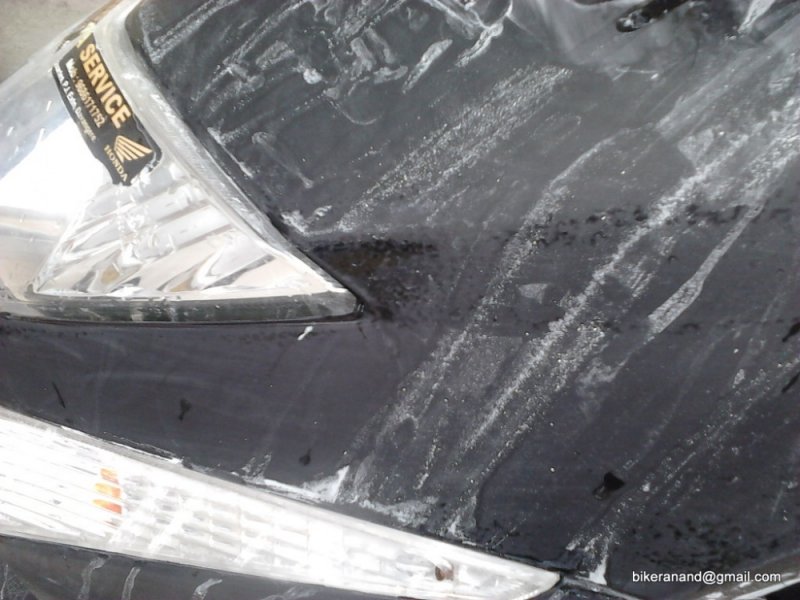
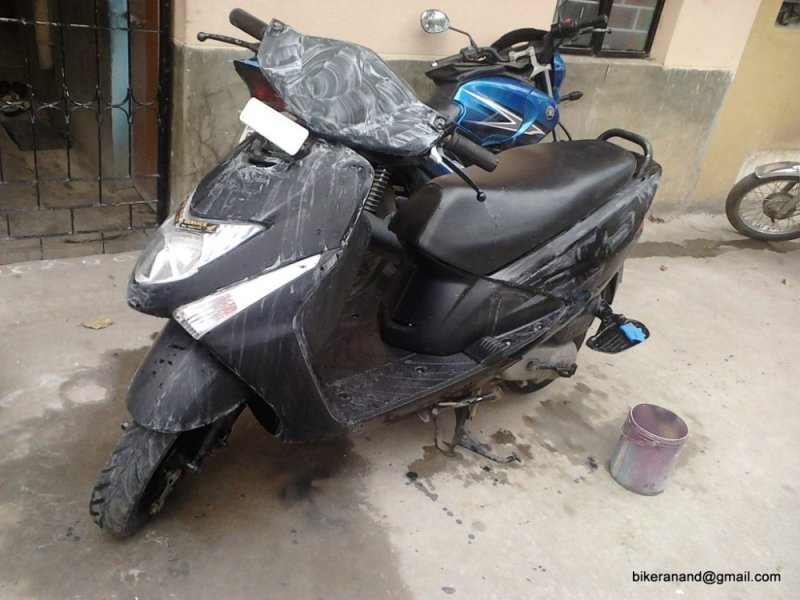
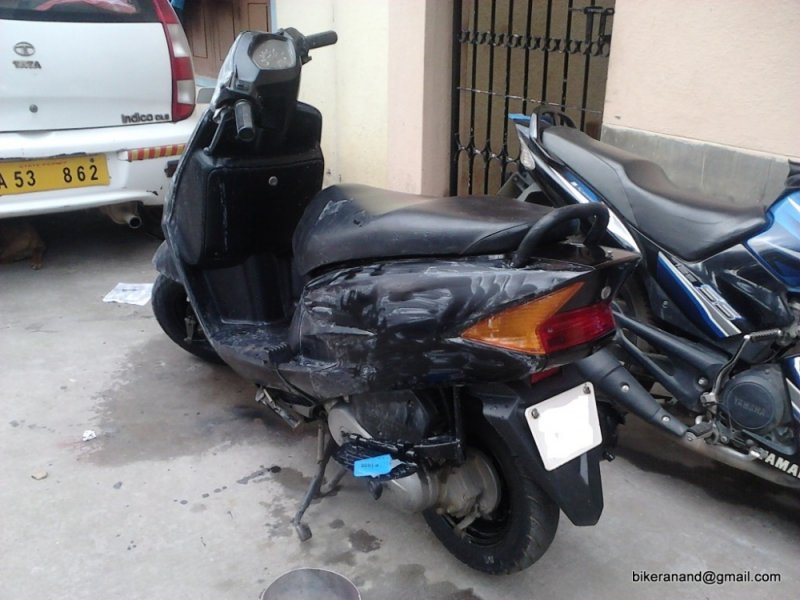
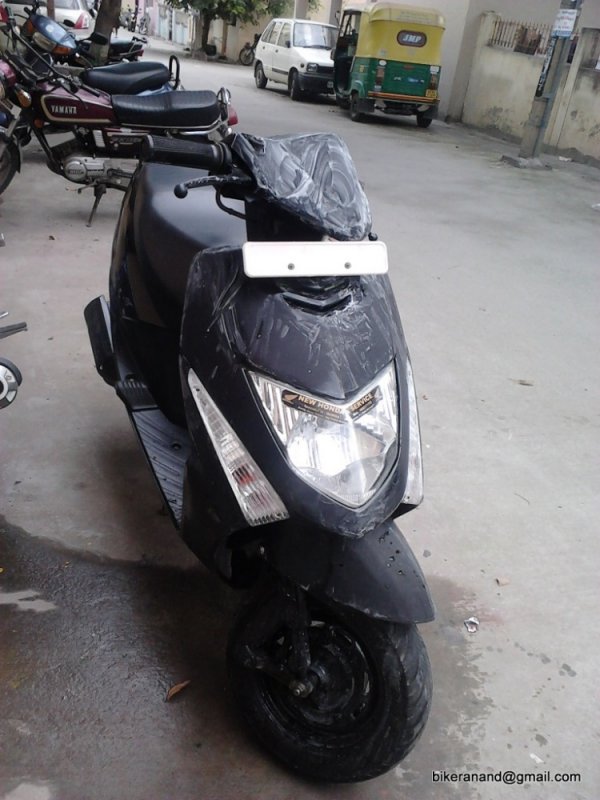
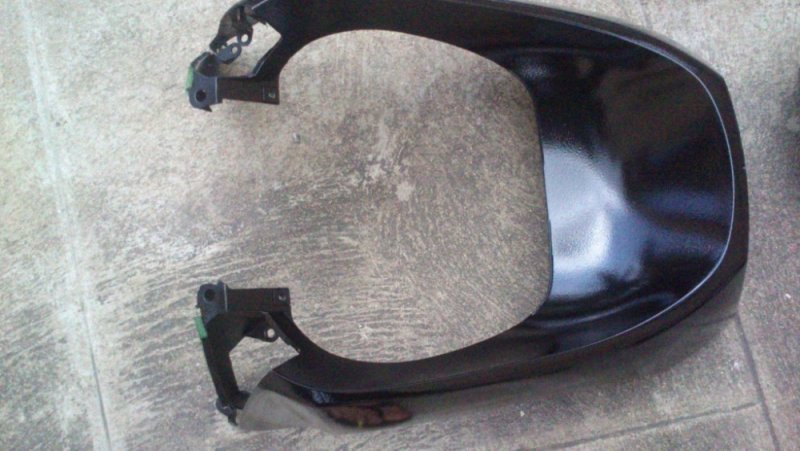
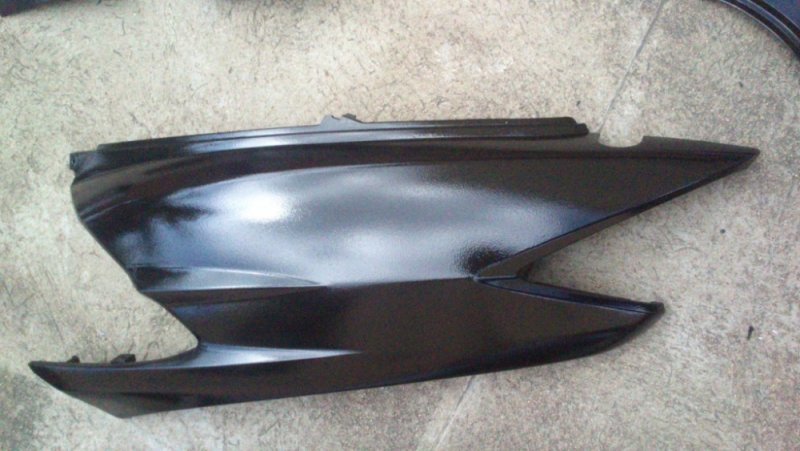
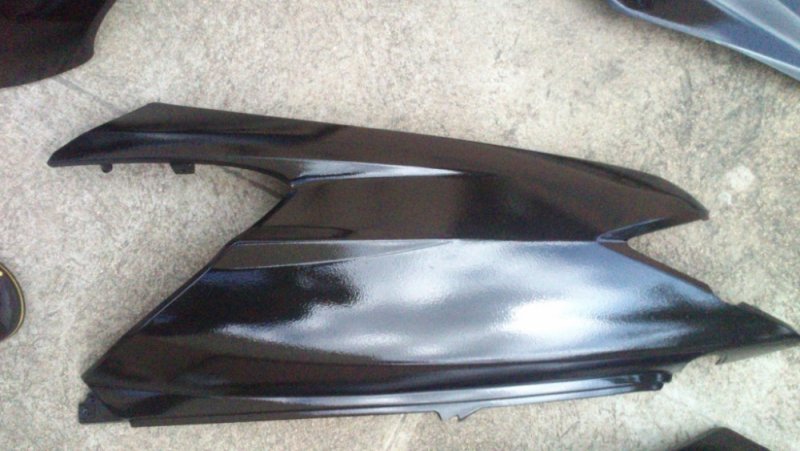
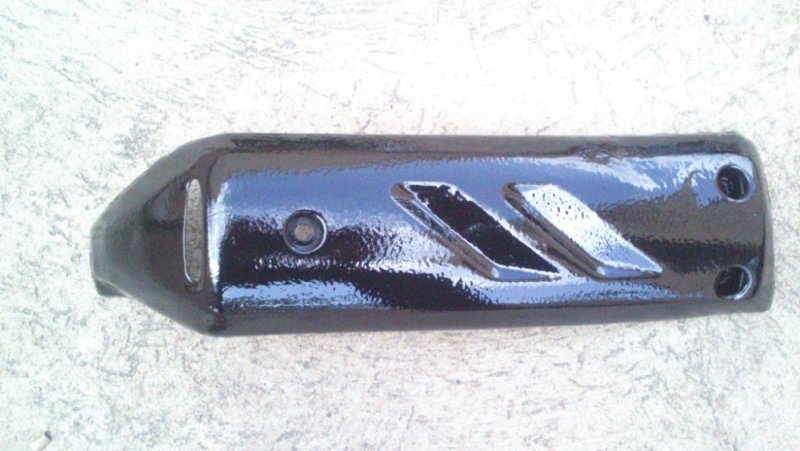
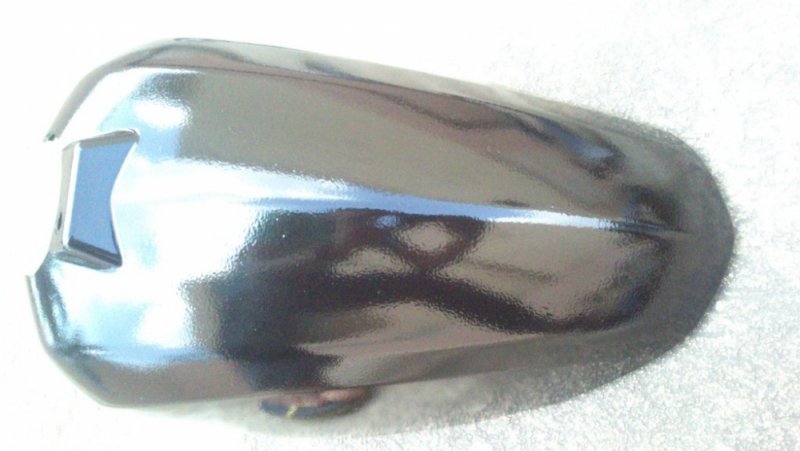
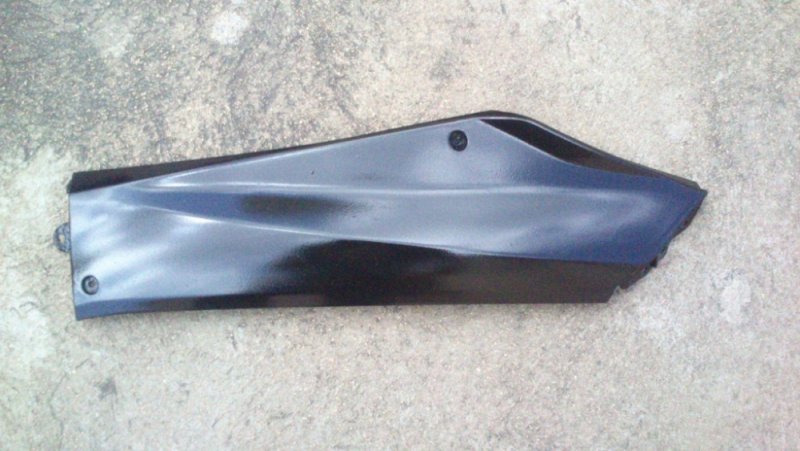
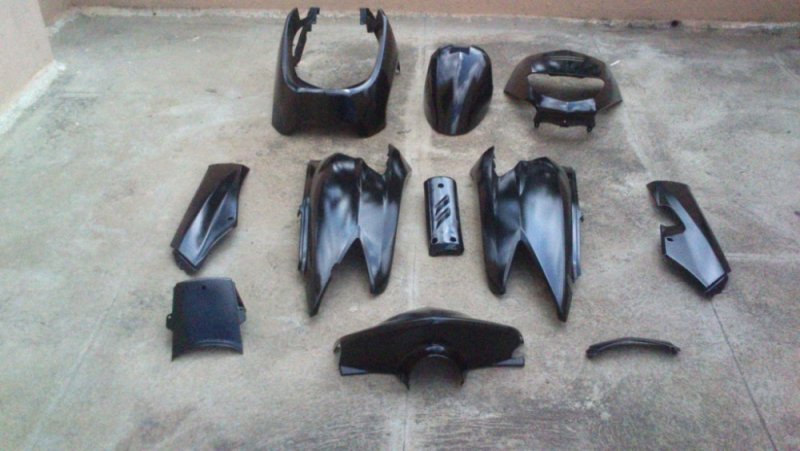
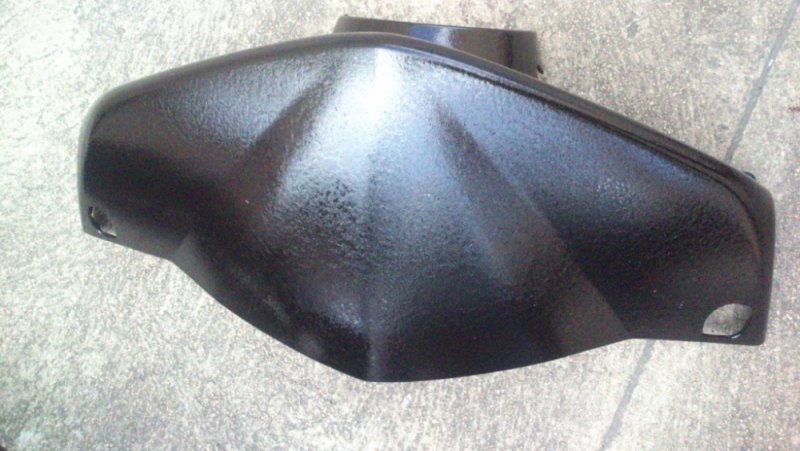
Tried polishing the mud guard and parked it next to a Ford Fiesta (same metallic Black colour) and checked it, the Dio was looking blurry and I was too disappointed, went back to my painting guru, had a discussion, came back home and wet sanded whole body to as smooth as possible. Tomorrow I will give it a last try, I will apply one last coat of lacquer with lesser thinner ratio to avoid over flow etc, hopefully this should fix everything.
Even the mechanic said that this much finishing is enough for a newbie painter, but then it just does not meet my expectations. My family is happy and angry at the same time, that I am redoing the work, they thought yesterday was the last time they will see me spraying the Dio.
It's not about competing with Ford, but then what's the harm in giving it one more go?
Few pics of sanding in progress with a 1000grit sandpaper.


![Smile [:)] [:)]](https://www.theautomotiveindia.com/forums/images/smilies/Smile.gif)