Hi, Thanks to ss80 and Varun for this informative thread which helped me know about this stuff for Maruti 800. Though there were pics and information scattered in this thread, I was little not clear on what was exactly needed and how it needs to be done (eg. did not understand why an extra hydraulic brake line in ss80's pic was required and where it fits etc). Hence here is a short write up on the procedure for "M800 carb cars with AC only". Note below for M800 non AC carb cars.
Parts purchased:
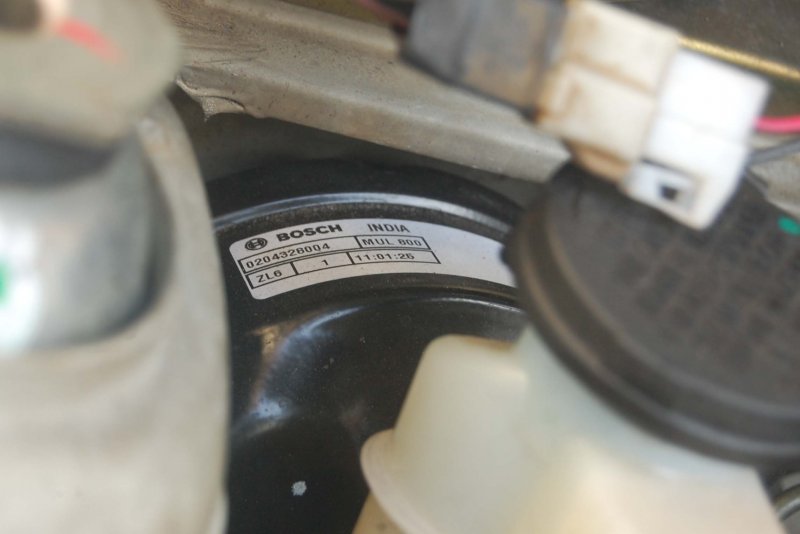
1. KBX brake booster for M800 from Maruti Genuine Accessories shop (MRP Rs. 3750). This did not have any other accessories other than the master cylinder attached to the valve. (Might be cheaper in other stores). If you get all other spares along with the kit, then you are ready to go to the garage, skip all below.
2. Extra brake hydraulic line as the existing one will be shorter in length to fit the new booster kit (Rs.30 - from local accessories store)
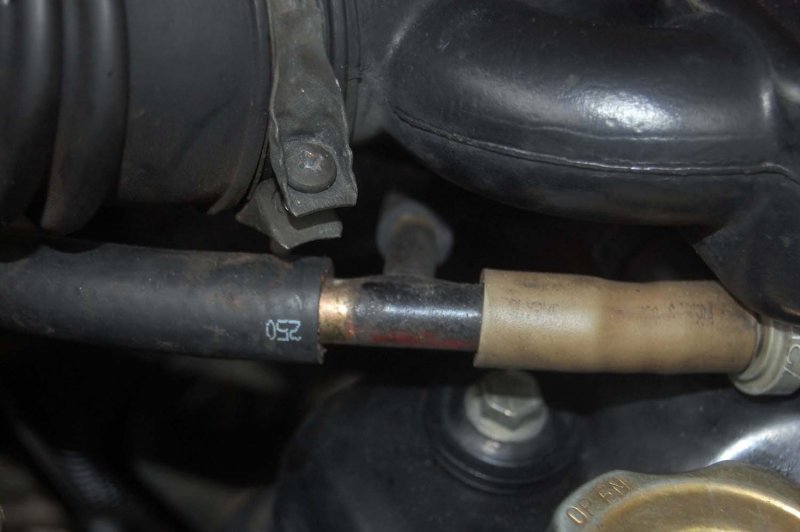
3. A rubber hose for vacuum to be passed to the booster kit (Rs.30 - from local accessories store)
4. 2 clamps to hold the rubber hose tightly at both ends (Rs.20 - from local accessories store)
5. T joint which can be purchased readily from a lathe shop (Rs.100 - from lathe shop)
6. 500ml DOT 3 or DOT 4 (castrol or TVS) brake oil (Rs.130 - from local accessories store)
At the garage:
MASS did not agree to install this and advised to contact a local garage. Hence if you do not know the garage person well, then do not allow him to remove anything other than the air filter for this job unless removing any parts demand. Next:
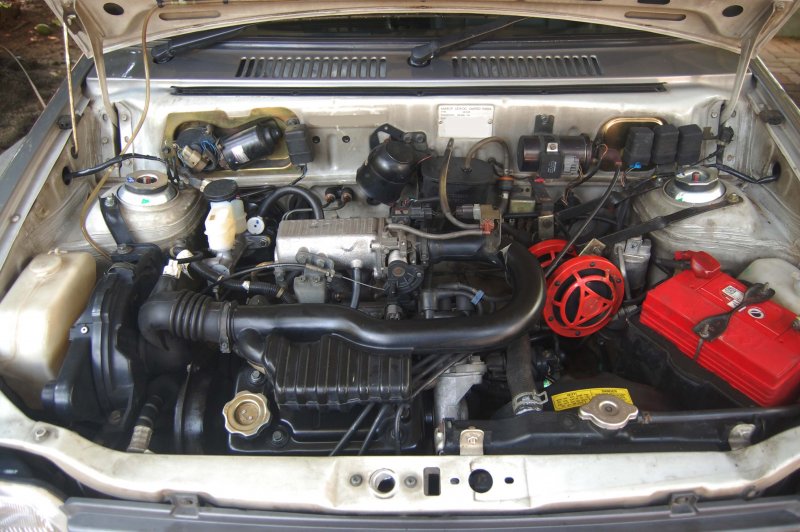
1. Remove the connecter in the manifold (air outlet point) which might have a rubber hose for AC connected to it.
2. Remove the air filter (just 2 nuts and 2 tubes needs to be removed to lift up the unit)
3. Remove the hydraulic brake lines (4 pipes) connected to the current brake cylinder valve.
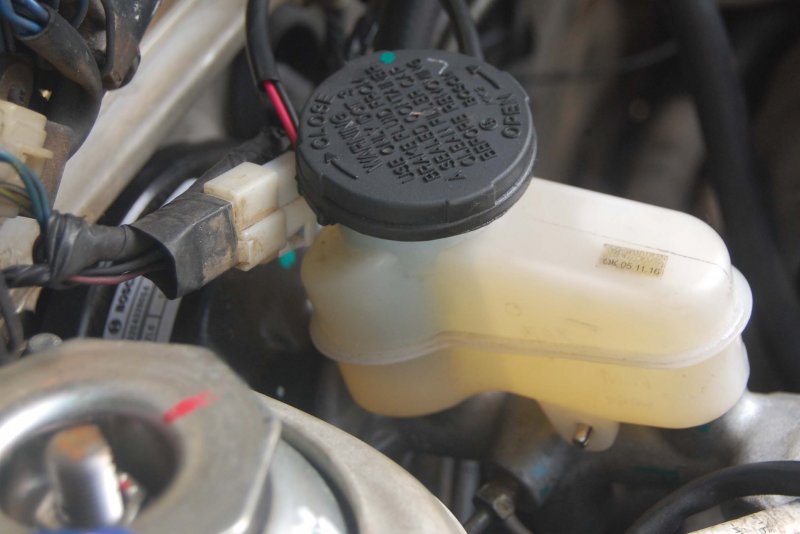
4. Remove the master cylinder cover and disconnect the cable that connects to a power/signal source.
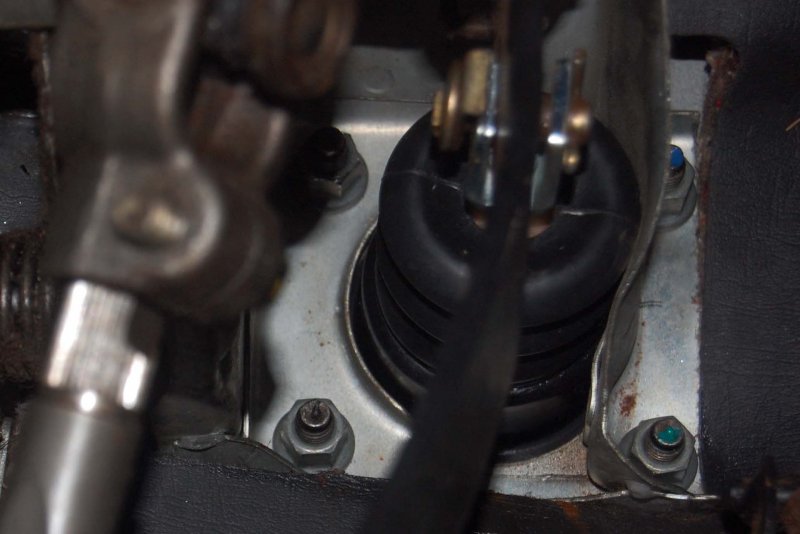
5. Remove the brake master cylinder. There is 1 cotter pin and 4 nuts that needs to be remove from inside the car (above the brake pedal)
We are done with uninstallation. Now at the lathe shop:
1. Take the connector (which we removed in point 1) to the lathe shop and get a T joint. The T-joint must have thread of similar diameter to the one removed so that it can fit into the manifold.
Back at the garage:
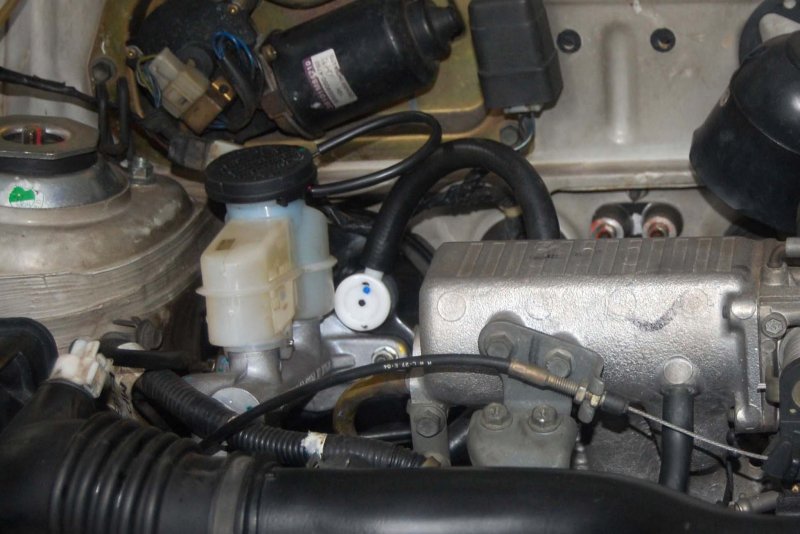
1. Place the new brake cylinder with the valve. It will directly fit the 4 holes. Tighten the nuts from inside the car (above the brake pedal) and put back the same cotter pin or new one
2. Connect all 4 hydraulic brake lines. One brake line will be shorter in length and this is where we will have to remove the pipe and replace the new one that we have bought.
3. Put back the new/old brake oil cylinder cap and connect the wires back.
4. Connect the T-joint to the manifold. It will have 2 open joints, connect 1 to AC (using the small tube). Connect the rubber hose that we bought to the second open end of the T joint and the other end of the hose to the booster kit. This acts as a vacuum source for the brake booster.
5. Connect the clamps to both ends to ensure that the vacuum tube for brake booster is intact.
6. Fill the brake oil and bleed several times to remove the air from all 4 wheels
7. Connect back the air filter cover and the 2 tubes that comes above it.
Note for non-AC carb cars: T - joint might not be required. Just 1 open end and it can be connected to the brake booster directly as seen in ss80's pics. Rest of the procedure remains same.
Start the engine and check if the booster kit gets in contact with the air filter. We are done! Test ride and feel the effect of the new brakes. You are now ready to drive on safe speeds without worries whether the car will stop as required or not!
This is definitely a DIY as Charithao said provided we have the right tools for the job. The above information can also help explain the garage person if he insists on add, drilling or removing any other parts. This is a must mod for all Maruti 800 owners and you will feel the difference and peace of mind at any speeds. Thanks Charithao for your last minute pics. I can update this post with step by step pics if anyone is interested.
Experts, please update if I had missed anything.
Disclaimer: As brakes play one of the most critical role in our cars, please perform the task at your own risk. Owner/Author accepts no responsibility or liability whatsoever 
Happy driving ![Drive [drive] [drive]](https://www.theautomotiveindia.com/forums/images/smilies/Drive.gif)


![Smile [:)] [:)]](https://www.theautomotiveindia.com/forums/images/smilies/Smile.gif)
![Drive [drive] [drive]](https://www.theautomotiveindia.com/forums/images/smilies/Drive.gif)


