1992 Kinetic Honda DX Revamp: A Slow Story


Thread Starter #31
Joined
Aug 15, 2016
Messages
69
Likes
132
Location
Kerala
Update


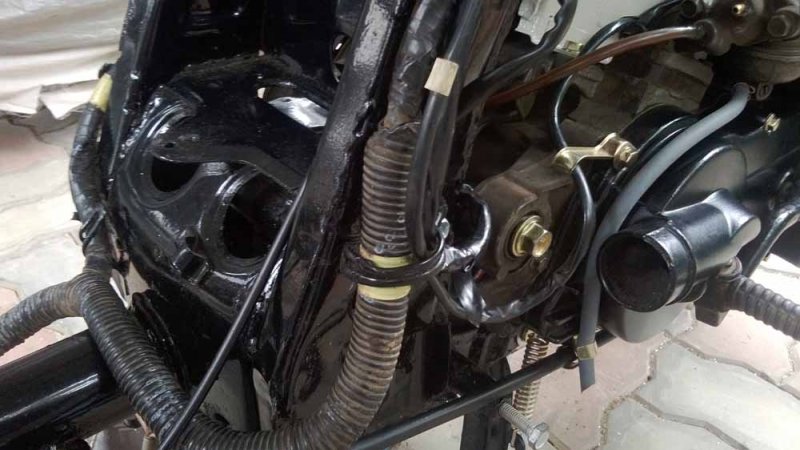
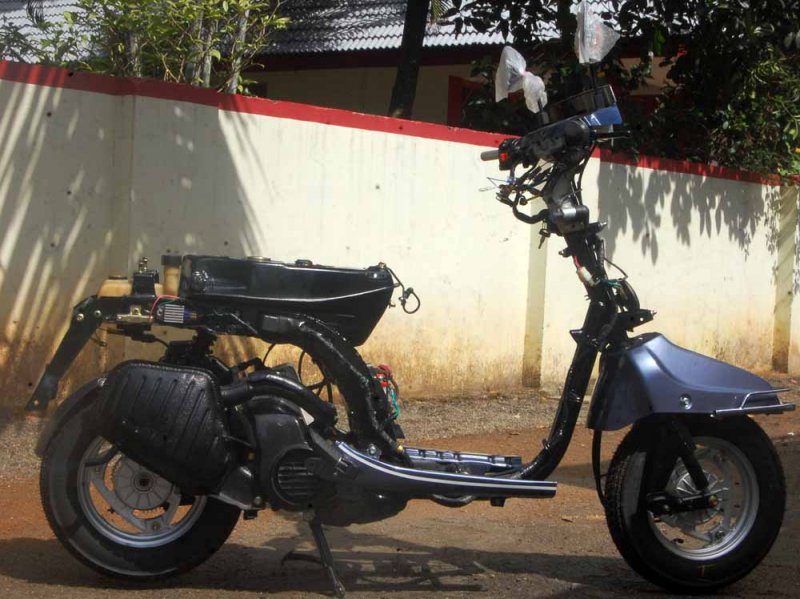
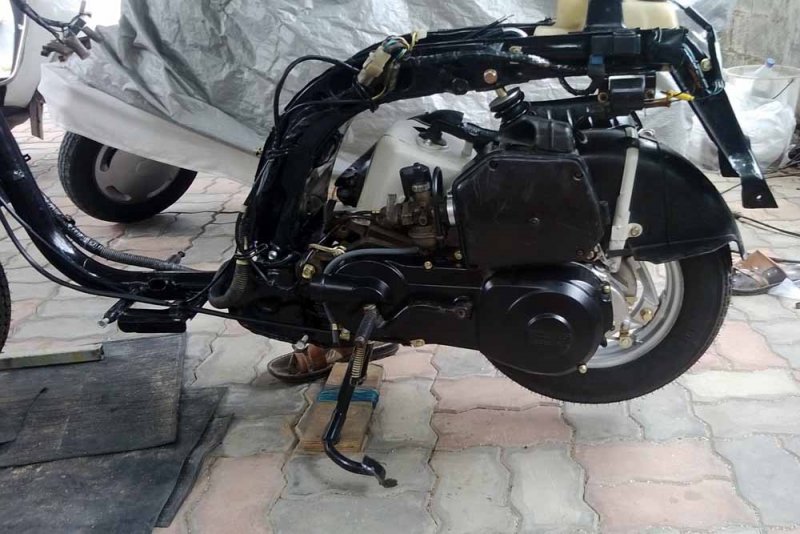
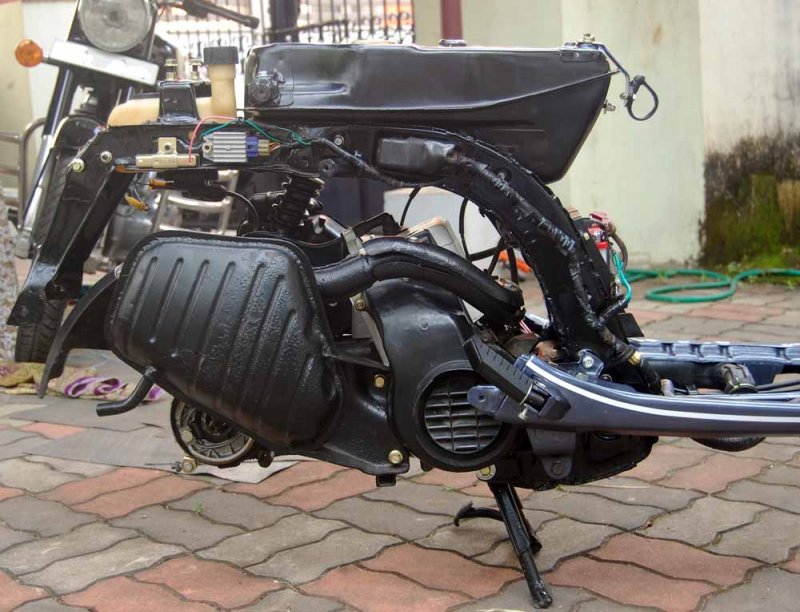
The engine was connected to the chassis.


It is difficult to do it alone. My wife assisted me for the work. The bolt was inserted and the work was ok. There is a sequence to be followed for shudder free ride. This was told by the kinetic Honda mechanic during telephonic discussions.


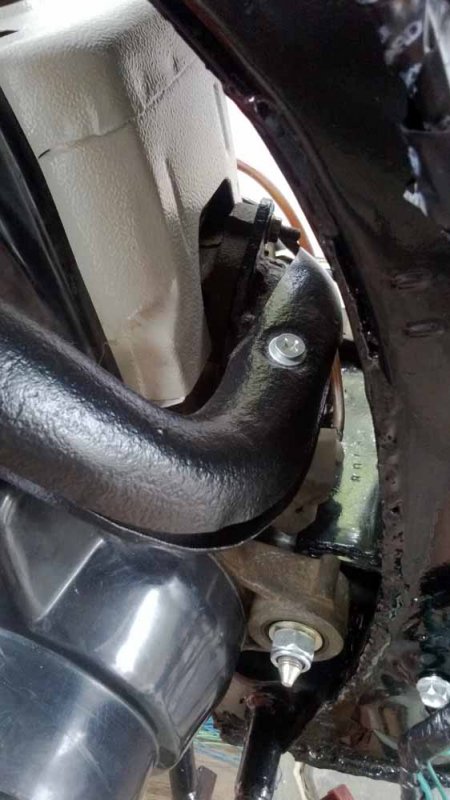
DSC_0001.JPG


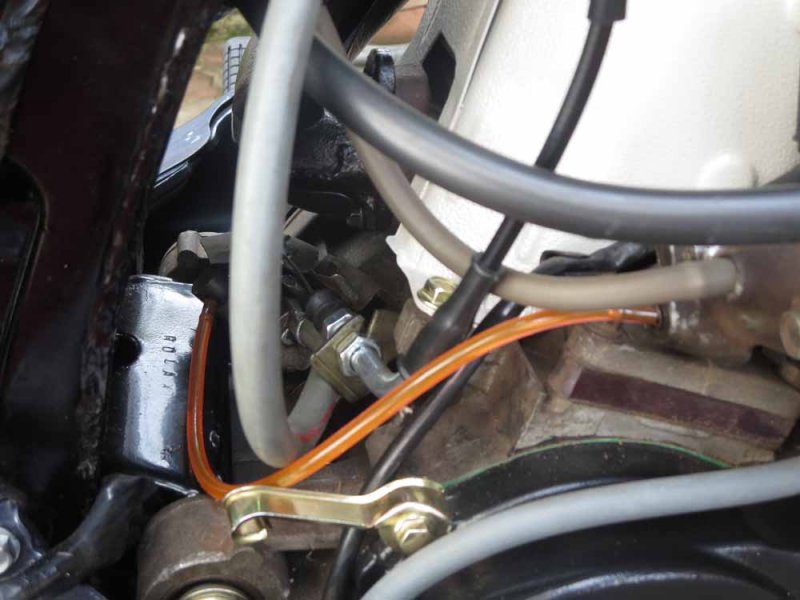
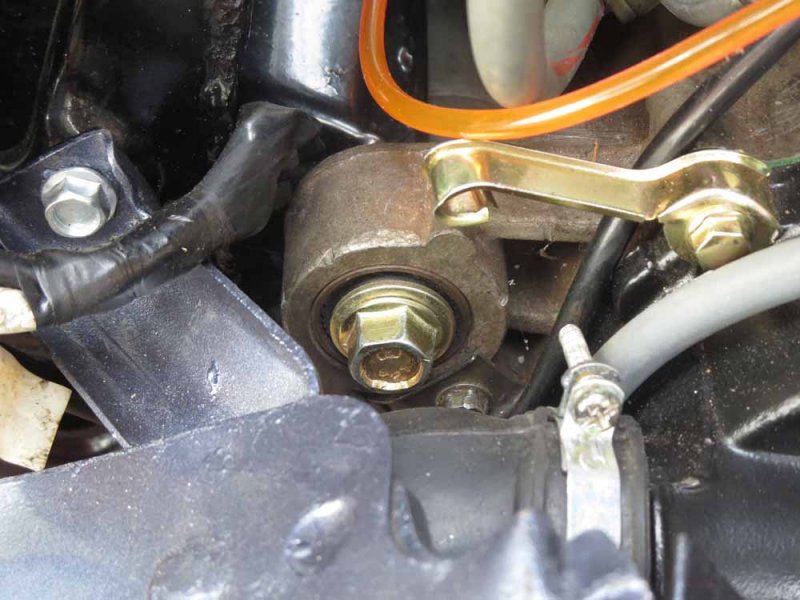
There is an engine hanger bracket attached to the chassis as shown above. I was advised not to remove this bracket from chassis, if not absolutely necessary. Before connecting engine, the chassis mounting bracket should be loosened so that this bracket freely moves up and down. The engine should be attached to the other end of the bracket and bolts tightened loosely. Then the rear shock absorber should be secured to the chassis. The tightening sequence is that, First the bracket should be tightened at the chassis side while the engine is pushed up. Then the bolt at the engine side should be tightened fully. This is done to ensure that the bracket is not sagging. The mechanic told me that this procedure ensures jerk free rides. I hope some clarity prevails in my explanation above.

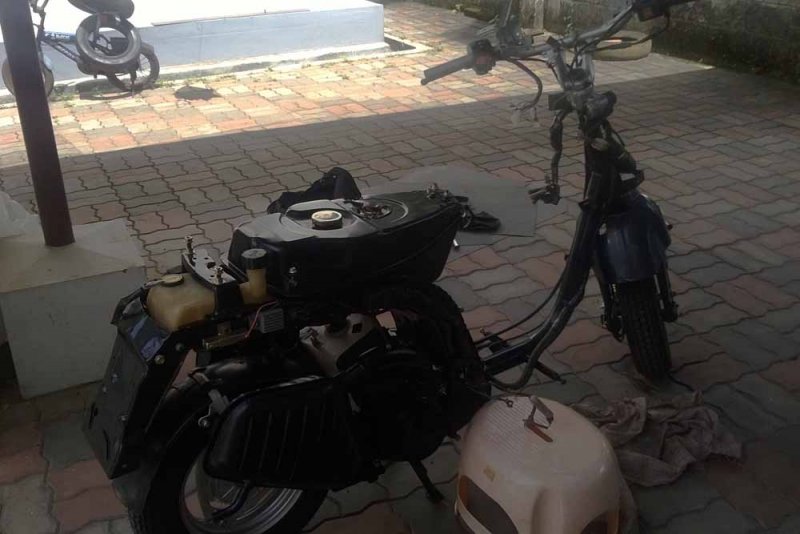
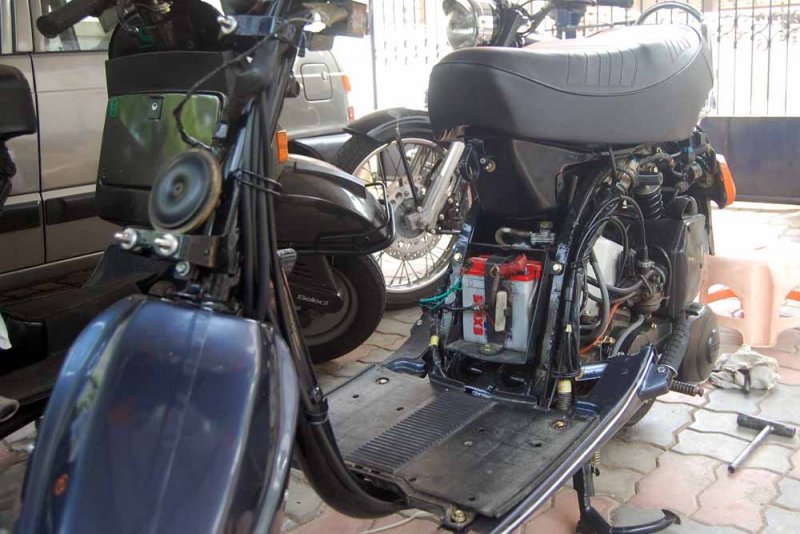
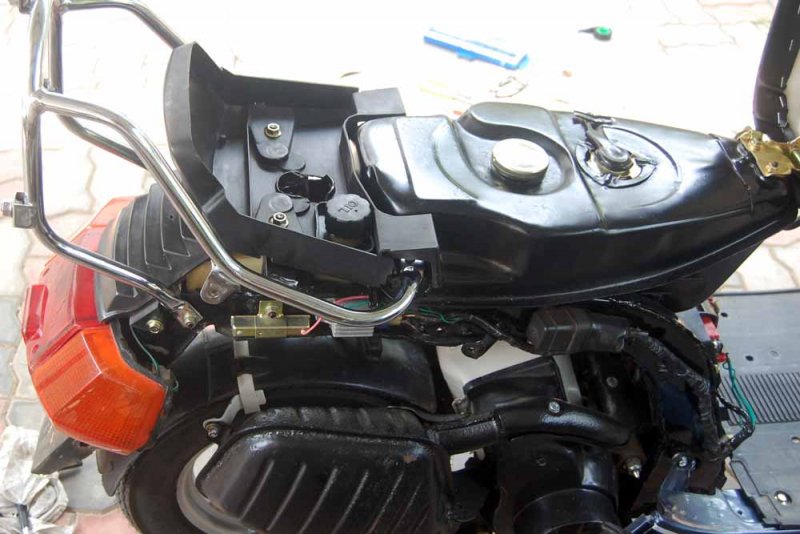
The fuel tank was fixed, filled and routed. The left and right footboard was connected. A spare old battery was also connected in later stages. I need to purchase a new battery because the old one gets weak durng cranking.

Some random photos

DSC_0002.jpg


DSC_0003.jpg


DSC_0004.jpg


DSC_0005.jpg


DSC_0006.jpg


DSC_0007.JPG


DSC_0008.JPG


DSC_0009.JPG


DSC_0010.JPG


DSC_0011.JPG


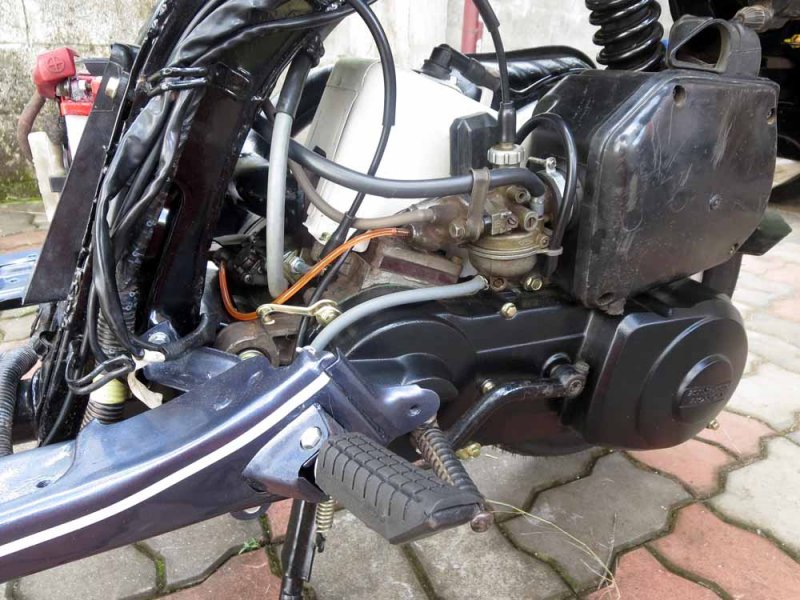
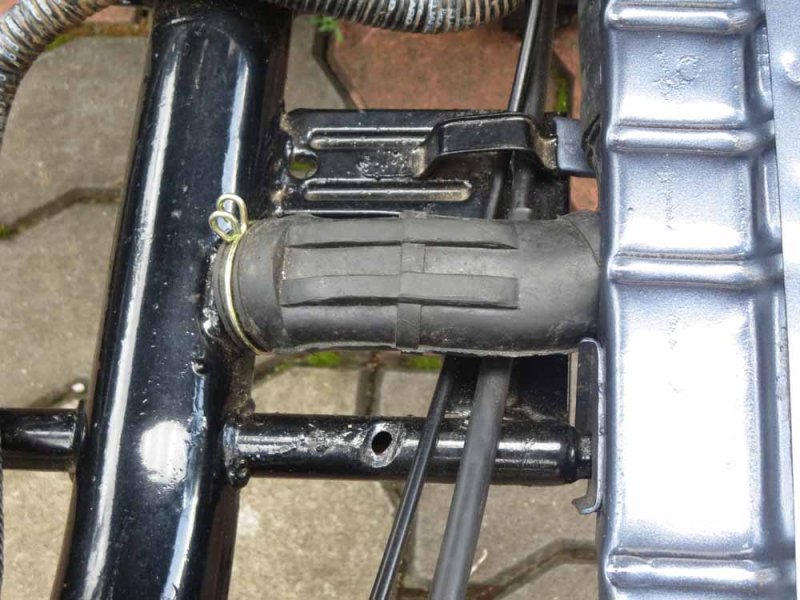
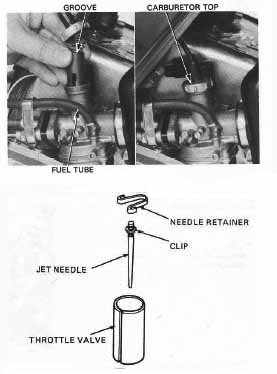
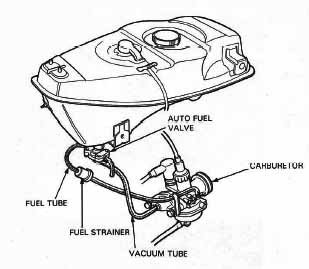
After engine is fitted, the throttle cable if fixed. The wires of fuel sensor, Plug, Alternator are also connected. I had some problem with fixing the throttle cable. I inserted the throttle barrel 180 degree rotated. It was corrected after many trials. 2T oil was poured in the oil tank and the passage was cleared off air. All fuel and oil lines were replaced with new.

Fuel tank and oil tank.jpg fuel tank assy.jpg thbrottle cable assy.jpg

The engine was now kick started. It roared to life with few attempts and no adjustments were made to carburetor.

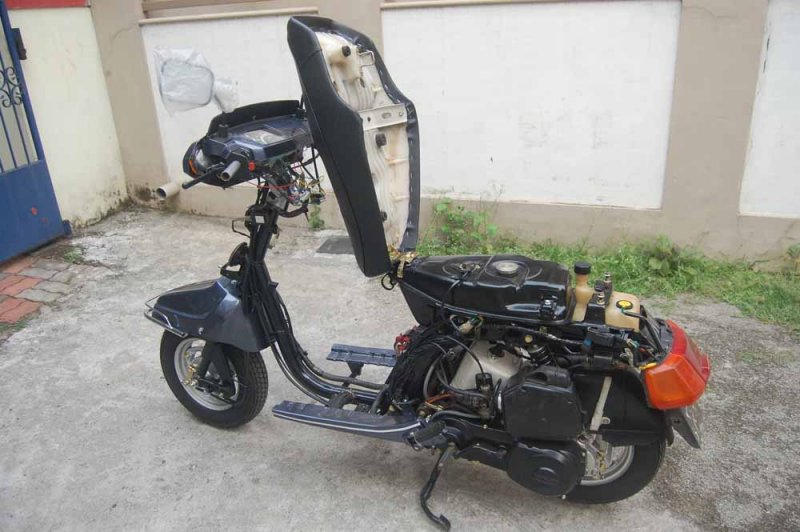
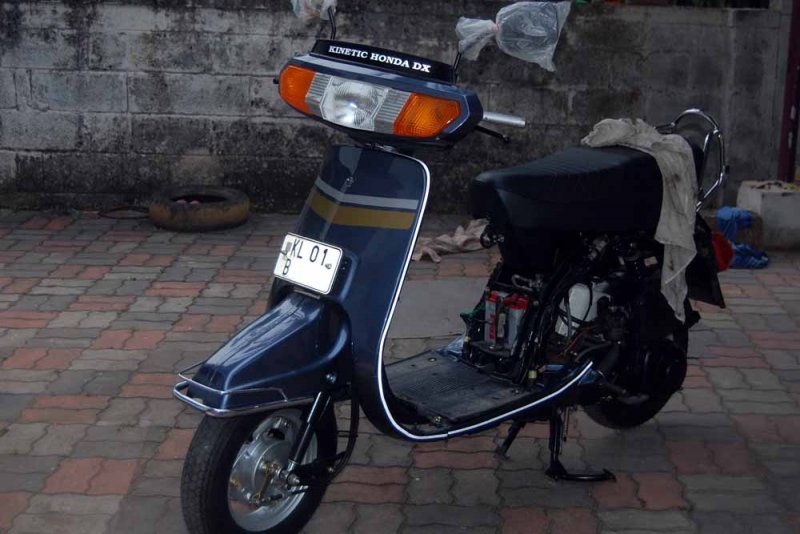
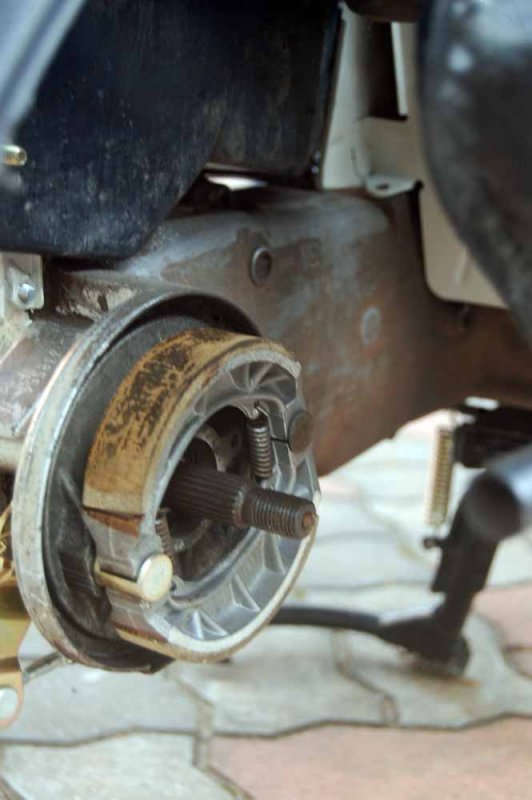
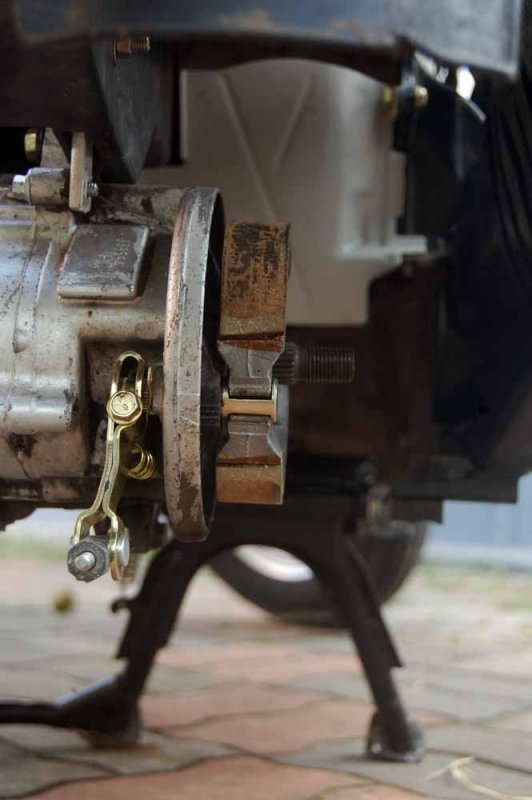
The temporarily installed rear wheel was removed and the brake cable and brake shoes fitted. The scooter was now completed. I took a very short test ride sitting in the petrol tank. The initial impression is OK.
Brake assy1.JPG

Brake assy3.JPG

Brake assy4.JPG

Brake assy5.JPG

Brake assy7.JPG

Brake assy8.JPG
 
Thread Starter #32
Joined
Aug 15, 2016
Messages
69
Likes
132
Location
Kerala
This post is intended to inform the present status (as on date) of the scooter in the ninth month of restoration. I have not done any work in this month expect routine starting.

The following works are pending
1. Purchase a new battery
2. Check the electricals one last time
3. Fill 2 T oil in tank and adjust 2T pump if necessary
4. Check the progress of corrosion/ paint bubbling in exhaust. If necessary do a heat resistant repaint.
5. Fit the body plastic and painted panels
6. Use it once every week, A PUC check is pending
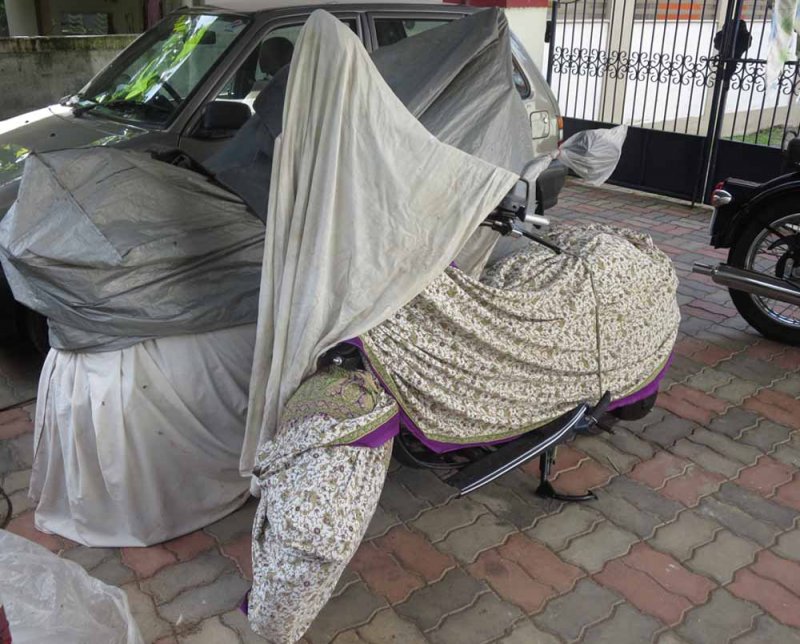
7. Invest on a proper scooter cover

I am sad that the breather tube in transmission is broken and has not been rectified. Maybe I will feel the same zest 5 years down the line for a redo.

Thank you all for the thumbs up and posting this was also a new learning curve. I have actually posted this as a diary of the steps I followed during restoration. I wish to complete it by December 2016 only and will definitely post a photo when completed. This TAI site is addictive and thanks to all.

spin_0001.JPG

spin_0002.JPG

spin_0003.JPG

spin_0004.JPG

spin_0005.JPG

spin_0006.JPG

spin_0007.JPG

spin_0008.JPG

storage_0002.JPG
 

deville_56

Honoured Member
Joined
Sep 11, 2009
Messages
3,023
Likes
4,896
Location
Trivandrum
This thread is truly an encyclopedia for every kiney restorer, may be the most comprehensive one on internet ever. If this one was there 5 -6 years, I would have restored mine to a different level.

Tempted by this, I have already stripped down the speedo and bought a new rear shock.
 

deville_56

Honoured Member
Joined
Sep 11, 2009
Messages
3,023
Likes
4,896
Location
Trivandrum
My resistor in verge of disintegrating and oil switch also conked off, even the spare one i had. Any place in Trivandrum to source them? All my regular shops gave negative replies. Not much kinetic parts are available now. Got SKF bearings and Gabriel rear shock.
 
Thread Starter #35
Joined
Aug 15, 2016
Messages
69
Likes
132
Location
Kerala
Deville, Thanks for your compliment.

The resistor to be used is not the normal quarter watt purchased locally. I believe it is supposed to get heated .The OE one was worn beyond recognition. My suggestion is to increase the number of resistors in parallel ( to increase the wattage per resistor) for both the 75 ohm and 63 ohm. In post 18 I have given the details and it worked for me. If the fuel gauge coil is damaged no way out. There is another category of resistor – flame proof resistor. They are ash in color .If you search in Google images , its shown. I used multiple flame proof one watt resistors in parallel.

Regarding the oil sensor switch, first check the fuse. I disconnected the switch and connect it directly to 12 V DC supply and a bulb and checked . The resistance value can also checked as detailed in post No 25. Here also if the sensor switch is faulty , we have no option other than replacing it.

I presume, a faulty Voltage regulator and resistor could damage all electrics.
The parts are really tough to get. May be a trip to powerhouse road scrap dealers would be productive for oil switch. The shops from where I sourced from Trivandrum were listed earlier .
 

deville_56

Honoured Member
Joined
Sep 11, 2009
Messages
3,023
Likes
4,896
Location
Trivandrum
Deville, Thanks for your compliment.

The resistor to be used is not the normal quarter watt purchased locally. I believe it is supposed to get heated .The OE one was worn beyond recognition. My suggestion is to increase the number of resistors in parallel ( to increase the wattage per resistor) for both the 75 ohm and 63 ohm. In post 18 I have given the details and it worked for me. If the fuel gauge coil is damaged no way out. There is another category of resistor – flame proof resistor. They are ash in color .If you search in Google images , its shown. I used multiple flame proof one watt resistors in parallel.

Regarding the oil sensor switch, first check the fuse. I disconnected the switch and connect it directly to 12 V DC supply and a bulb and checked . The resistance value can also checked as detailed in post No 25. Here also if the sensor switch is faulty , we have no option other than replacing it.

I presume, a faulty Voltage regulator and resistor could damage all electrics.
The parts are really tough to get. May be a trip to powerhouse road scrap dealers would be productive for oil switch. The shops from where I sourced from Trivandrum were listed earlier .
Was talking about the 30W one bolted to chassis :D. Could not find anywhere. Not even the Duro one. Fuel gauge is working fine, with some minimal fluctuation, will change it if I get a scavenged one.

Oil switch is all gone. Less than 10 ohm across entire range. RR was changed a year back and it was working fine till recently. God knows what happened. Bulb and wiring fine. There is an option of MAX100 switch, which is different, but hope to fit in, just 2 wires. Should be available at TVS, gotta check if every other option run out.

Will check first post [:D]
 
Thread Starter #37
Joined
Aug 15, 2016
Messages
69
Likes
132
Location
Kerala
Was talking about the 30W one bolted to chassis :D. Could not find anywhere. Not even the Duro one. Fuel gauge is working fine, with some minimal fluctuation, will change it if I get a scavenged one.

Oil switch is all gone. Less than 10 ohm across entire range. RR was changed a year back and it was working fine till recently. God knows what happened. Bulb and wiring fine. There is an option of MAX100 switch, which is different, but hope to fit in, just 2 wires. Should be available at TVS, gotta check if every other option run out.

Will check first post [:D]
Deville,


Let me see OE/compatible resistor availability in Palakkad. I got a compatible resistor from Thampanoor auto parts, Trivandrum. Increased the hole size of resistor case to fit it to chassis. The price tag is available in post No 28. Is the battery connected to your vehicle and getting charged? The resistor can get heated in the absence of battery. Am I correct?


I haven’t seen any compatible oil sensor switch.
My guess is that the float in oil sensor has a magnet which is also moving up and down. It’s somewhat similar to low cost chineese intruder door sensor. But the indicator needs to switch on only initially and switch off soon, which is possible with some external electronic circuit. May be, in April/May, I will open a damaged one and study it and try to rectify it . Meanwhile please post if some suitable switch is available.

If time permits , plan to do some work in my scooter, this weekend .
 

deville_56

Honoured Member
Joined
Sep 11, 2009
Messages
3,023
Likes
4,896
Location
Trivandrum
Deville,


Let me see OE/compatible resistor availability in Palakkad. I got a compatible resistor from Thampanoor auto parts, Trivandrum. Increased the hole size of resistor case to fit it to chassis. The price tag is available in post No 28. Is the battery connected to your vehicle and getting charged? The resistor can get heated in the absence of battery. Am I correct?


I haven’t seen any compatible oil sensor switch.
My guess is that the float in oil sensor has a magnet which is also moving up and down. It’s somewhat similar to low cost chineese intruder door sensor. But the indicator needs to switch on only initially and switch off soon, which is possible with some external electronic circuit. May be, in April/May, I will open a damaged one and study it and try to rectify it . Meanwhile please post if some suitable switch is available.

If time permits , plan to do some work in my scooter, this weekend .

Resistor is working fine, but fear the wire will come out any time. Thampanoor guy was boon to us, but sadly that shop is no more. Heard, another shop is there somewhere near Jagathy for Kinetic parts, gotta search for that place. Last resort is Powerhouse Road. Battery is getting charged properly, never checked without battery.

Float was magnetic. My doubt is magnet is located in one of the sides of the floating piece and that part getting rotated prevent the switch inside the tube from working (Wild guess). Will check that this weekend. Else a custom float like the regular Chinese tank switch available. Just want a low level warning. No issue even if it glows full time after level drops half tank. Scooter used by many friends and don't want to take chance of running dry.

Seeing this thread, actually I dismantled 80% of the scooter to see what all needs to be fixed since it has been 5 years since last rebuild and next retest in August. No time to put everything back and all parts are lying in car porch. Fixed the shock. Changed broken bullet connectors. Chassis need a thorough scrubbing and painting.
 
Thread Starter #39
Joined
Aug 15, 2016
Messages
69
Likes
132
Location
Kerala
Seeing this thread, actually I dismantled 80% of the scooter to see what all needs to be fixed since it has been 5 years since last rebuild and next retest in August. No time to put everything back and all parts are lying in car porch. Fixed the shock. Changed broken bullet connectors. Chassis need a thorough scrubbing and painting.
Please post photos of the revamp please. I will update about oil switch if i find something productive.
 

deville_56

Honoured Member
Joined
Sep 11, 2009
Messages
3,023
Likes
4,896
Location
Trivandrum
Managed to open up the switch [clap] It had 2 resistors and a capacitor inside, think capacitor was the culprit. Disconnecting it, getting hopeful response on multimeter. Will change the components this weekend and see if it can be reused [:D]
 
Thread Starter #43
Joined
Aug 15, 2016
Messages
69
Likes
132
Location
Kerala
Update….
I did not do a single job in my scooter for some time. (Meanwhile I tried to rectify the turn indicator in my LML Vespa select II, which consumed a lot of my time and is still incomplete, but almost ready-needs some soldering).

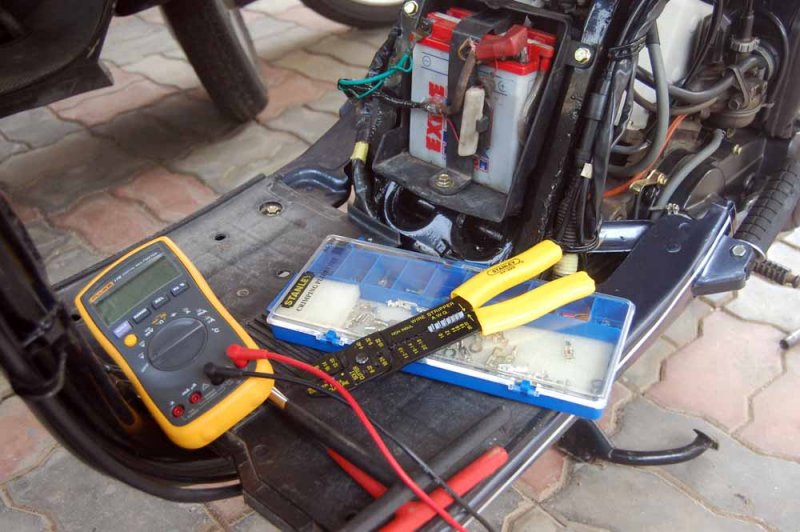
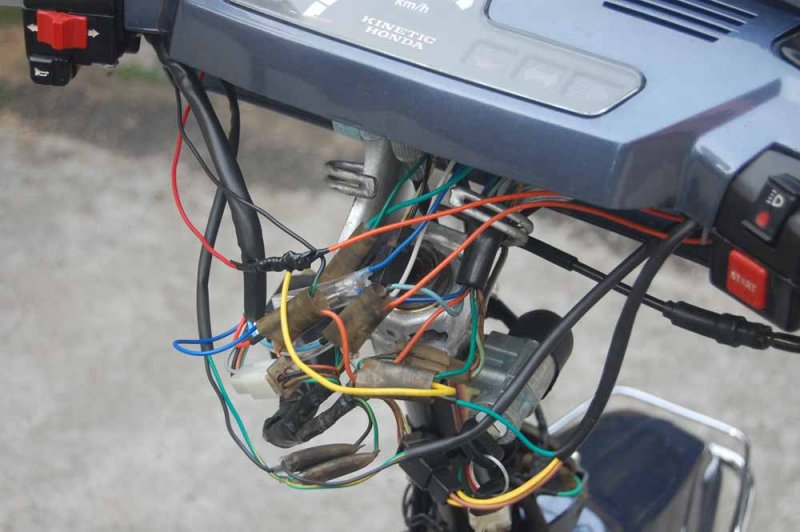
Today I started early morning to rectify the electrics in Kinetic Honda. Everything was easy, but the turn indicator flasher would not work, sometimes. The flasher relay is having some fault. Finally I replaced the flasher unit from my bike and it is alright. All the bullet connectors are loose. So needs some taping to grouping the wires together in a single connector to avoid removal.The headlight also works as does every indicator and gauge.:smile:

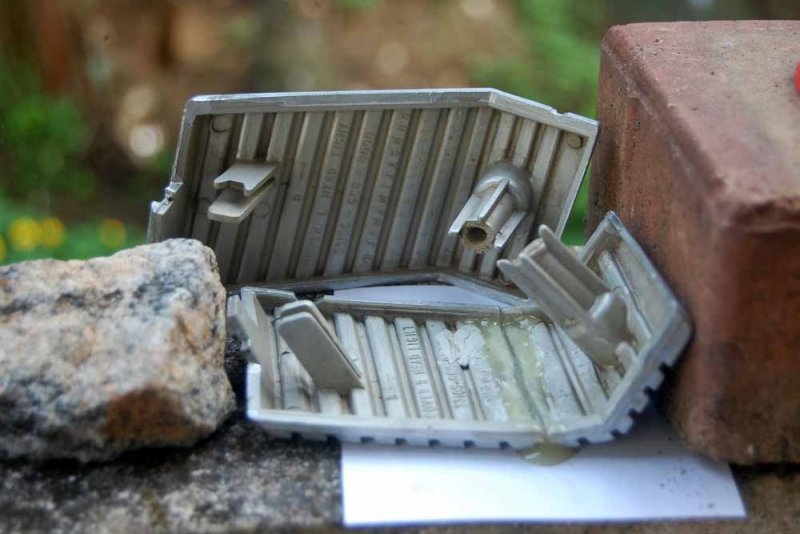
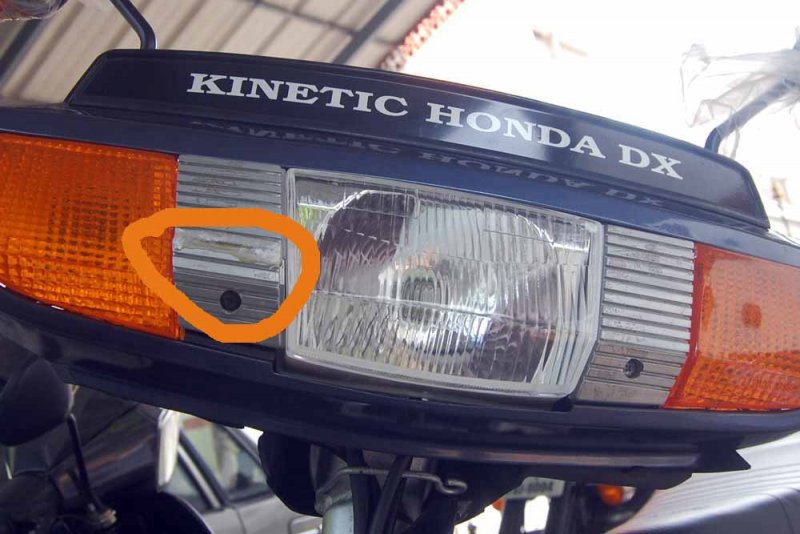
The cover beside the front turn indicator and headlight (called headlight Kona ? ) broke and i need to source another pair.[sad] I dont know its availability. Else will join it using araldite .
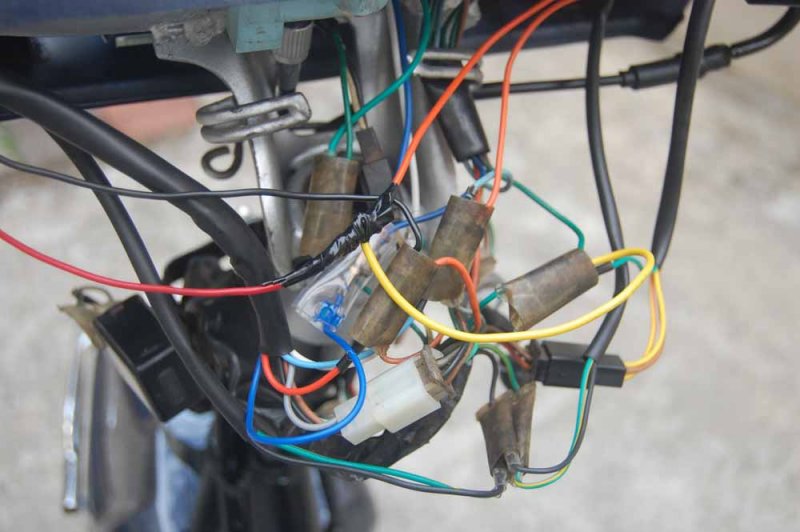

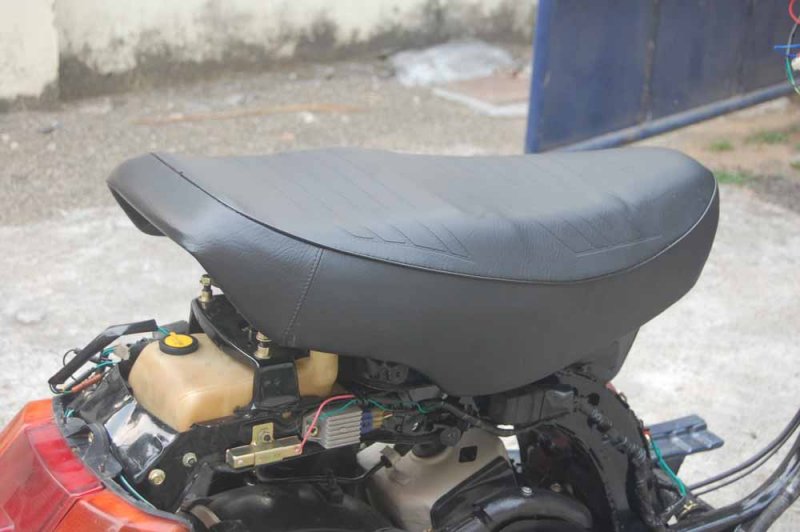
An occasional drive is a morale enhancer for further toil and so fitted the seat. Presently, the starter is cranking but lacks power to start. Hence need to purchase a battery before fitting the other parts.


The wire joints is somewhat confusing


DSC_0698.JPG


DSC_0703.JPG


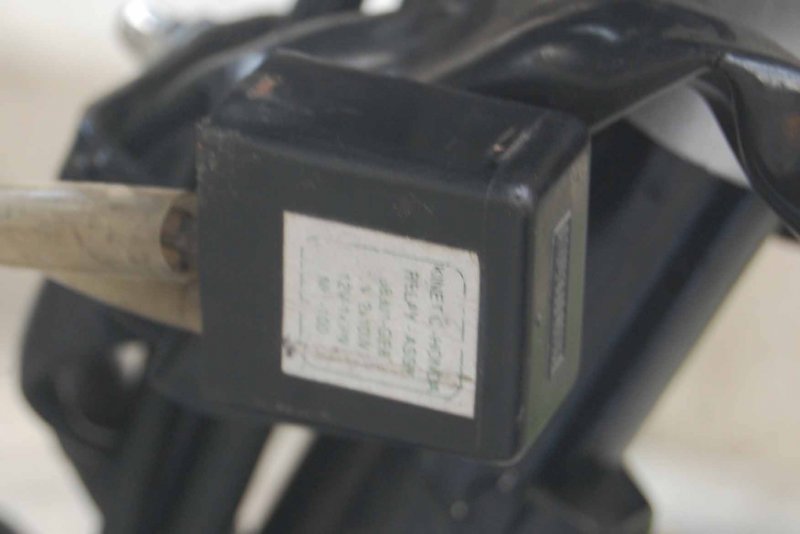
The faulty turn indicator relay


faulty turn indicator.jpg

Other random casual snaps
DSC_0699.JPG
DSC_0701.JPG
DSC_0696.JPG
DSC_0697.JPG
DSC_0702.JPG
DSC_0704.JPG

Plans to do some more work next weekend...
 
Thread Starter #44
Joined
Aug 15, 2016
Messages
69
Likes
132
Location
Kerala
Update…..


I had planned for some progress this weekend. I tried to source the Headlight side covers earlier and was unsuccessful. Using araldite joined the plastic piece and the finish is poor and diminished the overall aesthetics.

1broken kona.jpg

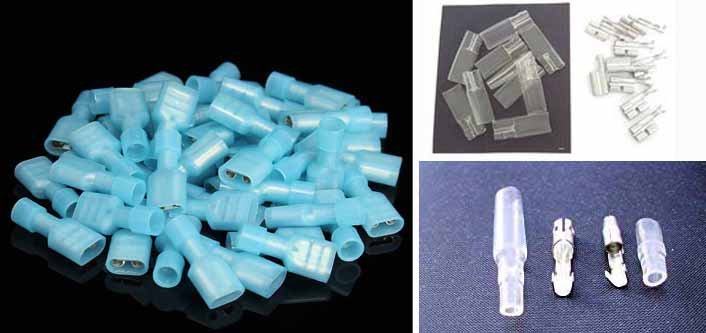
Last week, took a test drive and the wire connections were loose and the working of lights, especially in meter console was intermittent. The wire joint connectors were not available locally and were ordered from Amazon for later use. A flasher relay and buzzer was purchased.

1 connector1.jpg

The work on Sunday was hence decided and the wraps were opened.

1 opening cover.JPG

The headlight corner piece was fitted first.I need to find another soon.

2broken kona1.jpg

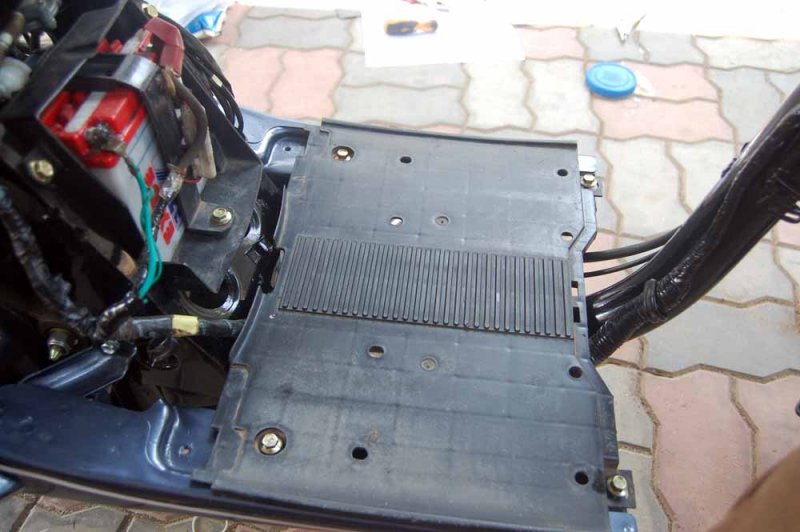
To aid the work and for tool placement, the floor board was temporarily fixed.

floor board1.JPG

Floor board.JPG

floor.JPG


All the connectors were tightened; flasher relay and buzzer added, and the lights are now OK for time being.

New flasher relay.JPG

The under console cover was fitted. For wiring joints, intend to change with new Triple 3.5mm Bullet Terminal Kit and Bullet Connectors 3.9mm Male+Female with Sleeves.

Under cover of meter console.JPG

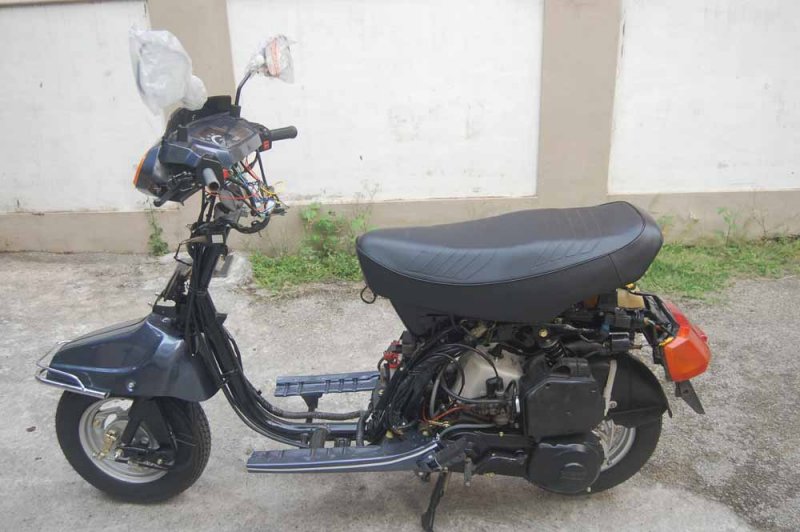
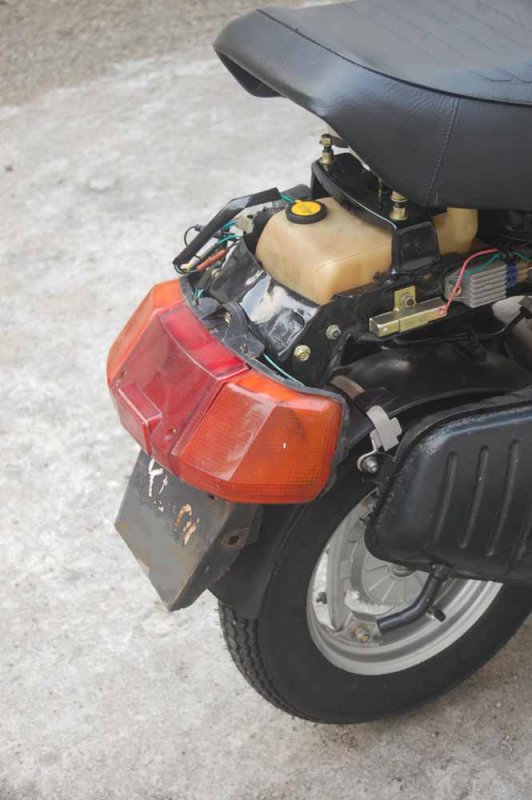
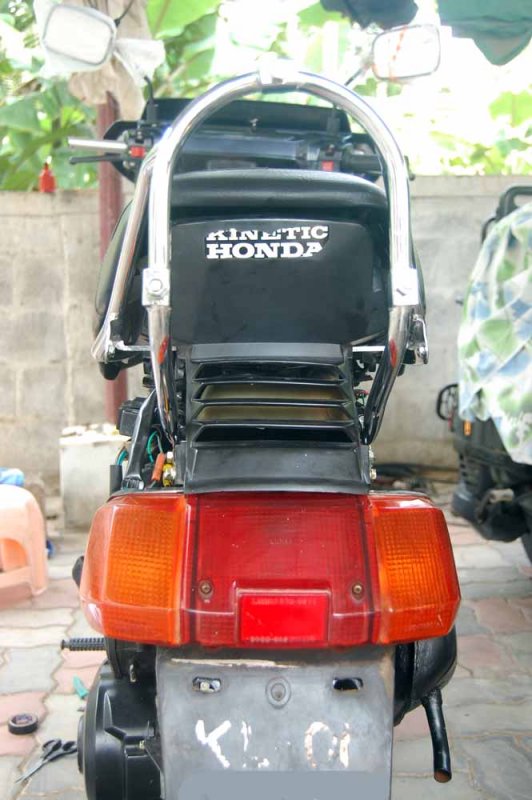
The rear grab rail was fixed, and the rear body plastic cover was fixed. The seat lock was also fixed, checked and the lock will be installed later to the centre frame cover.

ran3.JPG

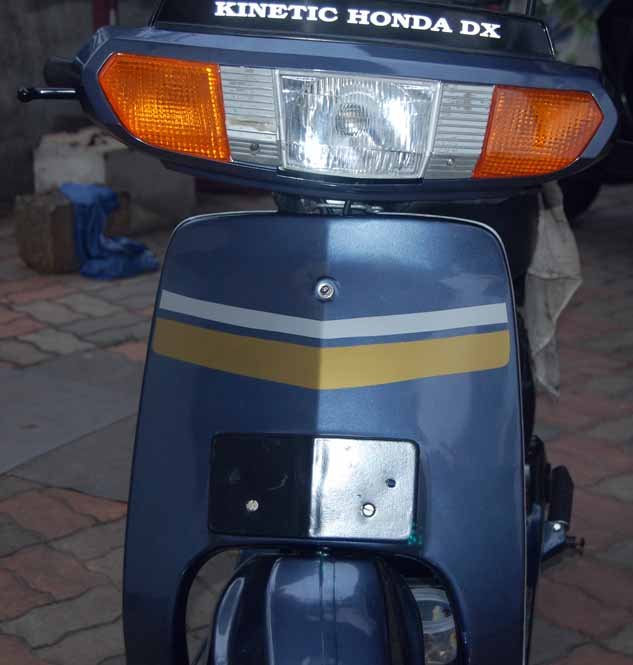
The front panel and front number plate was also fixed today . The scooter has finally taken some shape.[thinking]
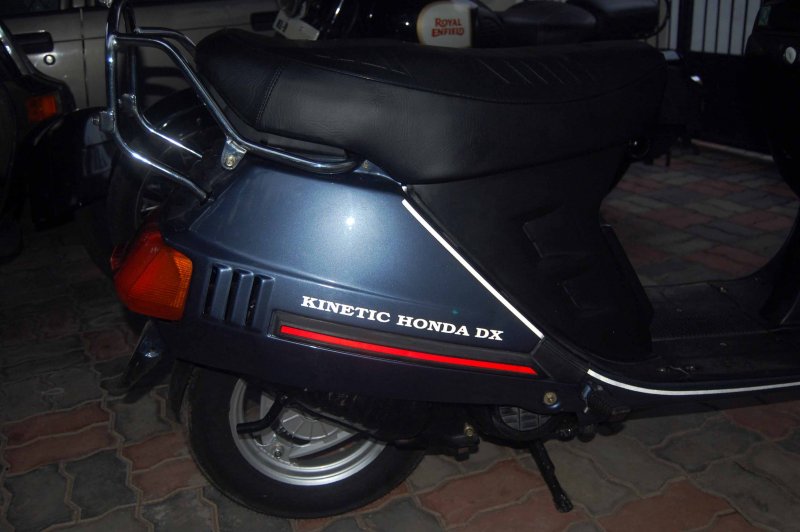
ttttpre front panel install.JPG
tttfront panel Placement.JPG
number plate barcket fixed.JPG
number plate bracket fixed 1.JPG
Orig number plate.JPG
new number plate.JPG

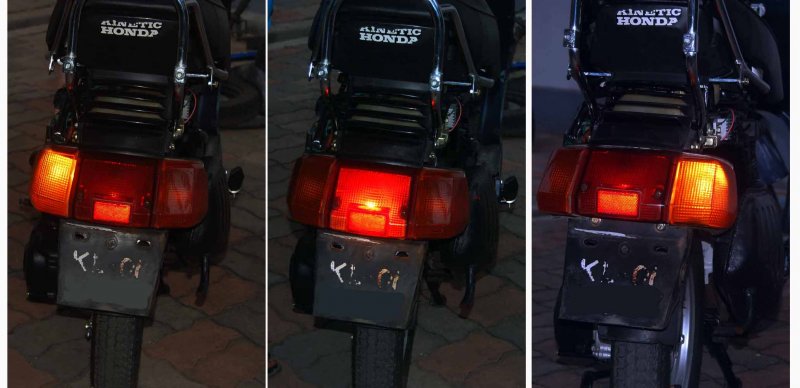
finally all lights were checked once again.
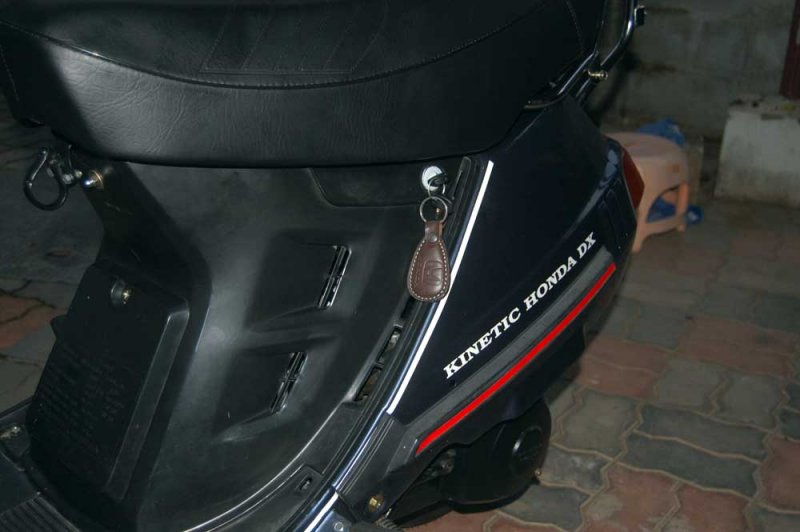
sssslights front.jpg

ssssrear lights.jpg

ran99.JPG

Posting some random photos....

ran1.JPG
ran2.JPG
ran4.JPG
ran5.JPG
ran6.JPG
ran7.JPG
ran8.JPG
ran9.JPG
ran666.JPG
ran 6.JPG


The work pending is the purchase of new battery and the fitting of front glove box, centre frame cover etc. Before the weekend, would buy some bumper black available in paint stores to apply to the plastic black parts. I did not paint the plastic parts intentionally as paint might peel later.
 
Thread Starter #45
Joined
Aug 15, 2016
Messages
69
Likes
132
Location
Kerala
Update
On October 31, I did some work on the scooter. Fitted the rear panels, center frame cover and similar parts. I had forgotten to tighten the oil pump cable screw properly and I had to remove the side panel and frame cover to access it again and tighten it. So it was a double job. My plan was to complete it by Nov 1 being the “kerala piravi” day. It was already dark and the rear number plate alone was left out.

I had a plan to purchase bumper black, a product available in paint shops. It is used to polish black plastic trims in automobiles. It is not available in palakkad now. I used to purchase it earlier. The paint shop suggest that since the majority cars bumper is now body colour painted there is no requirement for such a product. Googled out two alternative methods to blacket faded grey/black plastic trim. One is the use of heat gun and the other peanut butter. I purchased a small bottle of peanut butter and applied it. Presently it is OK, however cannot comment about its longevity though.

On November 1, took a PUC certificate and the Kinetic honda is road worthy after nearly one year. The only problem is a mild paint burning smell in the exhaust. Then went to a battery shop and purchased an Exide 5LB battery. The cost was Rs 1100/- after exchanging the old battery. The starter works like charm with that bell. Everything is working perfectly except the occational fuel indicator needle judder. Its due to the faulty fuel unit in tank. I am having a new fuel unit with me and it would solve the problem for sure.
 

Attachments

Top Bottom