Thread Starter
#1
Do It Yourself Floor mats for my Scorpio:
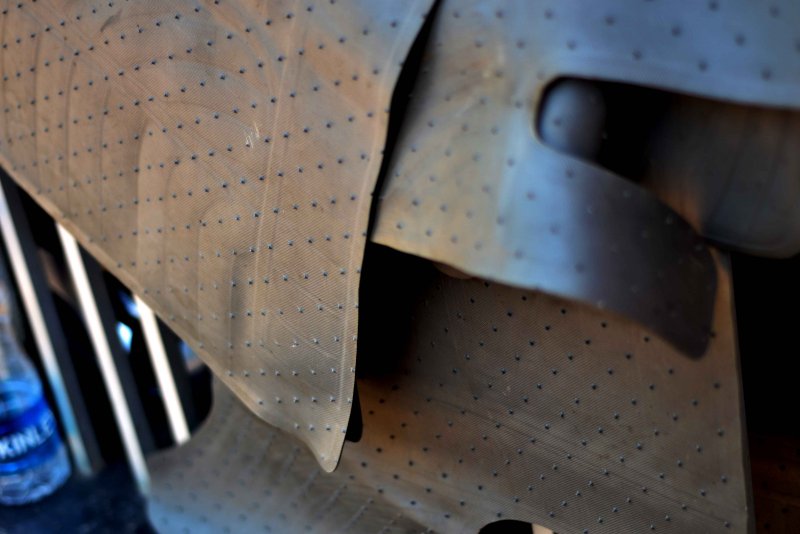
The 4.5 year old OE floor mats that came with my Scorpio had taken enough beating over the years. The plastic had become a bit hard and lost its flexibility. They started to buckle and slide around under the feet.
I had an option to buy a 3D floor mat set online, but didn’t want to miss an opportunity of spending some quality time in and around my car. The plan was to make a custom made floor mat set. Though I was planning for a 2-3 hour job, ended up spending the whole day for a set of 5 mats.![Embarass [embarass] [embarass]](https://www.theautomotiveindia.com/forums/images/smilies/Embarass.gif)
1.Things required:

2.The plan and purchase:
Before I started to cut and design new floor mats, I had measured the dimensions carefully. Since I am not using the third row, I planned a 2 piece[driver + passenger] + 1 piece[middle] + 2 piece [rear] set. I decided not to use the old mats for the design and pattern, as I wanted better fitment and finish.
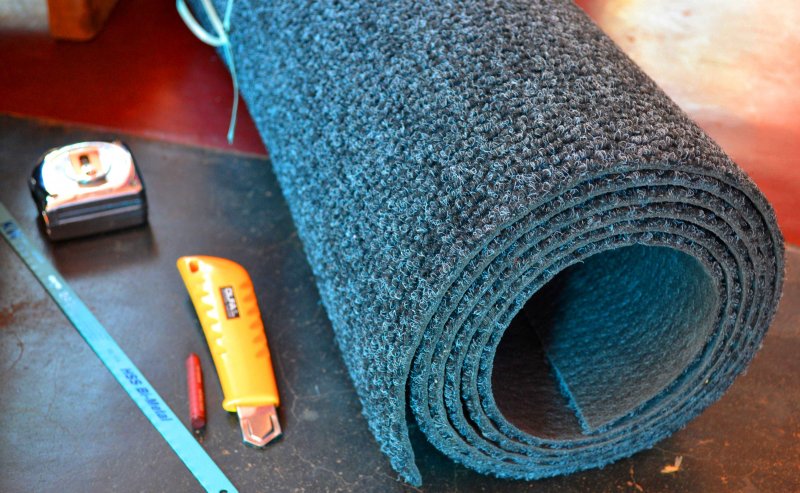
The Mat was 66 cm wide and I purchased a piece of 5.8 meters long at Rs.550/meter.
3.The Design and cutting pattern
Using used newspapers, the design and pattern were made and cut out. The measurements were tough as I had to keep modifying the edges and wells with pieces of papers and glue them well, in order to get the precision I wanted in the cutting pattern.

4.The execution


5.The final result
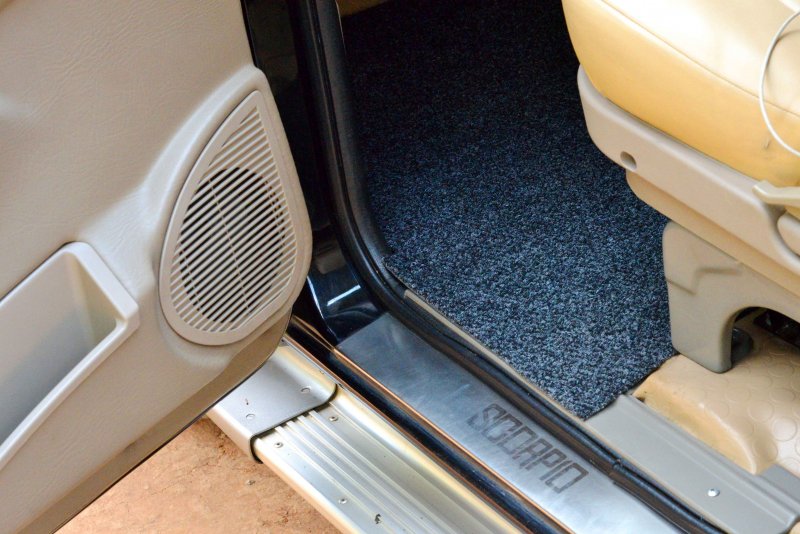
The final result has come out well and it was fun doing the whole thing too. A day well spent. Thanks for reading and now more pictures.![Smile [:)] [:)]](https://www.theautomotiveindia.com/forums/images/smilies/Smile.gif)


The 4.5 year old OE floor mats that came with my Scorpio had taken enough beating over the years. The plastic had become a bit hard and lost its flexibility. They started to buckle and slide around under the feet.

I had an option to buy a 3D floor mat set online, but didn’t want to miss an opportunity of spending some quality time in and around my car. The plan was to make a custom made floor mat set. Though I was planning for a 2-3 hour job, ended up spending the whole day for a set of 5 mats.
![Embarass [embarass] [embarass]](https://www.theautomotiveindia.com/forums/images/smilies/Embarass.gif)
1.Things required:
- The polypropylene mats [Nomenclature as per the carpet store keeper]
- Cutter
- Ruler
- Old Newspapers for cutting patterns
- Glue sticks
- Measuring tape
- Scissors
- Pencil

2.The plan and purchase:
Before I started to cut and design new floor mats, I had measured the dimensions carefully. Since I am not using the third row, I planned a 2 piece[driver + passenger] + 1 piece[middle] + 2 piece [rear] set. I decided not to use the old mats for the design and pattern, as I wanted better fitment and finish.
The Mat was 66 cm wide and I purchased a piece of 5.8 meters long at Rs.550/meter.

3.The Design and cutting pattern
Using used newspapers, the design and pattern were made and cut out. The measurements were tough as I had to keep modifying the edges and wells with pieces of papers and glue them well, in order to get the precision I wanted in the cutting pattern.


4.The execution
- Measurements were taken, of the car’s floors.
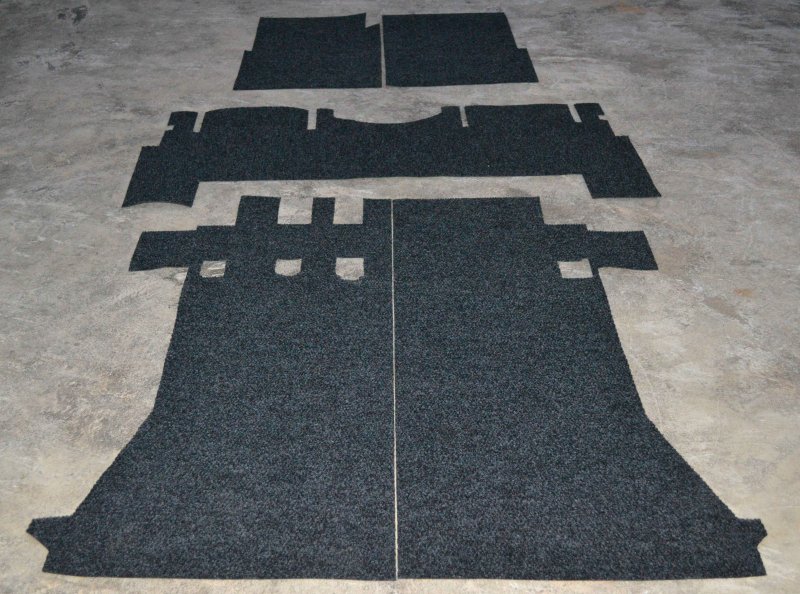
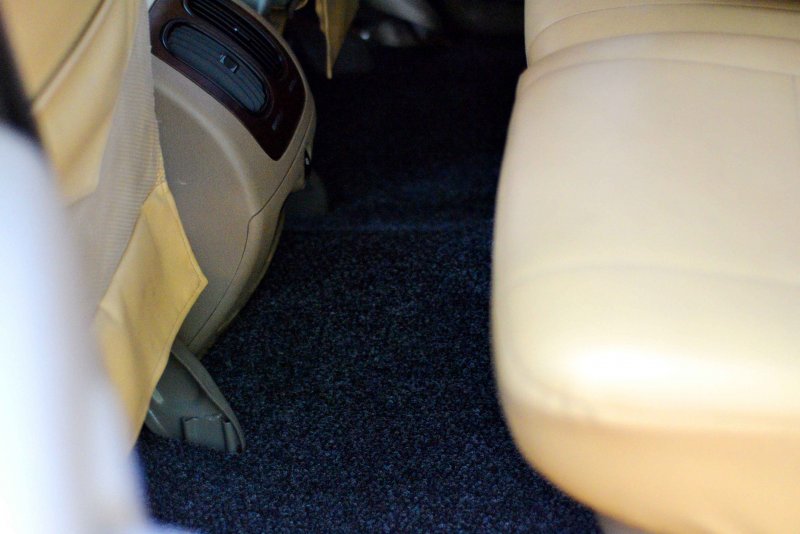
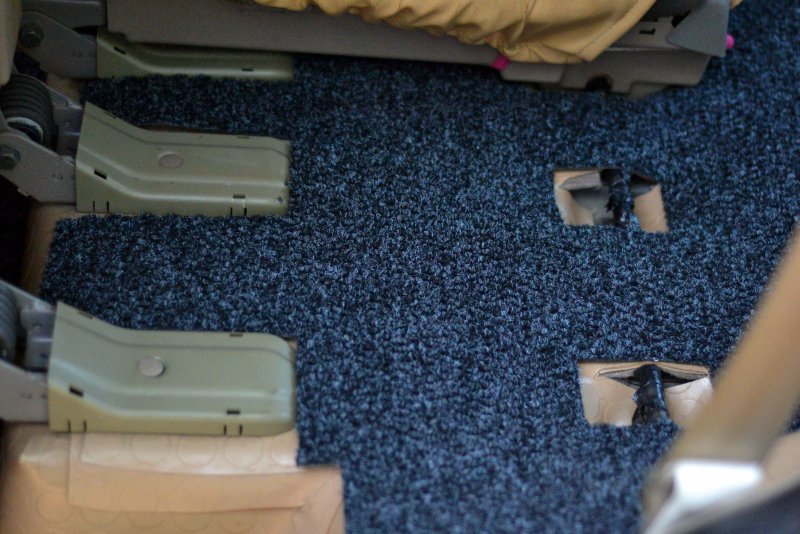
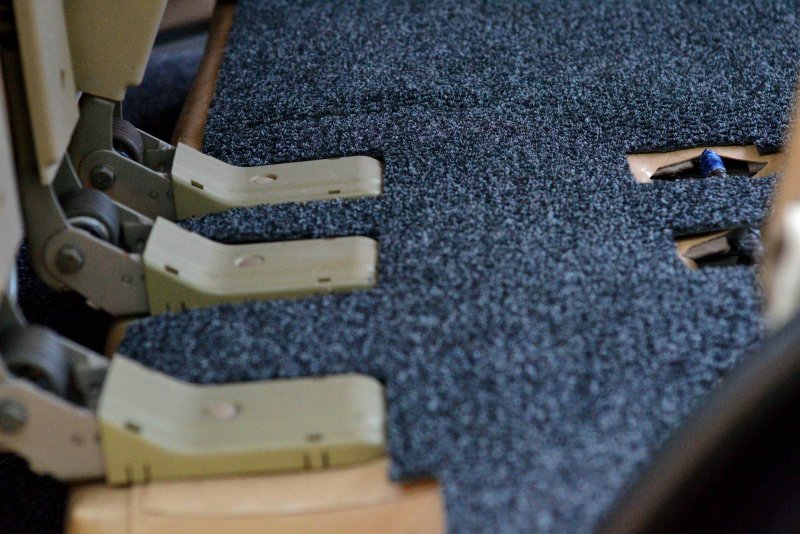
- For the middle row, it was from door to door, allowing the required to accommodate center hump. The patterns were cut out of used newspapers that have been glued together to the size of the mat. The fit and finish were checked and fine adjustments were made multiple times, as and when required to get everything fitted just right.
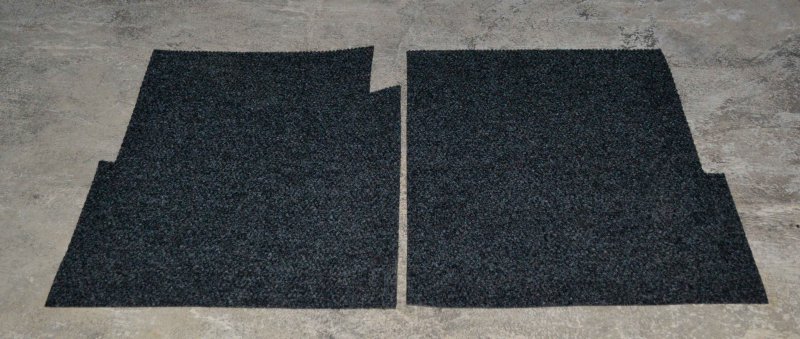
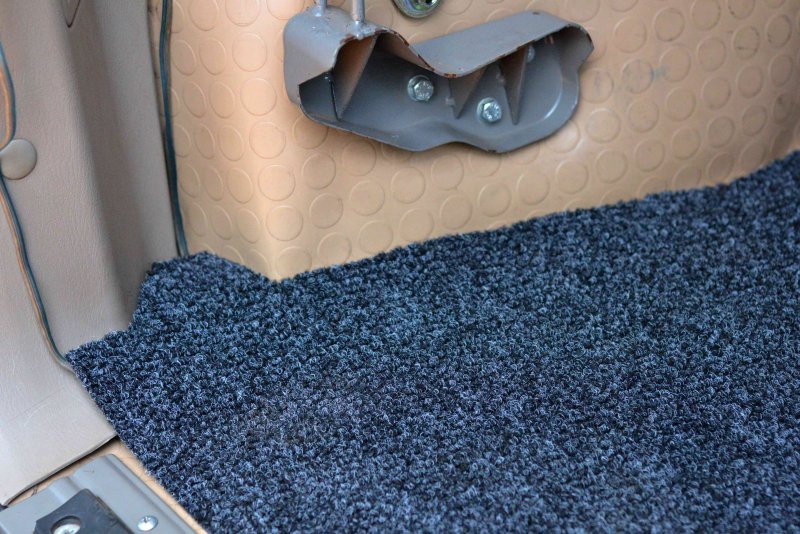
- The paper patterns were placed on the new mat and the new floor mats were cut out and the edges were smoothen.
- Didn’t feel the need to glue along the edges as they were held well together. If required in future, shall do it using some binding tapes and glue.

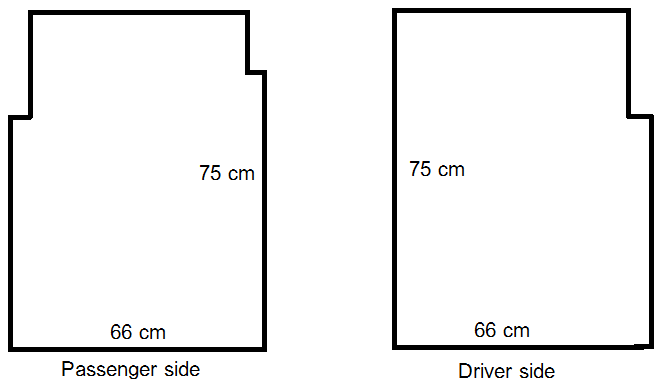
- The driver and passenger side mats have been based on 75 cm each long pieces.
- The middle row single piece was worked on a 150 cm long piece.
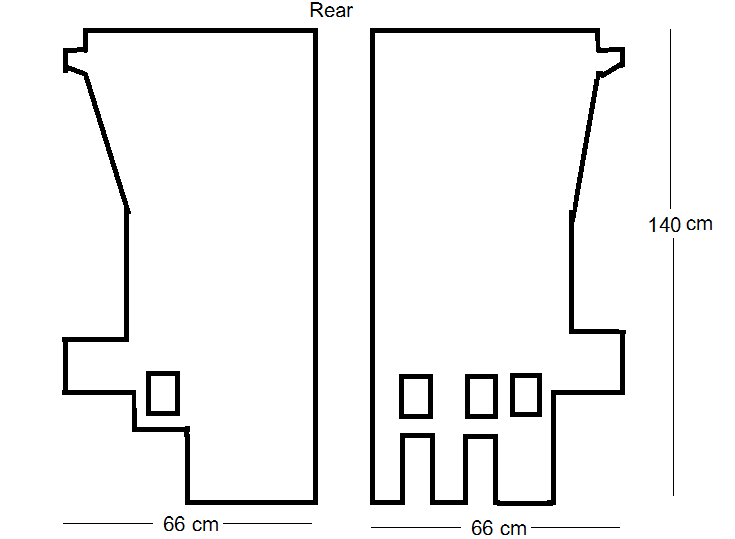
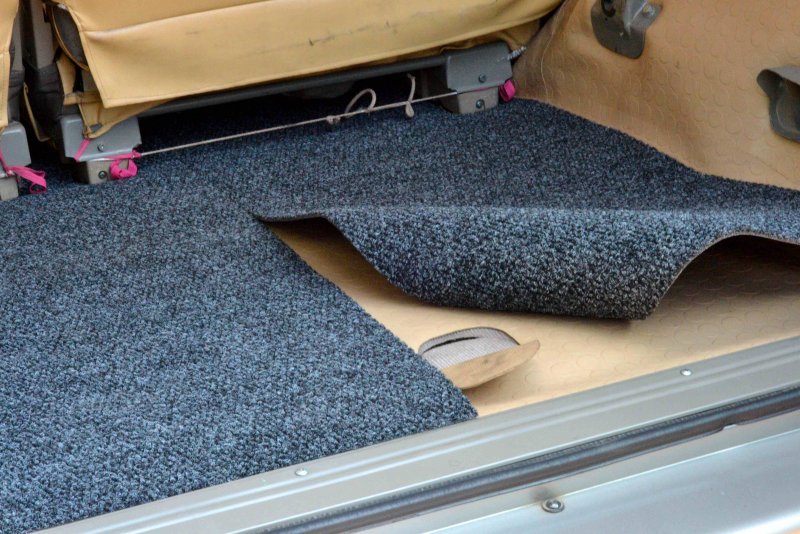
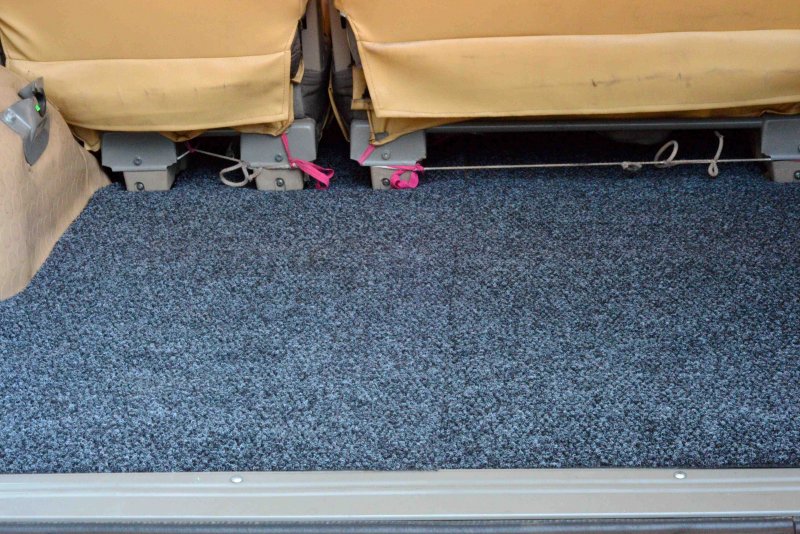
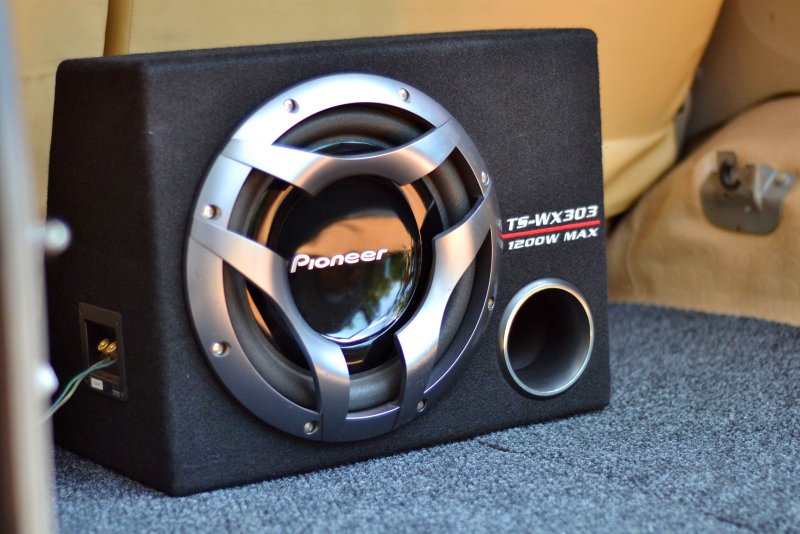
- For the cargo space in the third row, I used 2 pieces, each being 140 cm long.
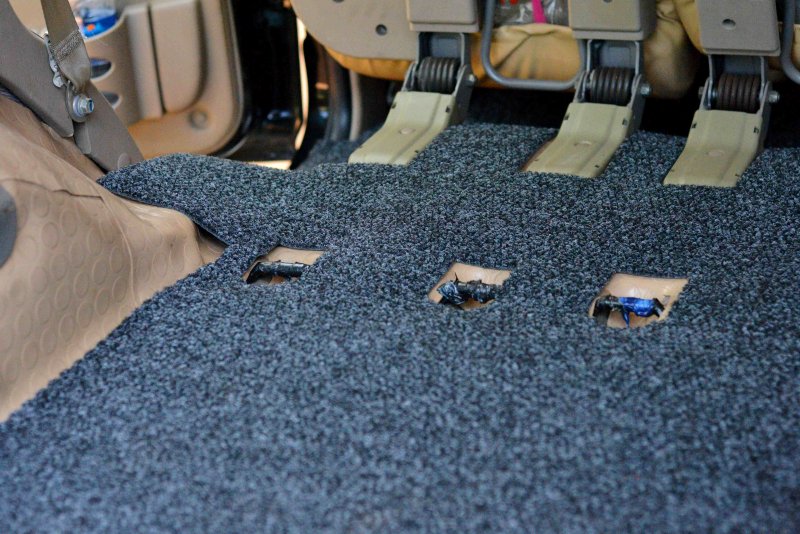
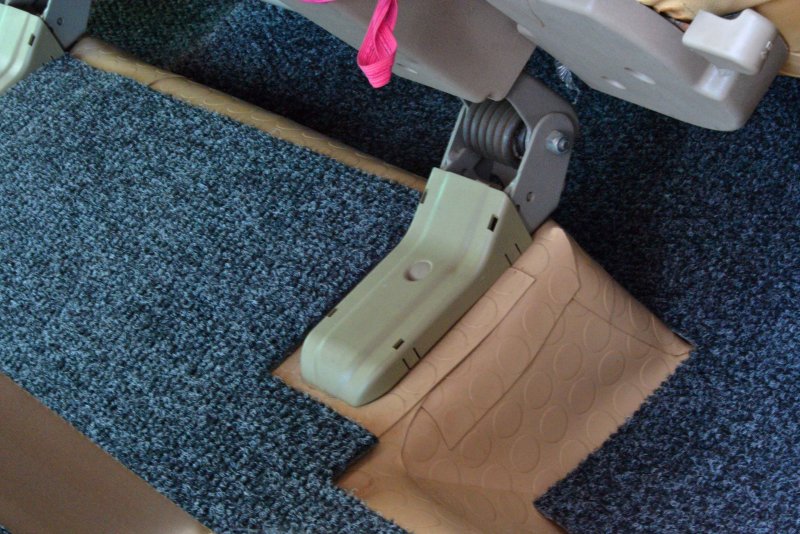
- Designing the cutting patterns for the middle and rear rows were the toughest as I had to work to accommodate the components in the respective seat assemblies.


5.The final result
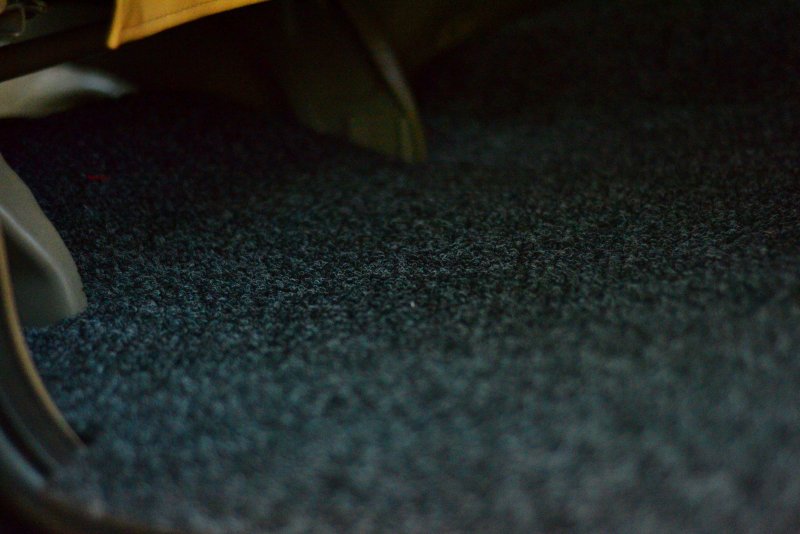
The final result has come out well and it was fun doing the whole thing too. A day well spent. Thanks for reading and now more pictures.
![Smile [:)] [:)]](https://www.theautomotiveindia.com/forums/images/smilies/Smile.gif)


Last edited:


![Clap [clap] [clap]](https://www.theautomotiveindia.com/forums/images/smilies/Clap.gif)
![Cheers [cheers] [cheers]](https://www.theautomotiveindia.com/forums/images/smilies/Cheers.gif)
![Big Smile [:D] [:D]](https://www.theautomotiveindia.com/forums/images/smilies/Big%20Smile.gif)



![Wink [;)] [;)]](https://www.theautomotiveindia.com/forums/images/smilies/Wink.gif)