Some DIYs For Red Alto


Thread Starter #1
Joined
Mar 5, 2014
Messages
31
Likes
23
Location
Philippines
Here are some DIY done lately to the car.

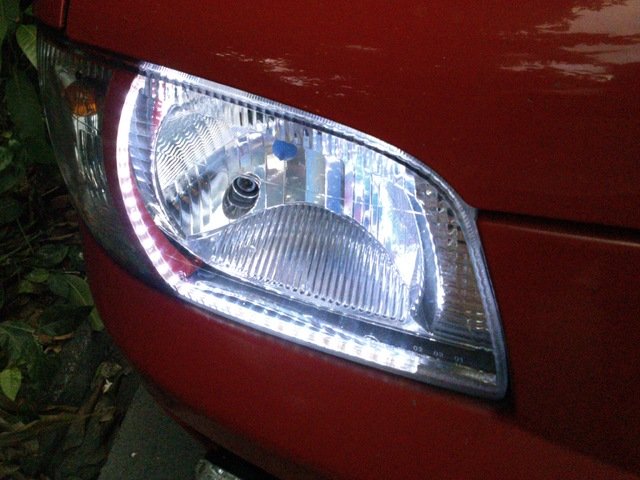
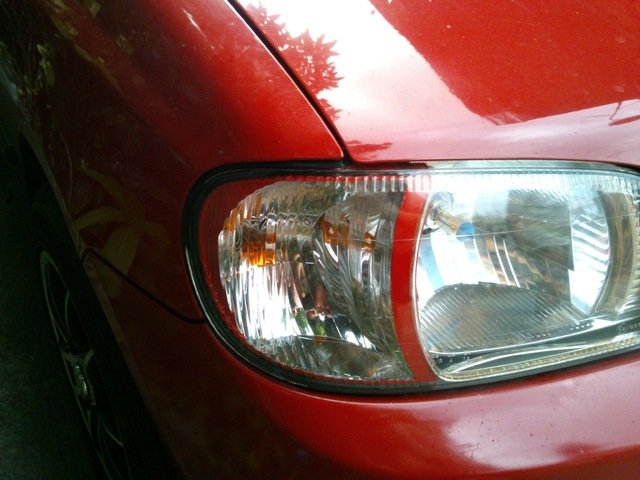
1. Headlight park light bulb to LED strip
I'll posting more detailed pics on later on how this one is done, its quite easy and the needed tools are also simple.

Materials needed/used:
Super sticky double sided tape
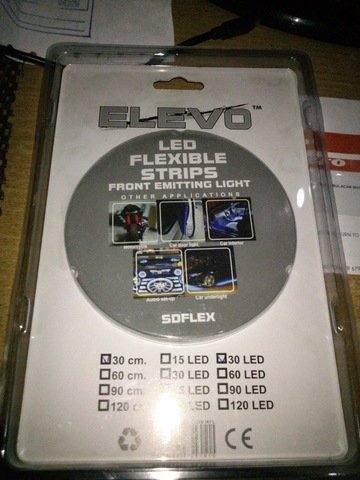
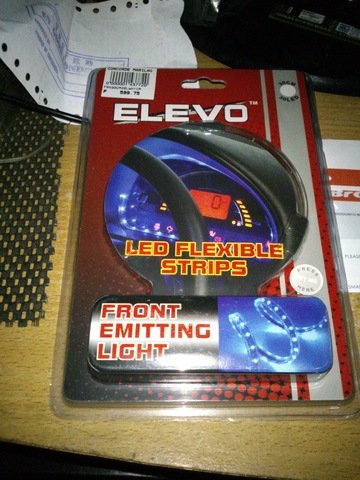
Flexible LED strips 30cm
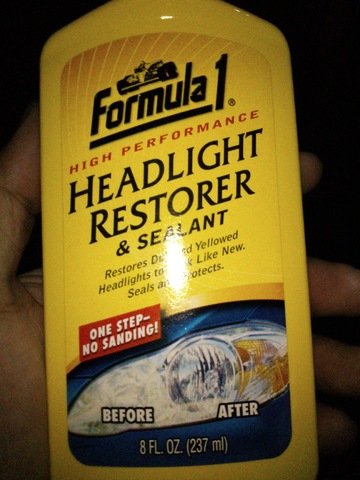
Headlight restorer

Spray Paint (any desired color) (high temp would be good too)
Silicon gasket maker High temp (any color will do)
Headlight restorer (I used this to clean the chrome parts of the headlight like the diffuser/reflector and the cover/plastic)
Polishing compound (optional, if you wish to polish your painted headlight parts)
Rubbing compound (this can be used if the restorer is not around, just apply minute amount so that it will not ruin the chrome or original paint, I used this to remove the excess paint that gotten to the wrong part, masking tape failed to adhere resulting to an opening.)


Tools needed/used:
Hair blower
Flat tip screw driver

Dull edge knife (short maybe 3 inch)
Buffing rug

Results:
DSC_0794.jpg

DSC_0798.jpg
I plan on opening this again, the chrome strip I attached suddenly lose it adherence after some minutes of letting the main beam on high

DSC_0796.jpg

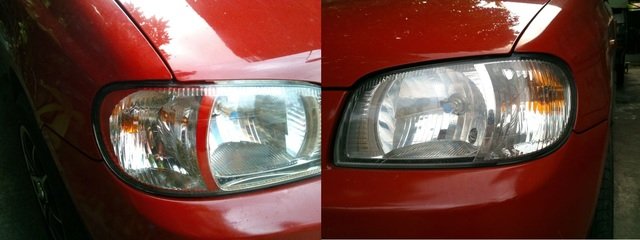
compare.jpg
Comparison between the two, one been cleaned by the restorer one still filthy

DSC_0813.jpg
Sometimes Mom's/Wife's beauty equipment is useful too [:D]

DSC_0815.jpg

DSC_0814.jpg

DSC_0793_2.jpg
 
Thread Starter #2
Joined
Mar 5, 2014
Messages
31
Likes
23
Location
Philippines
Re: Some DIY for the RED Alto

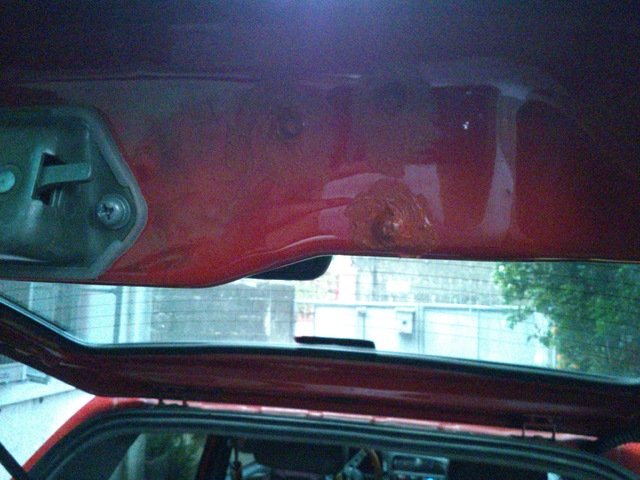
2. Rear door (boot) light and electrical remote opener

Materials needed/used:
Power lock mechanism
(I got mine that acts like a solenoid, no matter what polarity is attached, the action is always pull and it is quite power full.)
Push button
Some screws
Door switch
Relay
Wires
Silicon gasket maker
(optional)

DSC_0806.jpg

DSC_0807.jpg

DSC_0808.jpg

DSC_0809.jpg
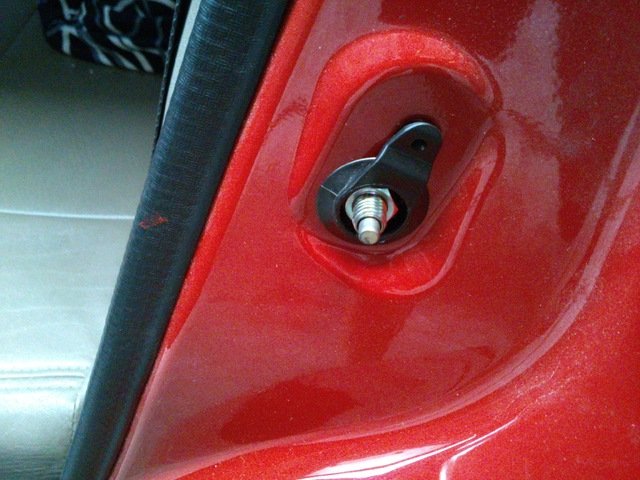
Bolt and screw for the solenoid. Well this one was done months ago, I'll upload more pics about this once I got the chance to open again the cover.

Result is quite good, I don't need to turn off the engine anymore just to open or lock the rear door, Plus having a dedicated light for the boot helps a lot specially at night.
 
Thread Starter #3
Joined
Mar 5, 2014
Messages
31
Likes
23
Location
Philippines
Re: Some DIY for the RED Alto

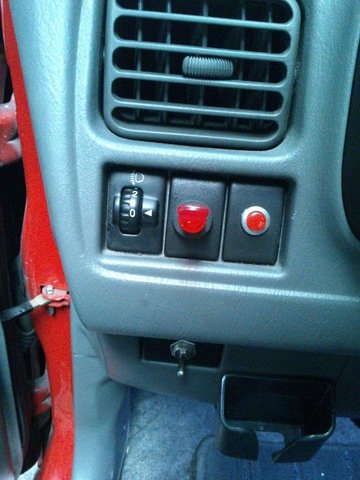
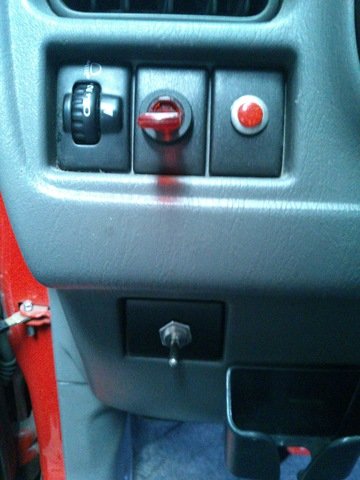
3. Rear door switches (passengers door) and other switches

Materials needed/used:
Brake switch (2pcs)
Push button
(for the boot door remote opener)
Toggle switch (for extra safety, accident prevention boot door switch)
Toggle switch with light indicator (for my DIY fog lamps)

DSC_0803.jpg
I run and tap the wires to the ones installed at the front door, removing the seat-belt cover unveils the wiring for the door switches.

DSC_0805.jpg
Red button is for the rear boot, silver toggle switch needs to at on position before the push button will work
Red toggle switch turn the LED on once it is at on position


DSC_0804.jpg


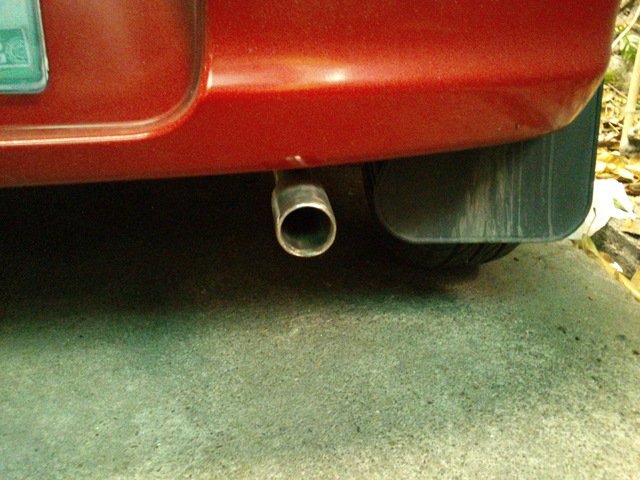
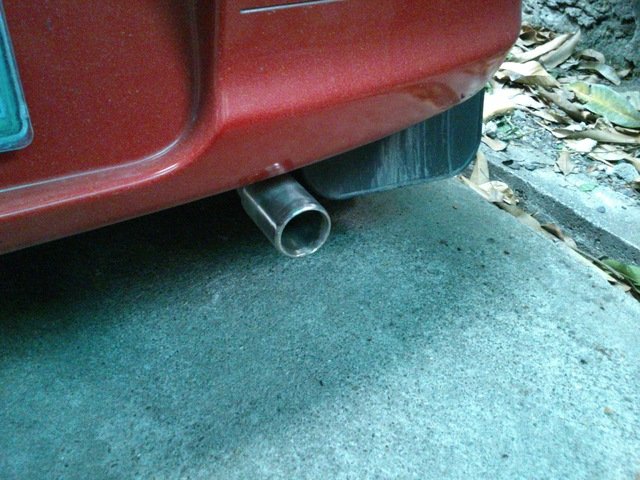
4. Muffler / exhaust tip
Well would say its not really a DIY since I'm not the one who install the tip. I'm bad [confused] with acetylene/welding, so I asked a friend to do it for me. The tip need more buffing though
DSC_0812.jpg

DSC_0810.jpg
Also planning on having some Red paint detail on the tip, a red ring perhaps.
 
Joined
Feb 17, 2013
Messages
612
Likes
447
Location
Kannur, Payangadi
Re: Some DIY for the RED Alto

Hi Sir,

Good mods! Led strip park light looks really neat and clean. [clap]
What bulbs are using in your head lamp and fog lamp?

Regards.,
Kiran.
 

bhvm

Honoured Member
Joined
Oct 15, 2011
Messages
5,289
Likes
4,818
Location
Some Village
Re: Some DIY for the RED Alto

nice DIY Mate. how are the Led strips holding up against high beams heat?
 
Joined
Feb 22, 2013
Messages
349
Likes
266
Location
Dibrugarh
Re: Some DIY for the RED Alto

Nice DIYs bro. Rear door work is useful one.
Please guide how you opened the Headlight with the hair blower.
What lights for the fog lights?
 
Joined
Aug 29, 2013
Messages
757
Likes
419
Location
Pune
Re: Some DIY for the RED Alto

For the exhaust tip, I would suggest to make it little bit short and bend downward so that,
- it will not be easily visible as in VW Polo or Hyundai i20.
- it must be align to the rear bumper [it should not look like a TAIL]


Some DIY can be done:
- rear wiper & washer [this has been done by some guy on TAI forum]

- head lamp washer.
https://www.youtube.com/watch?v=7-H1ShtEYzE
HELLA | Headlamp Cleaning System

- Car Door welcome light
CAR Logo LED Ghost Shadow Welcome Light Door Projector FOR Maruti Suzuki 2pcs | eBay
 

bhvm

Honoured Member
Joined
Oct 15, 2011
Messages
5,289
Likes
4,818
Location
Some Village
Re: Some DIY for the RED Alto

also. post Your modded pc pics and specs.
I have modded 2 pc and 5 laptops.

also check out my blue boy i10 and thunderbolt xuv thread for led drl, grille and.led headlights.
 
Thread Starter #11
Joined
Mar 5, 2014
Messages
31
Likes
23
Location
Philippines
Re: Some DIY for the RED Alto

For the exhaust tip, I would suggest to make it little bit short and bend downward so that,
- it will not be easily visible as in VW Polo or Hyundai i20.
- it must be align to the rear bumper [it should not look like a TAIL]


Some DIY can be done:
- rear wiper & washer [this has been done by some guy on TAI forum]

- head lamp washer.
https://www.youtube.com/watch?v=7-H1ShtEYzE
HELLA | Headlamp Cleaning System

- Car Door welcome light
CAR Logo LED Ghost Shadow Welcome Light Door Projector FOR Maruti Suzuki 2pcs | eBay

Well the muffler tip is aligned with rear bumper. My friend and I already talked about making it a little bend down versus straight like the stock one. I like the straight one.

My alto already have rear wiper and washer as default from the market, so I wont be needing to DIY this, but I'm planning on making an intermittent selection, so it act like the main wiper. Even at heavy rain, I don't find the rear wiper always on very efficient. sometimes the glass is already dry and have to look at the rear view mirror to check and turn off wiper.

Headlight washer.. hmmm I'm not sure if I want that hehehehe[;)]

also. post Your modded pc pics and specs.
I have modded 2 pc and 5 laptops.

also check out my blue boy i10 and thunderbolt xuv thread for led drl, grille and.led headlights.
well Im not proud of my PC, and I am currently planing to integrate my system to the table, so my PC's current appearance is trash [:D] but I can share some old pics of the PC.

Well done bro
Please share your fog lamp bulbs specification.
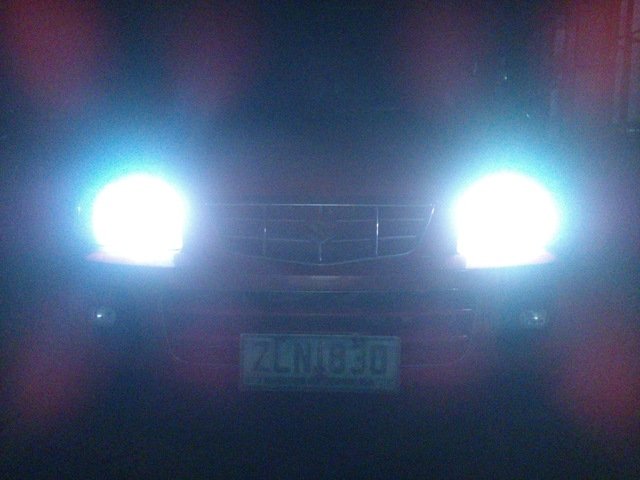
It's actually H3 bulb, 55watts 12volts. I'll try to get the dimensions later. I'm actually not happy with the output with this DYI for the fog lamps. I'll post some pics to explain why.

Nice DIYs bro. Rear door work is useful one.
Please guide how you opened the Headlight with the hair blower.
What lights for the fog lights?
Today the left headlight is also finished, I forgot to take some pics, but I can still take some for the sake of explanation. I'll try to upload tomorrow or later.

nice DIY Mate. how are the Led strips holding up against high beams heat?
Yesterday the right strip got installed and went on a night drive for almost 30km with turning high beam on and off. Left it to cool down after arriving home and checked it the next morning, amazingly it is still intact, usually the temperature change from cold to hot or vise versa will determine if adherence is good or bad.

The left side is different, I used an epoxy clear on this one. to test which of the two will last longer. Will be driving to the office back and fort later, that's about 80km, its night time here now so headlights will be needed. I'll tell you the result.

Hi Sir,

Good mods! Led strip park light looks really neat and clean.
What bulbs are using in your head lamp and fog lamp?

Regards.,
Kiran.
I forgot the brand, but specs are 12volts 60w/80w. When driving the color is mixed bluish, greenish, yellowish. It's actually bad when its raining, you can't see the road that clear, as if the headlight it turned off, that is the reason why I install a fog lamp. Fog lamps are much cheaper to get compared to the original stock h4 headlight that is installed. (Philips H4, its around 2500 pesos here) My right bulb got busted months ago, so I just replaced it with my Dad's spare H4 bulbs at the garage. I'll post pics of the current bulb once I got the chance.
 
Top Bottom