Thread Starter
#1
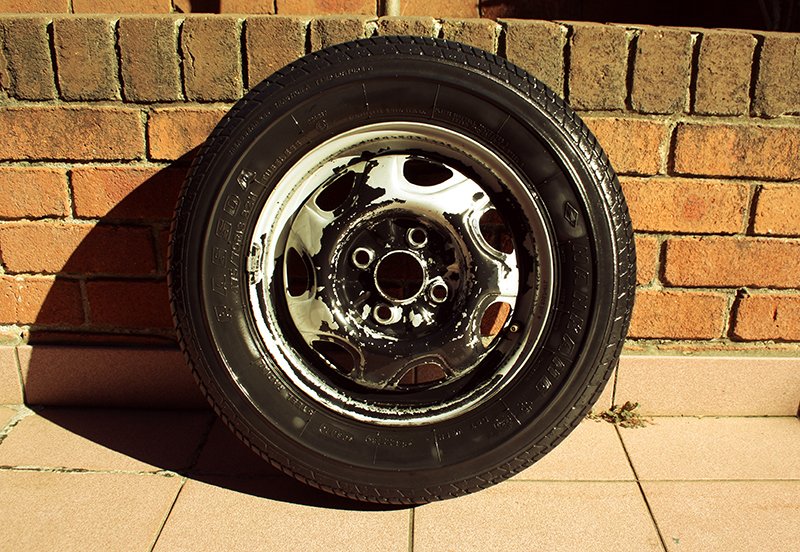
I had no money, but wanted a change of rims. Instead of spending big money on rims I like, I instead went and bought some paint and decided to spray my existing steelies. Previously, it was rolling on two different pairs of rims. One pair black and the other in a shade of silver. And recently, my brother ran up a kerb and managed to buckle a rim. Went to the wreckers and bought myself two spare rims and started spraying each wheel individually, yet keeping the car driveable.
Materials:


Process:
Take the wheel off the car and give it a good wash inside out with a wheel cleaner. Let it dry and start sanding, you don’t need to go all hard out on sanding, you just need to make the surface rough so the paint sticks to it.
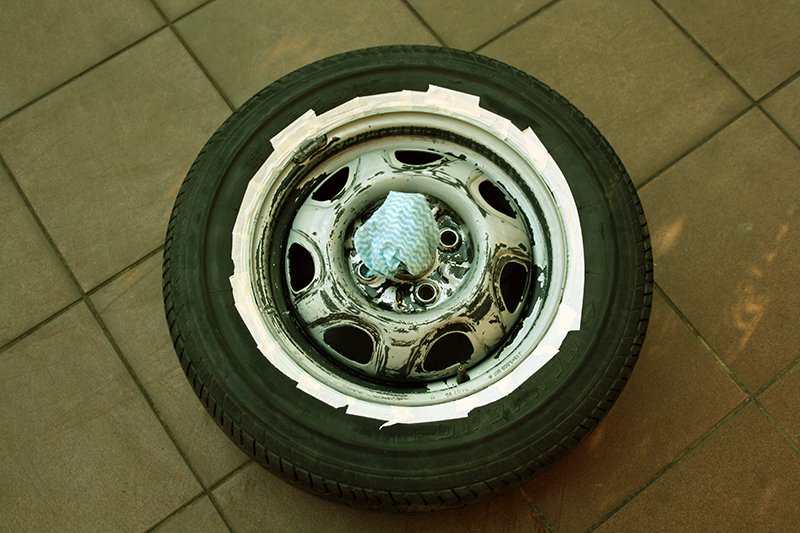
Mask off all the rubber and the remaining wheel; take your time here as you don’t want paint on the rubber you are planning to use.


Spraying, start by a very light coat of primer and increase the volume each time. I did three coat of primer in total. Same with paint, a light coat and a slightly heavier coat. Wait 10-15 mins between each coat of spray, and sand accordingly if needed. Oh, and don’t forget to cut yourself when opening the can of paint like I did. N00B


Leave it overnight and unmask the wheel in the morning, pat yourself on the back for a job well done. Yes, very simple.


Advice: Safety first, use a spray mask at all times spraying paint or primer. Also, before you put the wheels back on the car, I suggest you let the paint cure. I put one wheel back on the car after 4 hours and I managed to scratch some paint around the wheel nuts with my wheel brace. Just use your nail and pinch an inconspicuous area and see if wether you are leaving a mark. If yes, don’t put it on just yet.
Materials:
- Wheel cleaner – Just any harsh detergent will do basically, I used laundry liquid.
- Sand paper – Varying grits, I used 320, 280 and 150. Because I didn’t use a clear coat, I didn’t bother with any higher grit paper.
- Masking tape – Having varying widths helps, but you could always use paper to cover up the rubber.
- Lots of paper – Probably the best method of covering the whole wheel up, or you could use plastic wrap.
- Plastic wrap – Easier to put on, but if you plan on removing it straight after spraying, be aware of over spray chipping onto wet paint. Even more, you won’t be able to mask it all up properly.
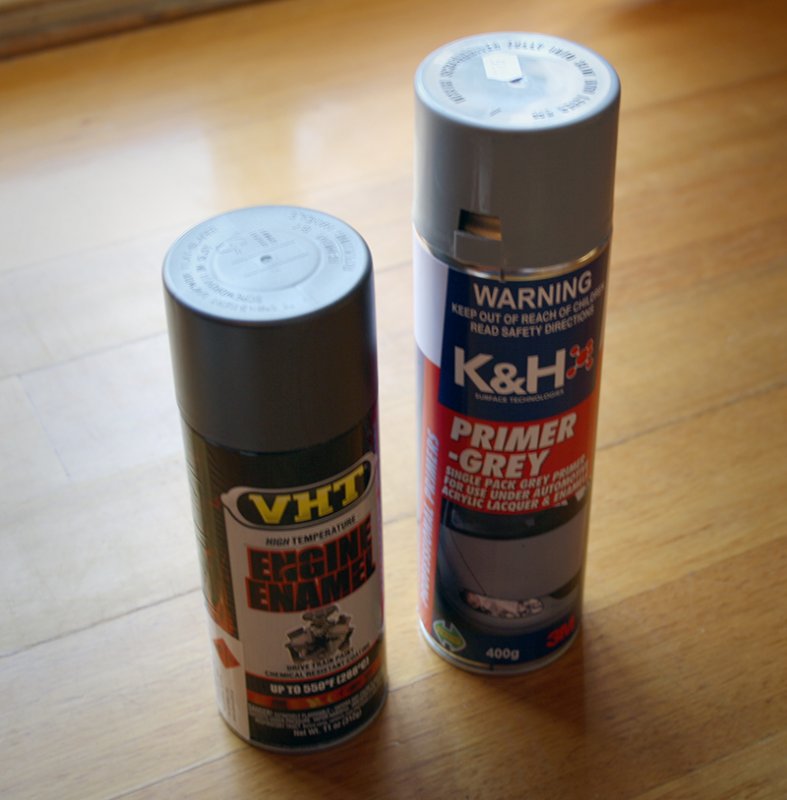
- Filler primer or grey primer – I used grey, but if your rims are pretty hammered by the gutter/kerb, I suggest filler.
- Colour of choice – Mine was SP997, Cast Iron, VHT High temp engine enamel.


Process:
Take the wheel off the car and give it a good wash inside out with a wheel cleaner. Let it dry and start sanding, you don’t need to go all hard out on sanding, you just need to make the surface rough so the paint sticks to it.
Mask off all the rubber and the remaining wheel; take your time here as you don’t want paint on the rubber you are planning to use.


Spraying, start by a very light coat of primer and increase the volume each time. I did three coat of primer in total. Same with paint, a light coat and a slightly heavier coat. Wait 10-15 mins between each coat of spray, and sand accordingly if needed. Oh, and don’t forget to cut yourself when opening the can of paint like I did. N00B


Leave it overnight and unmask the wheel in the morning, pat yourself on the back for a job well done. Yes, very simple.


Advice: Safety first, use a spray mask at all times spraying paint or primer. Also, before you put the wheels back on the car, I suggest you let the paint cure. I put one wheel back on the car after 4 hours and I managed to scratch some paint around the wheel nuts with my wheel brace. Just use your nail and pinch an inconspicuous area and see if wether you are leaving a mark. If yes, don’t put it on just yet.


![Clap [clap] [clap]](https://www.theautomotiveindia.com/forums/images/smilies/Clap.gif)
![Wink [;)] [;)]](https://www.theautomotiveindia.com/forums/images/smilies/Wink.gif)
![Smile [:)] [:)]](https://www.theautomotiveindia.com/forums/images/smilies/Smile.gif)
