Thread Starter
#1
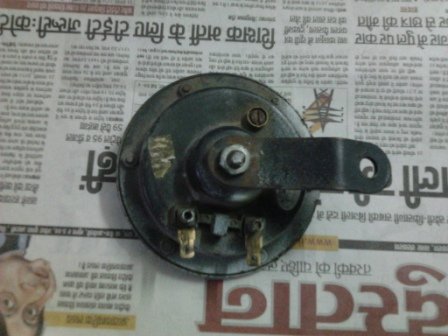
This horn dates back to 1995, when the previous owner of my car purchased this to add with the stock horn.
The sound was not good and the horn was a bit rusty with white paint sprayed(during the car repaint). I bought a Hella Horn and this was lying in my parts box.

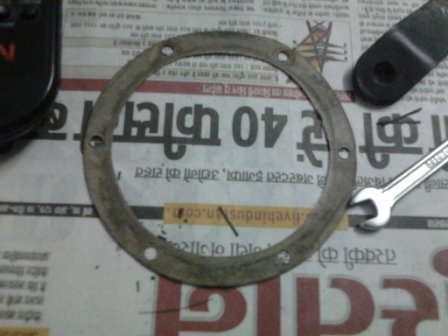
The gasket. If the gasket is not in good condition, an old greeting card may be used to cut it in shape.
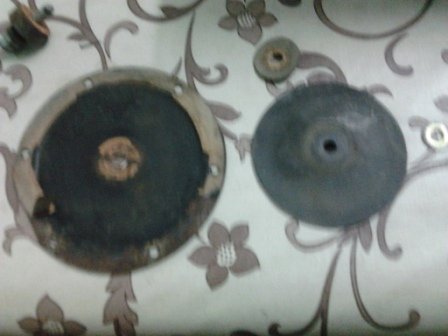
The cover and the diaphragm

Inside the horn
The points marked with red must be clean for proper sound and power consumption.
Earlier the horn was drawing 6-8 amps of current but after cleaning of the metal parts the sound is good and is consuming only 4-4.5 amps.
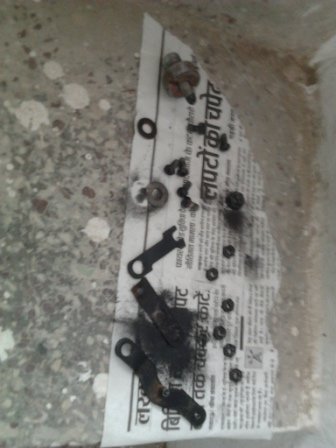
All the parts cleaned and painted. Take care not to paint the tips/contacts of the metal part.

The body and diaphragm painted.
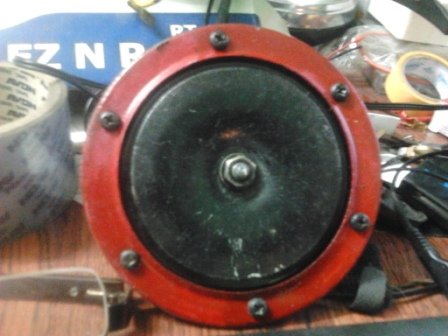
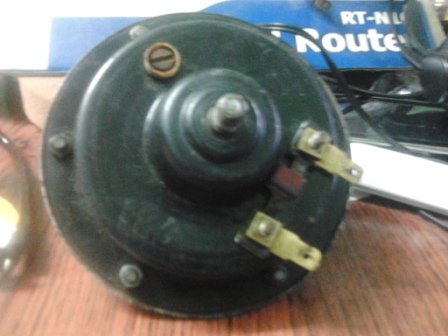
The final outcome.
Now the sound is excellent and the horn is used in my friend's pulsar.
The sound was not good and the horn was a bit rusty with white paint sprayed(during the car repaint). I bought a Hella Horn and this was lying in my parts box.


The gasket. If the gasket is not in good condition, an old greeting card may be used to cut it in shape.

The cover and the diaphragm

Inside the horn
The points marked with red must be clean for proper sound and power consumption.
Earlier the horn was drawing 6-8 amps of current but after cleaning of the metal parts the sound is good and is consuming only 4-4.5 amps.

All the parts cleaned and painted. Take care not to paint the tips/contacts of the metal part.

The body and diaphragm painted.


The final outcome.
Now the sound is excellent and the horn is used in my friend's pulsar.


![Clap [clap] [clap]](https://www.theautomotiveindia.com/forums/images/smilies/Clap.gif) . I had also tried one time but ended up in a mess.
. I had also tried one time but ended up in a mess.